Repainting Our Hallway

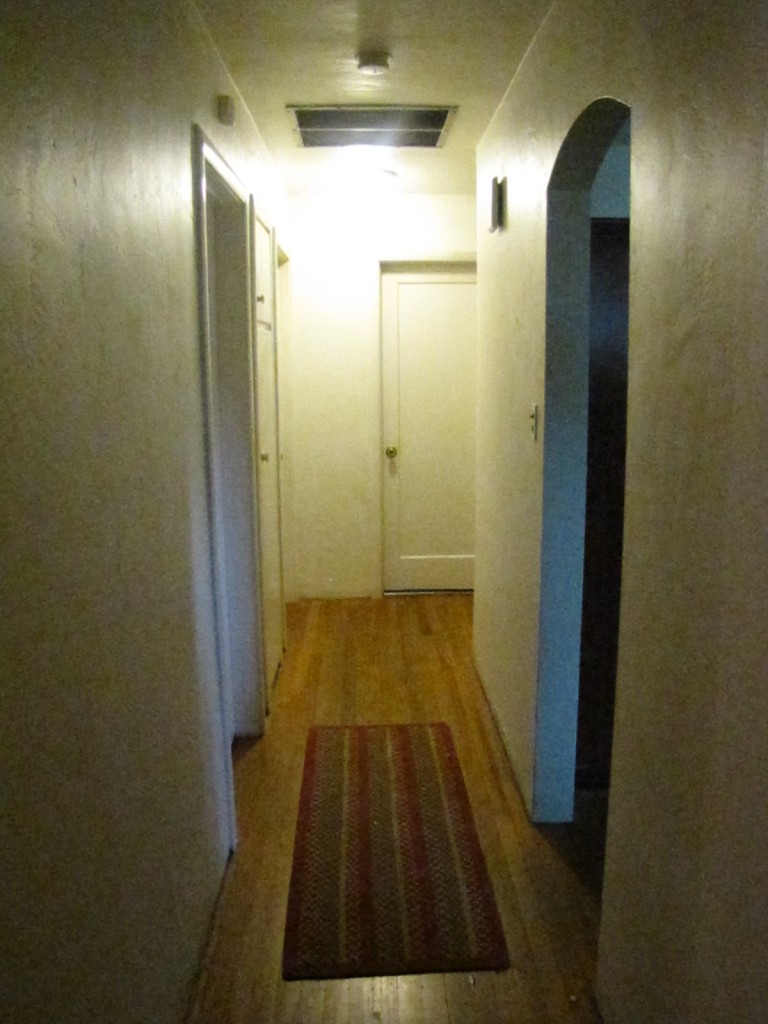
As I’ve stated before, October was Home Improvement month around our (rental) house.  After I finished a painting for our church, I felt inspired to keep painting.  I had wanted to paint our white hallway brown for a long time.  I looked at my Pinterest boards to decide what shade I wanted, and then went back to Lowe’s to pick up some paint swatches.  I laid the swatches for all my other rooms side-by-side to be sure all would match.  I looked at my swatches in different lighting to be sure that the color would be attractive in any light.

Before

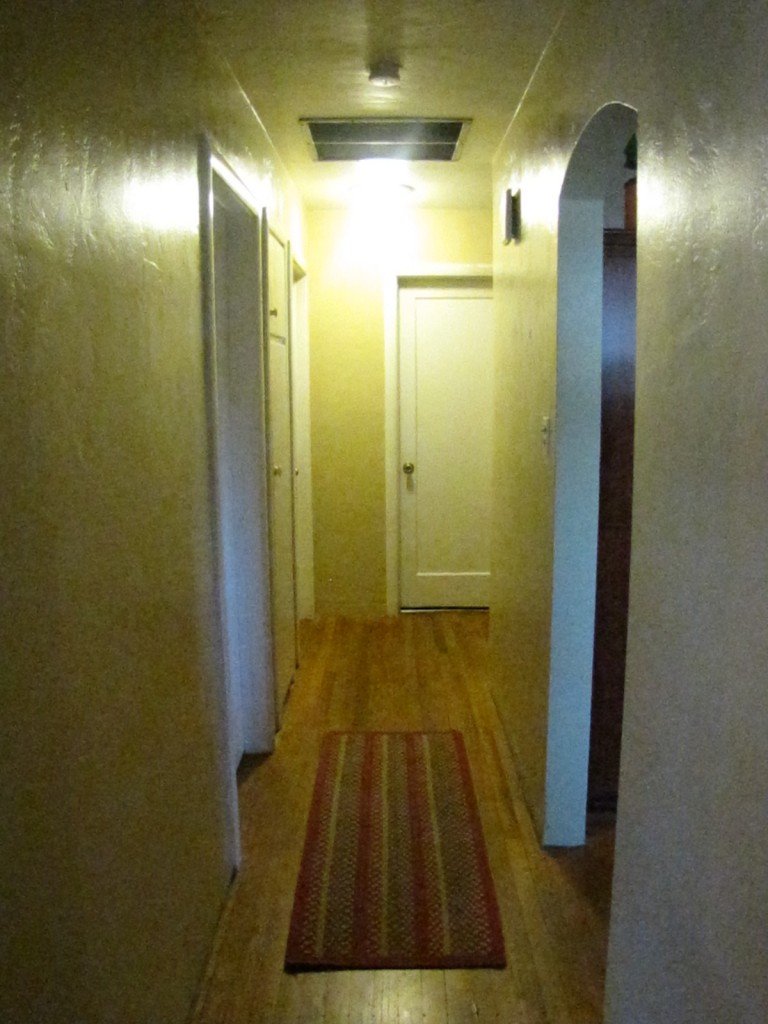
In our house, you can see the hallway from every room.  So I knew that the hallway would be key to making the house look “finished.”   I am so pleased with the color and the effect!  Although the colors didn’t come out well in the photos, I can assure you that they match every room, and make the hallway much “warmer.”

After

I just recently added an Australian mask to the wall by the bathroom door, but that was after I took this photo.  I’m hoping to do more with the walls in the future now that I have a paint color on the walls that I like.

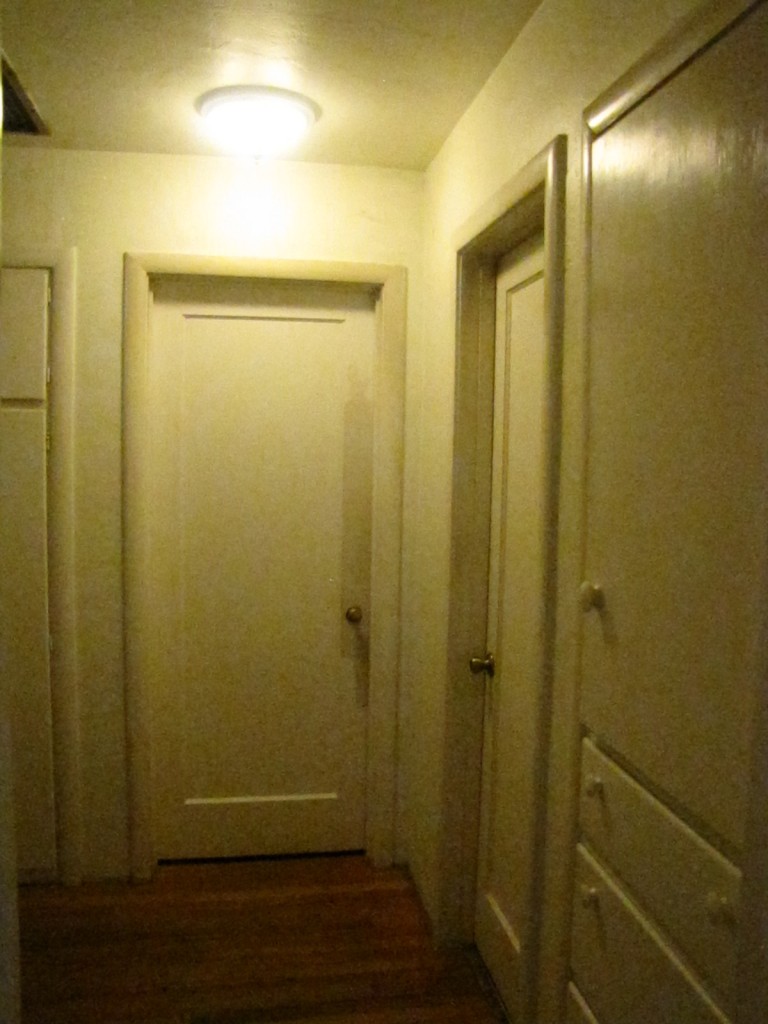
Before

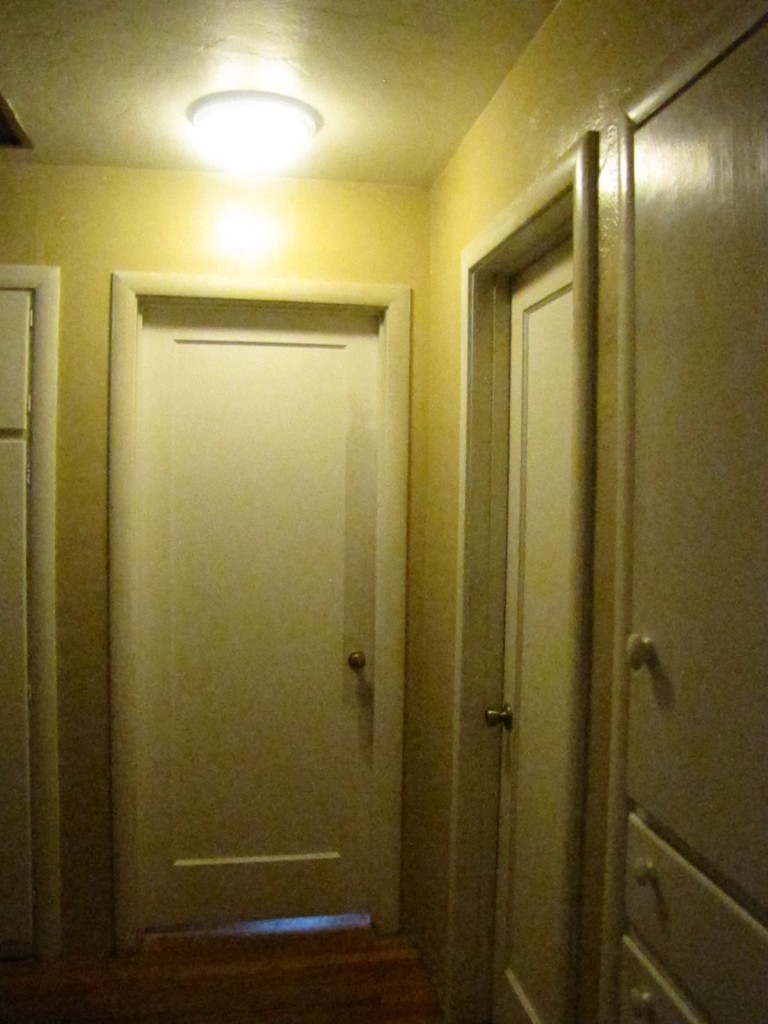
You can also see our new light fixture in these photos.  It has been so fun to see our rental home improve little by little in the 14 months since we first moved into this house.

After

This was one of the few home improvements that I made in October that cost me money.  I bought one gallon of paint from Lowe’s, and that was it.  I already had the brushes, rollers, ladder, step-ladder, drop-clothes, paint tray, and rags in our garage.

What improvements (minor or major) have you made on your home recently?

The Birch Tree Project (Part 2)

If you missed The Birch Tree Project (Part 1) you can read it here

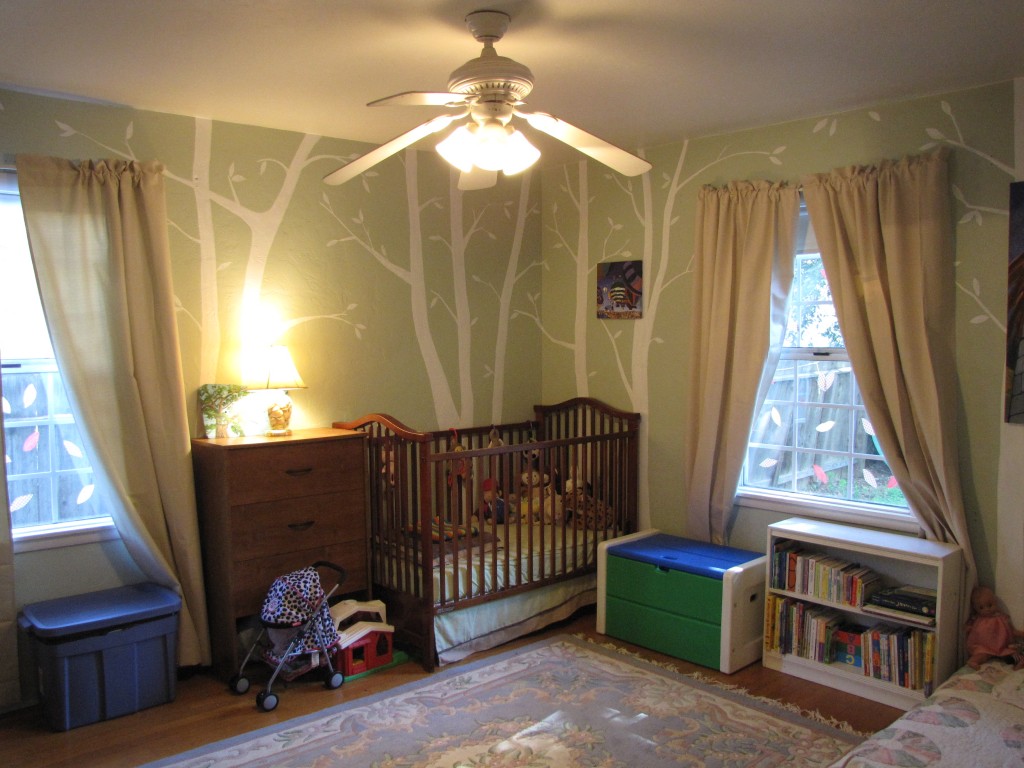
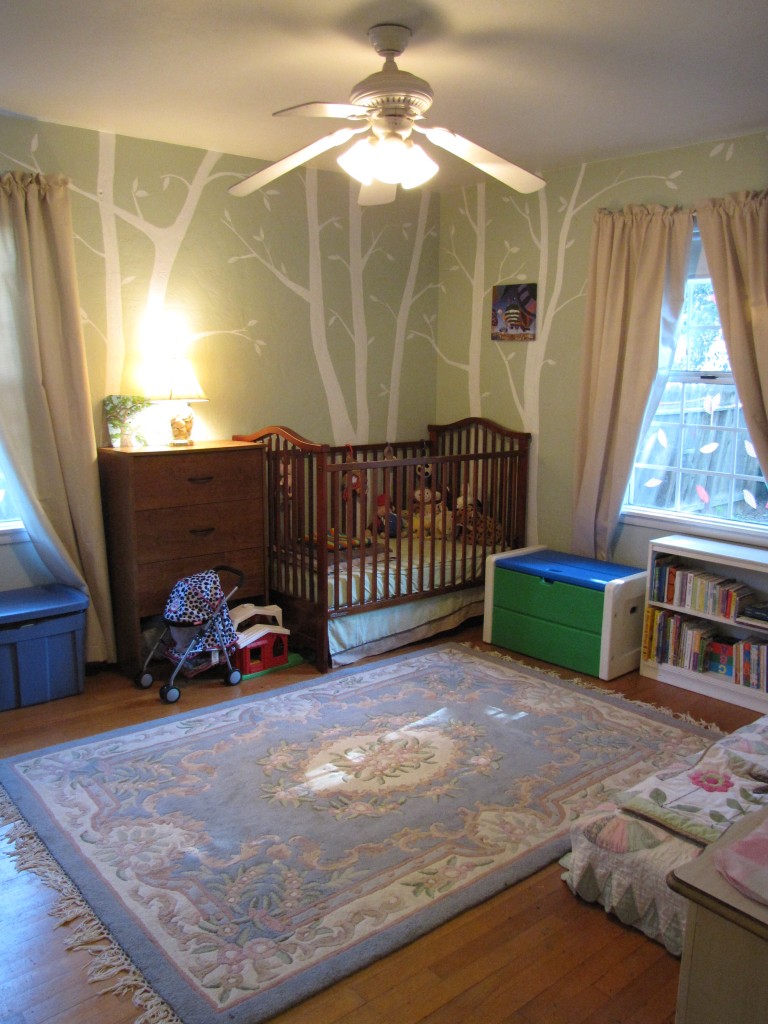
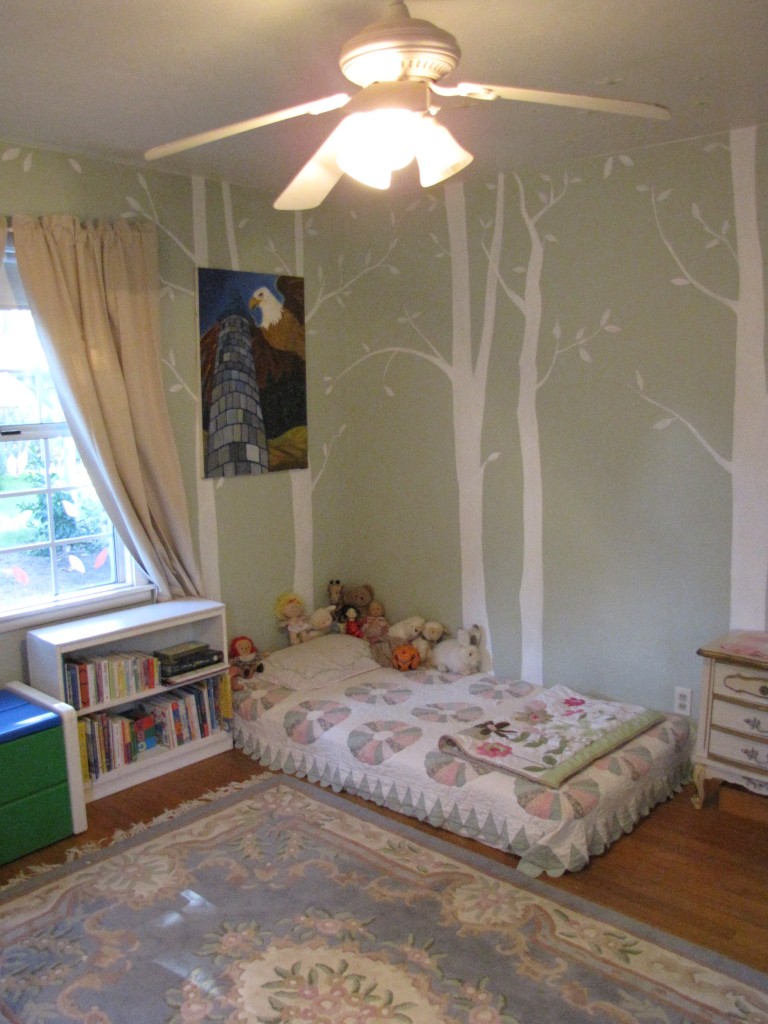
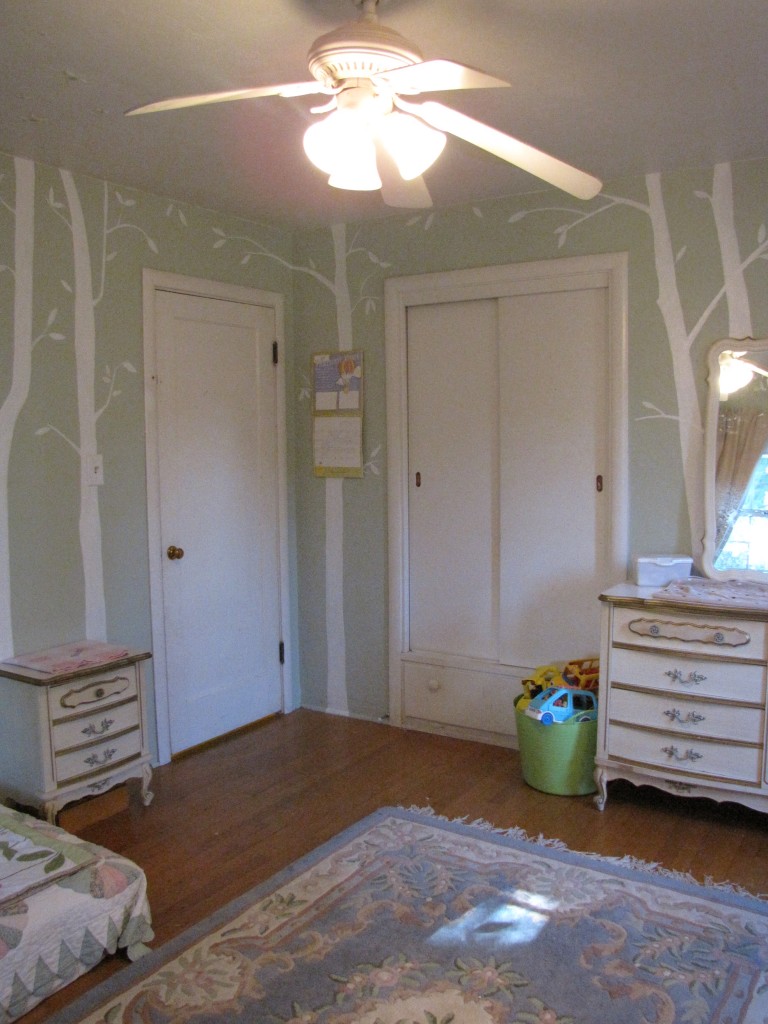
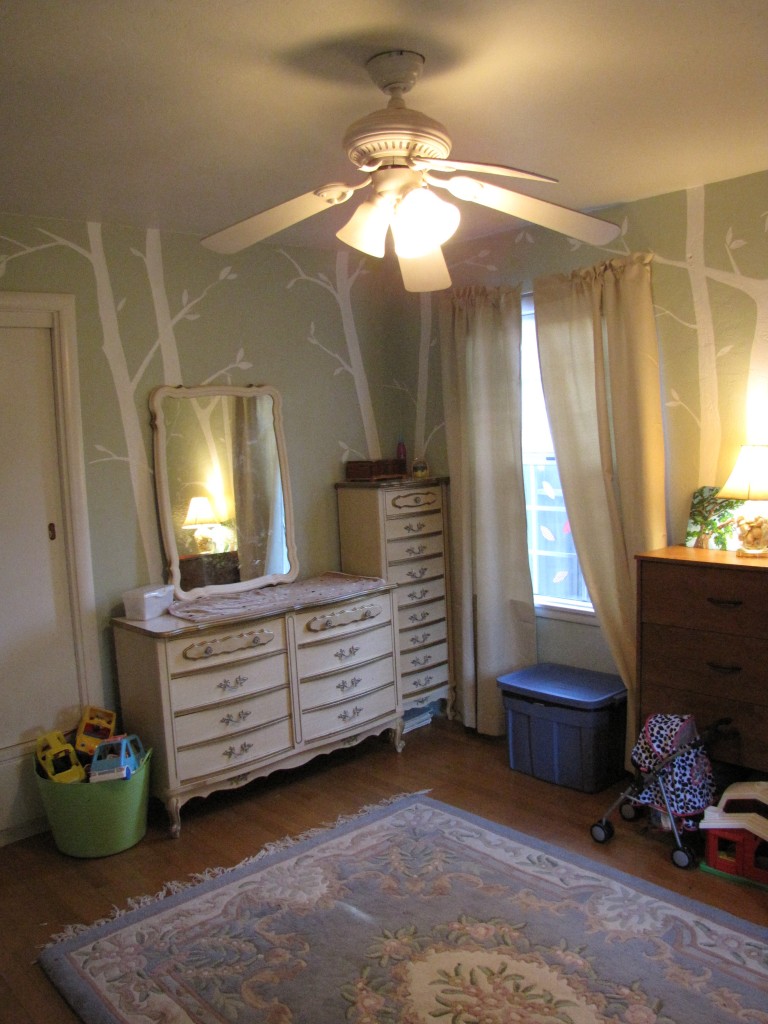
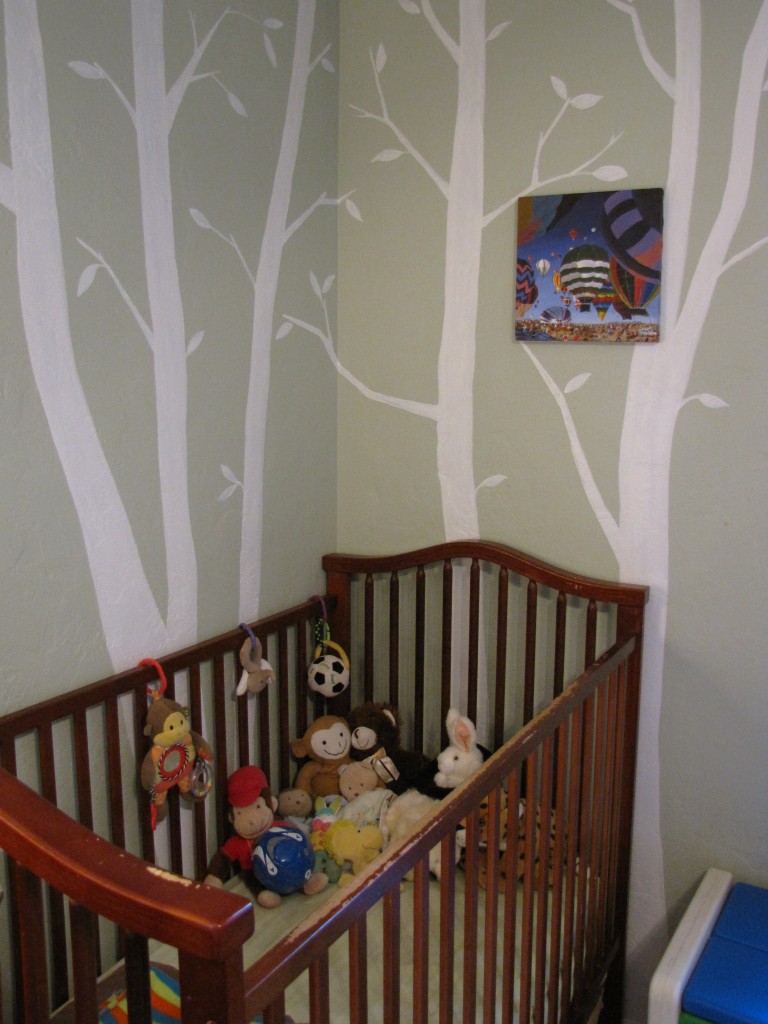
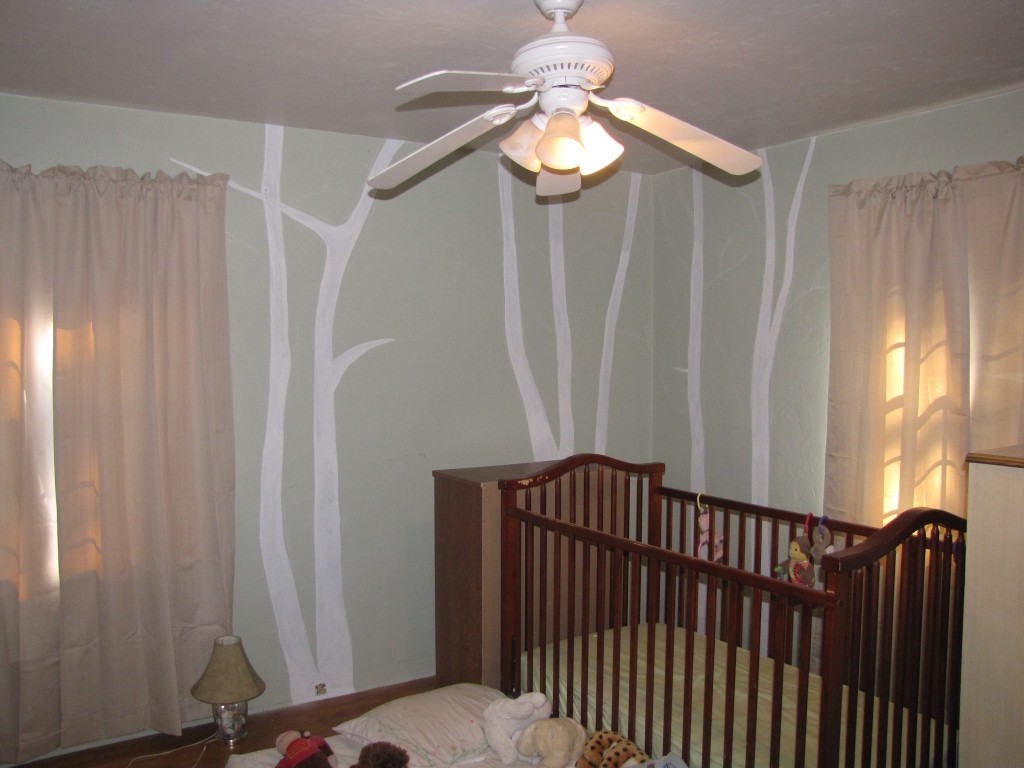
After 5 days of painting, and 7 days of having the house in disorder while the furniture and kids were displaced, I was delighted with the finished product!

The kids’ room rarely looks this neat!  I had to shut them out of the room to straighten it up for these photos.

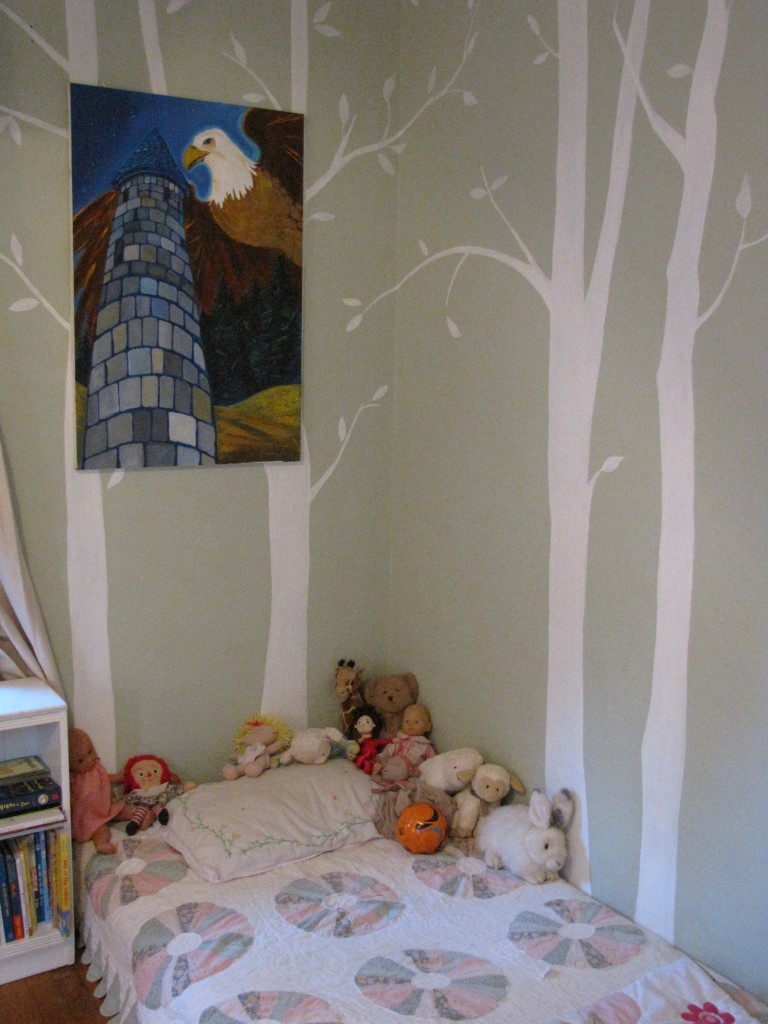
Naomi’s bed will remain on the floor until we get bunk beds when the new baby arrives.  We didn’t see any point in buying a bed frame for her when she’ll be transitioning to a bunk bed so soon.
The dressers were Brad’s sister’s when she was a child.  The area rugs throughout the house were hand-me-downs from a friend.

I’m new to “staging” photos, so after looking at these I realized that I probably should have removed the baby stroller, barn, and toy basket.  The blue tub is for dirty cloth-diaper storage, and the wipe container on the dresser holds our reusable wipes.

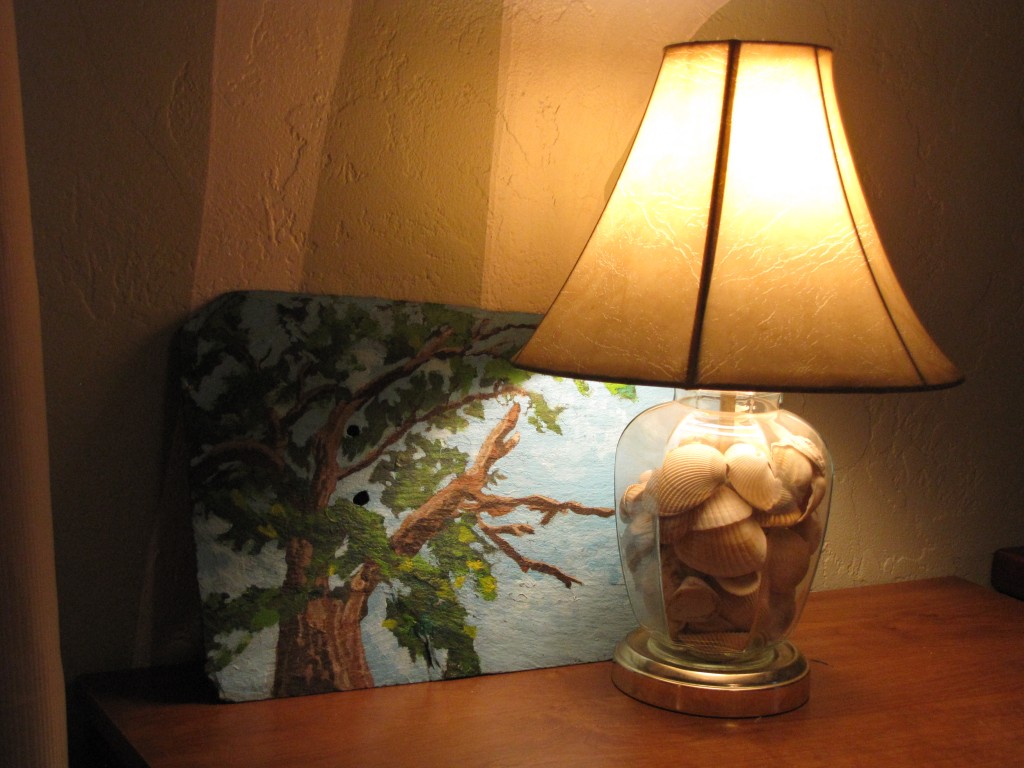
I also painted the paintings around the room.  This one is painted on a large piece of slate.  It’s a painting of a tree down by the “swimming hole” at the creek near my parents’ house.  The lamp is an old one of Brad’s with a newer lampshade.

Brad is a former soccer coach, so for holidays he likes to give the kids soccer gifts.

The painting above was painted during a sermon when we lived in Maryland.  I was asked to illustrate Psalm 61 on stage while the pastor preached the sermon.  It was an interesting concept!

Oliver still sleeps in the crib, at least until the new baby arrives!  He also has a couple of soccer balls in his bed.

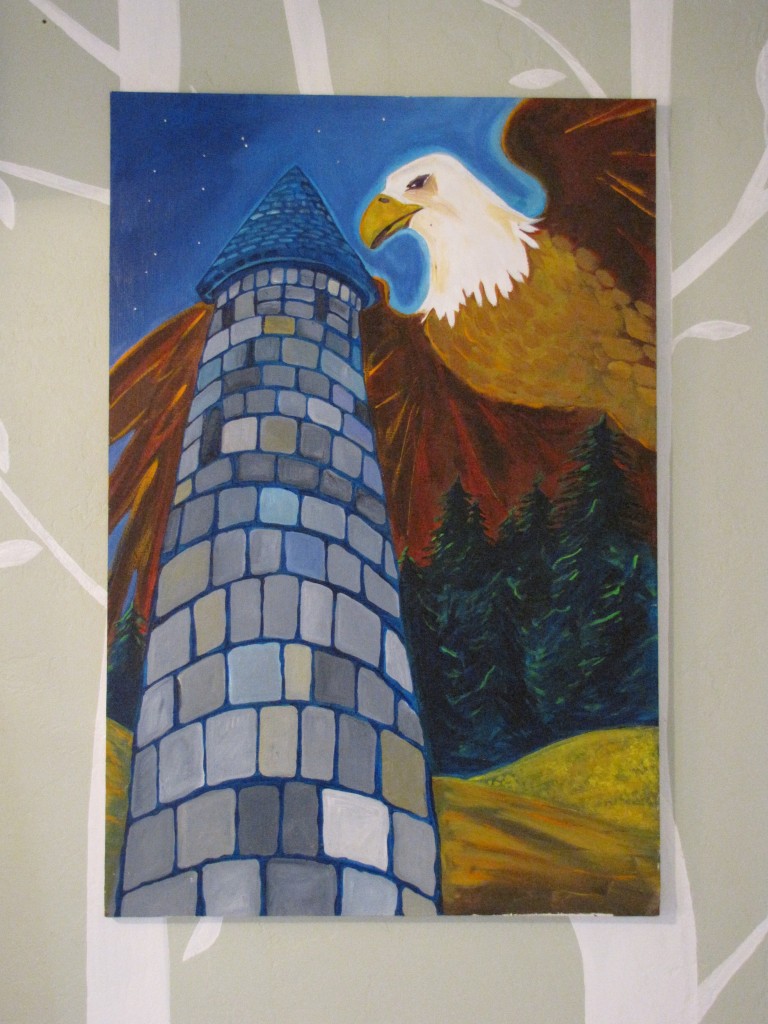
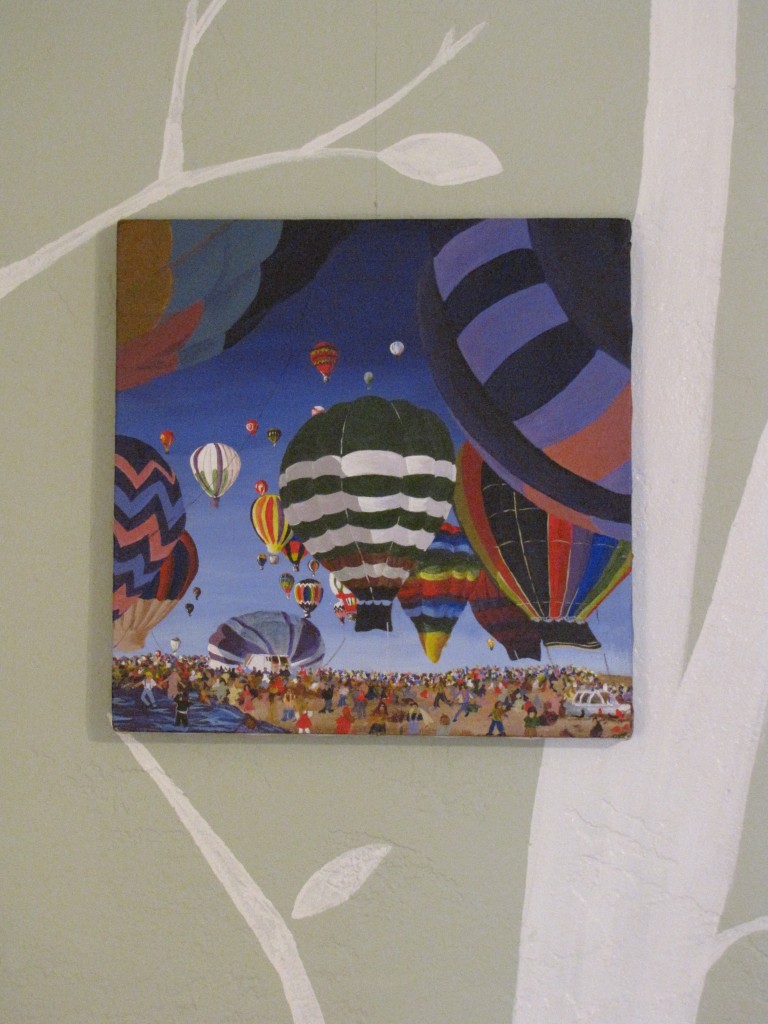
I painted the painting above during my sophomore year of high school.  It’s still one of my favorites.  When I lived in New Mexico I got to participate in a festival like this one, and rode in one of the hot air balloons!

I had a great time with this project, and now my kids’ room is my favorite room in the house.  I love reading to them, snapping photos of them, and playing with them in this fun space!

What fun or creative projects have you been working recently?

The Birch Tree Project (Part 1)

When we moved into our new rental home, one of the first things I hoped to do was paint birch trees on the walls of the kids’ room.  If you’ve explored my Pinterest boards, you probably saw some of my many ideas there.  Life happened though, and other things took priority.  Soon a year had passed, and I found myself complaining that I STILL hadn’t had the opportunity to decorate a nursery since becoming a mom, even though I was now pregnant with my third child The thought that followed that complaint was “Why not do it now?”  My family was coming to visit at the end of October, and my mother and grandmother (both artists) would love to see a freshly painted nursery.  So with a firm deadline and an audience to impress, I got to work.

One other big bonus of this project was that it was absolutely FREE!  I didn’t pay anything for my supplies.  We already had a gallon of white paint in our garage from painting our bathroom.  I only needed about a quart of paint, so I had more than enough for this project.

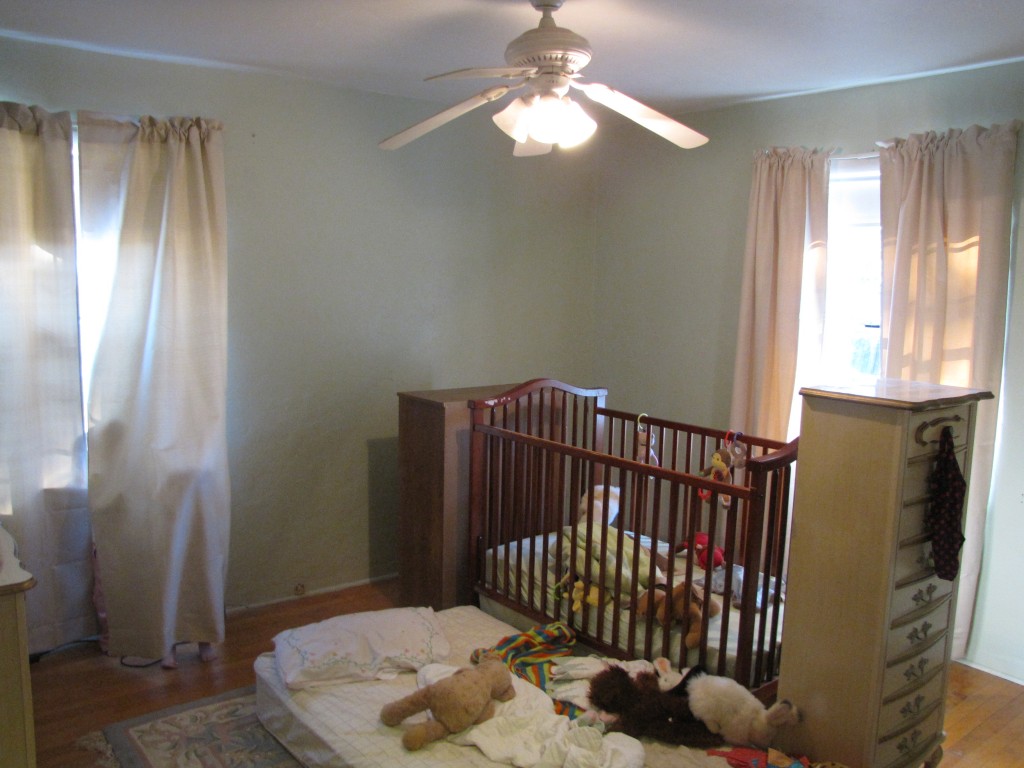
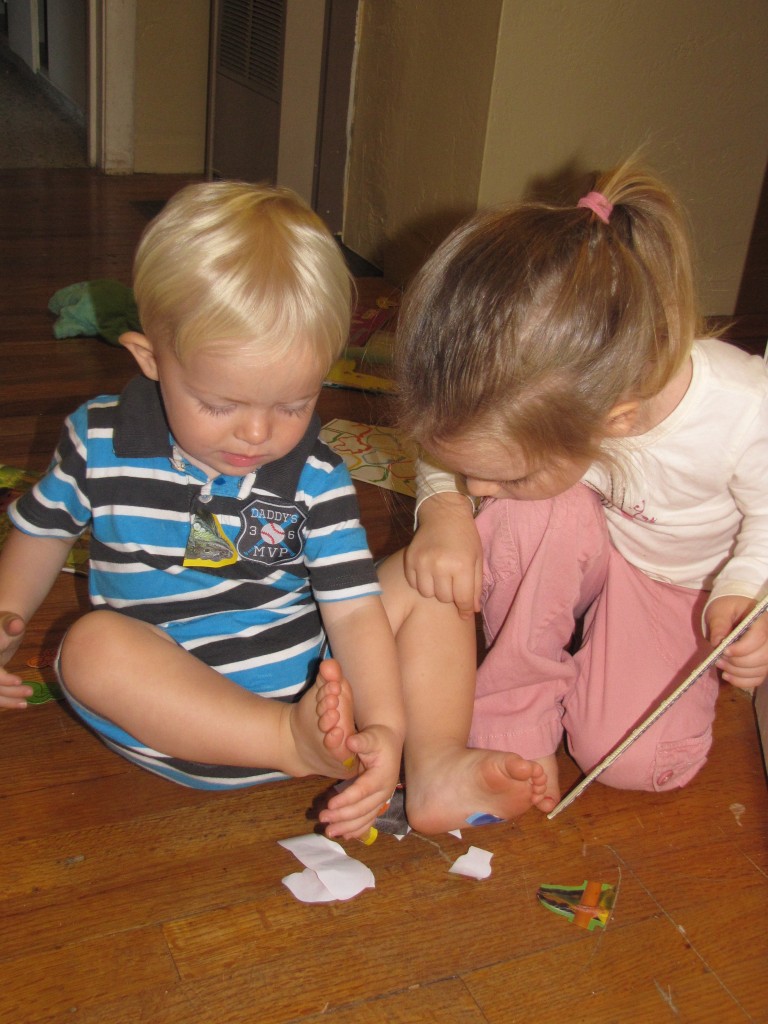
In order to work on this project (which took 5 days to finish) I had to work around my two lively toddlers.  First I pushed all of their furniture to the middle of the room, where they slept for 7 days.  They thought this was a great adventure.  Sometimes they hung around with me, and sometimes they watched movies at my computer.  Other times they made a mess elsewhere in the house, or Naomi covered Oliver in stickers (above).  If you look closely at the first photo, you’ll see their feet sticking out from under the curtains on the left.

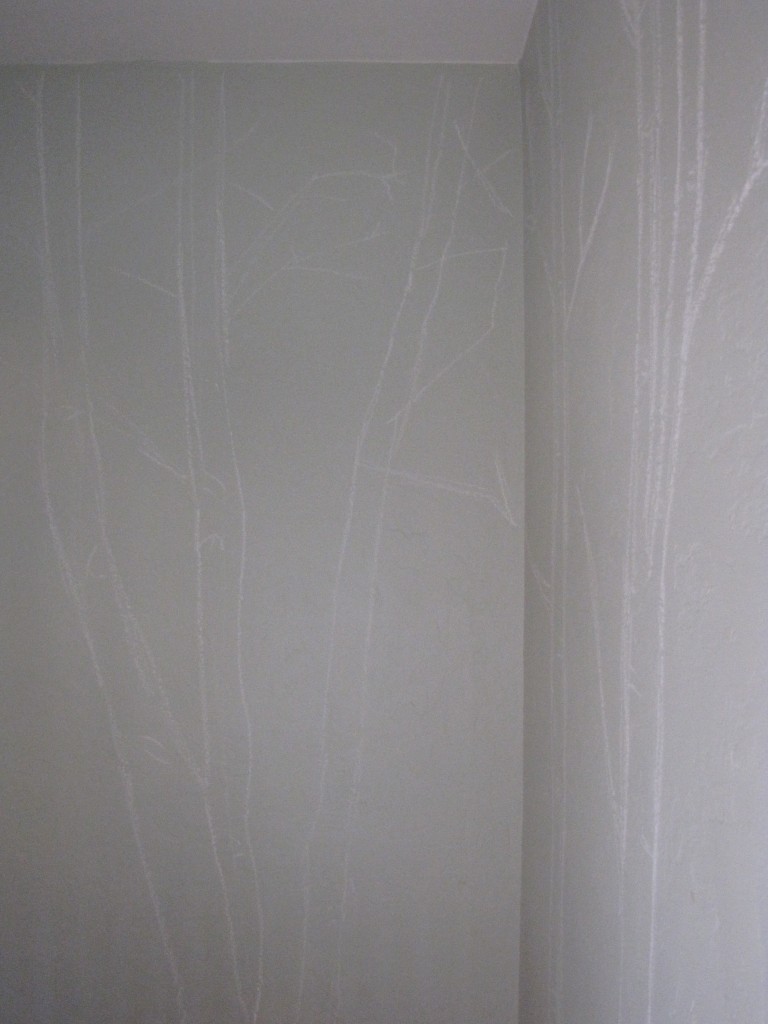
Before painting I glanced at a few websites with instructions on how to paint a mural.  One website suggested using chalk to outline your mural I thought this idea was brilliant!  I’ve always used pencil, and been frustrated by the dirty smudges and tedious task of erasing the lines afterward.  By using chalk I could easily correct mistakes with my fingers, and when I was done painting I just used a damp rag to wipe away all the chalk marks.  For the chalk, I used some white sidewalk chalk from a box that Naomi had received for her birthday.

Once I started painting, I realized that I had a much bigger project ahead of me than I first imagined.  I had 17 trees with lots of branches and leaves.  I was working from laying on the floor, to a step-ladder, and then a 6-foot ladder.  I was circling the room over and over again, pushing furniture out of my way, and trying to get enough light to see my work.  But I was really loving the effect, and kept stepping back to admire my progress.  I started with the thick trunks and a thick paintbrush, before switching to smaller brushes for the detail work.

Come back to see the finished project!

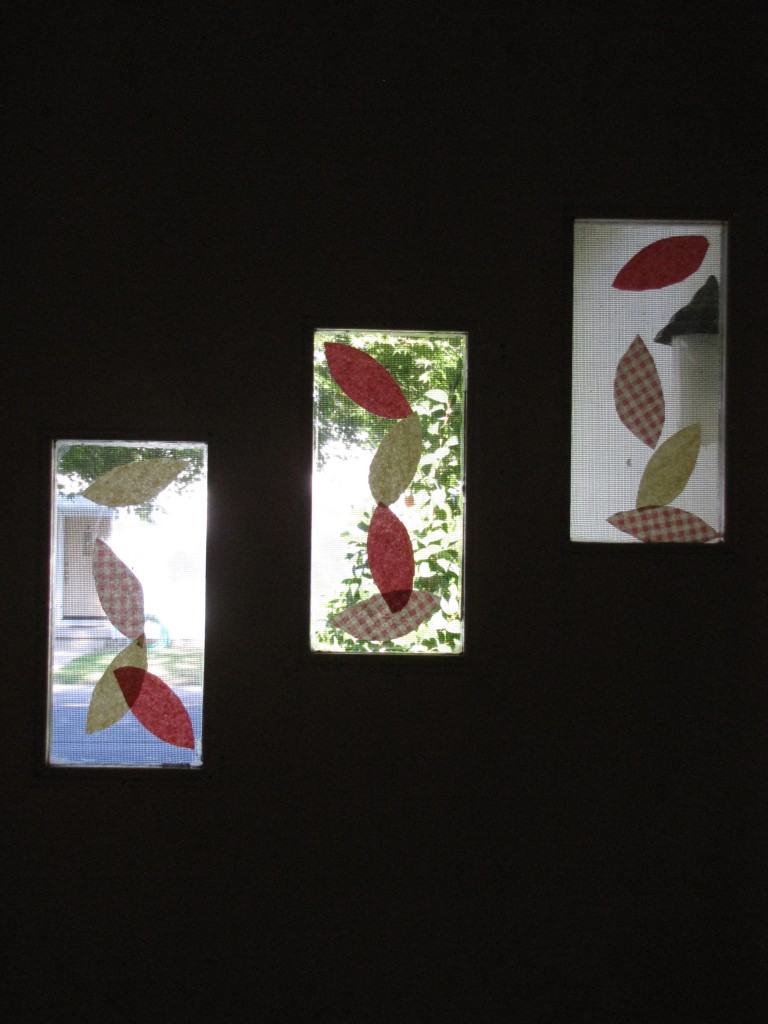
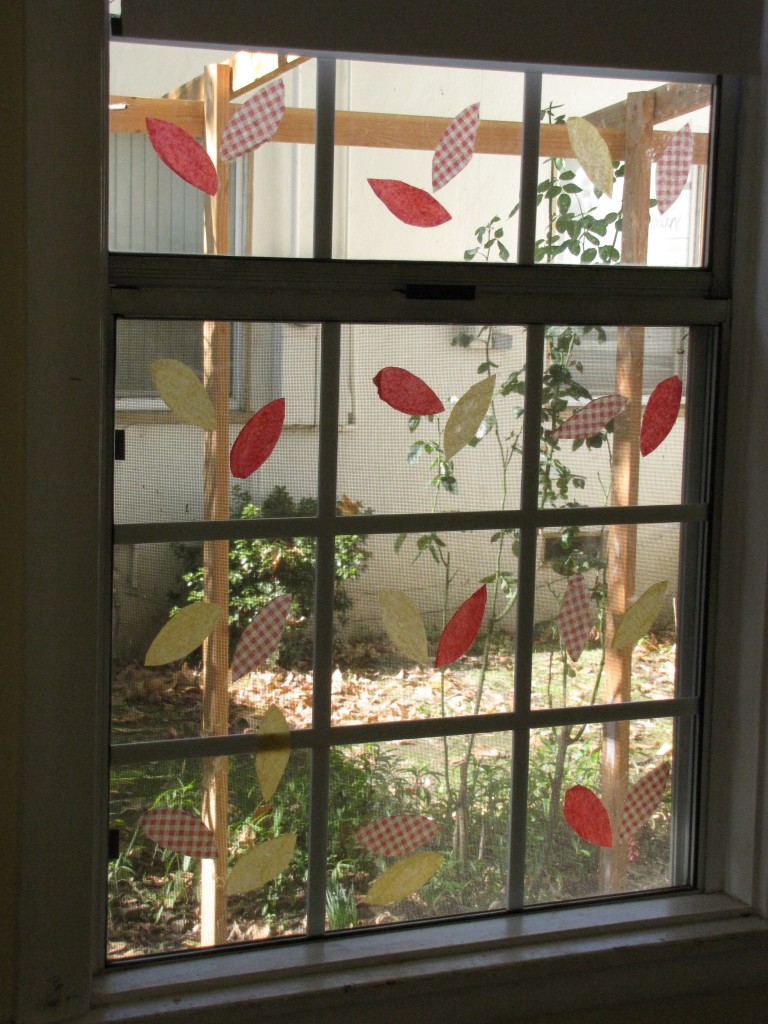
Toddler Tuesday: Autumn Window Collage

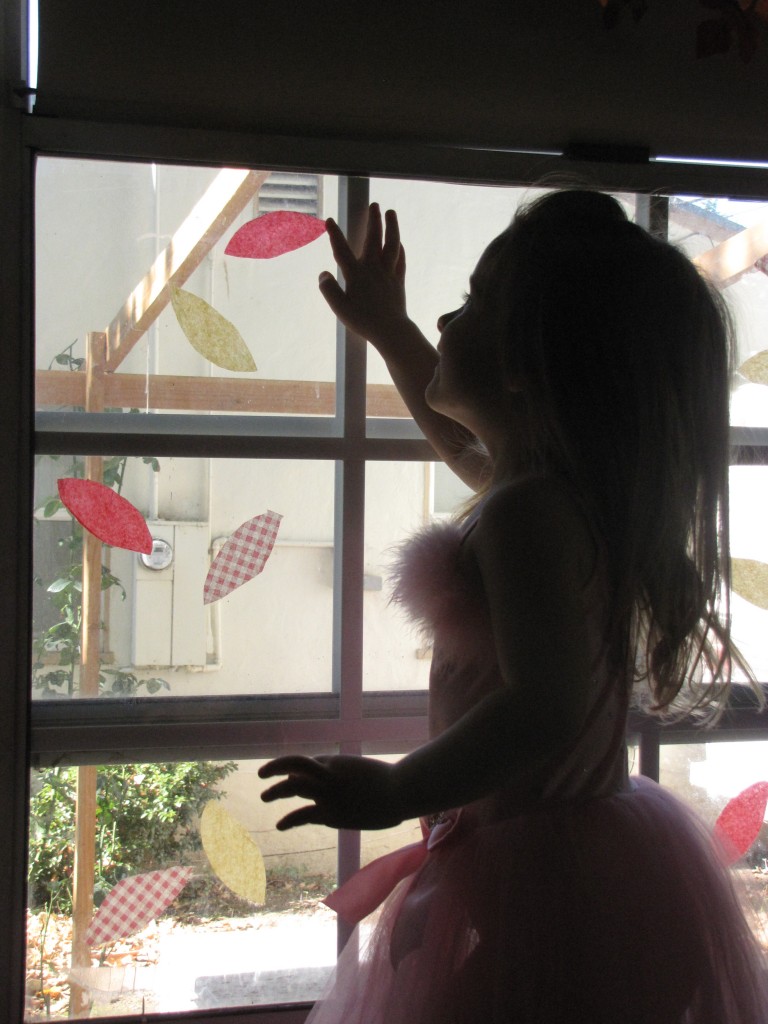
When I saw this Autumn Window Collage over at Frugal Family Fun (now Inner Child Fun) I just knew I had to try it with my kids!

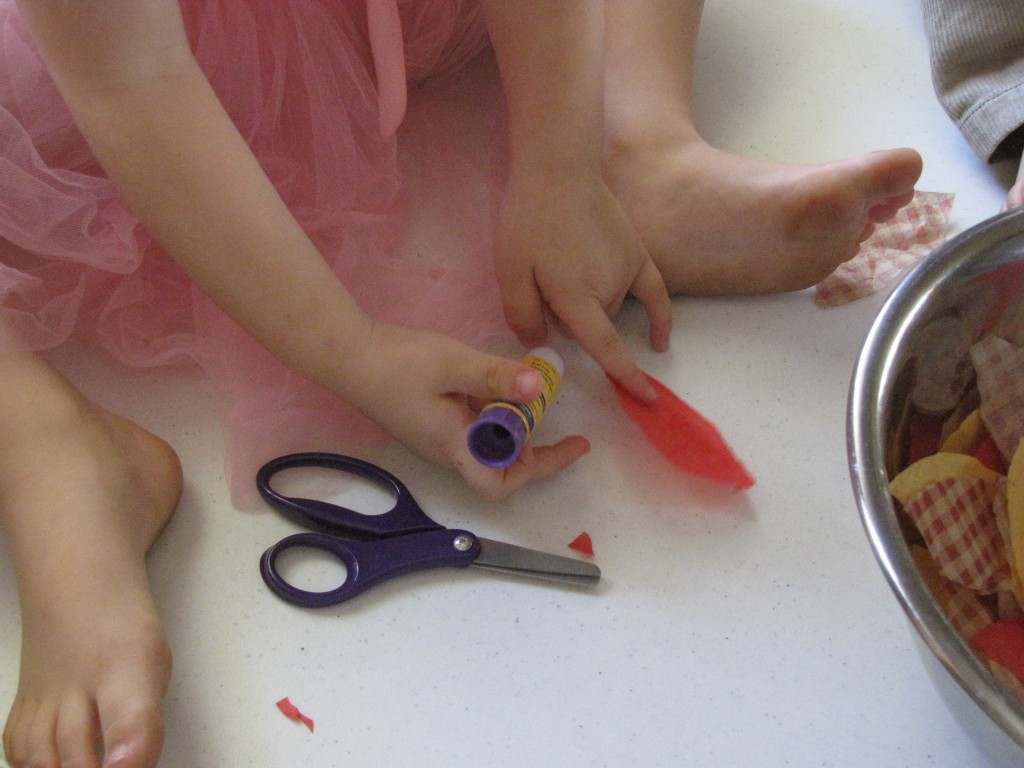
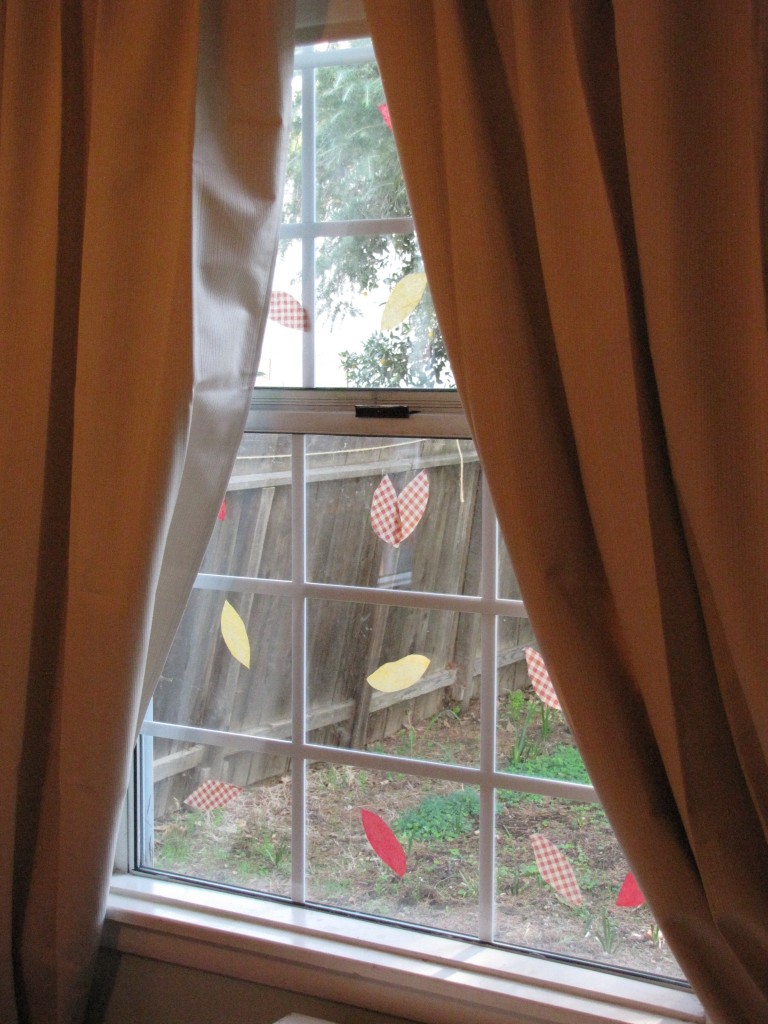
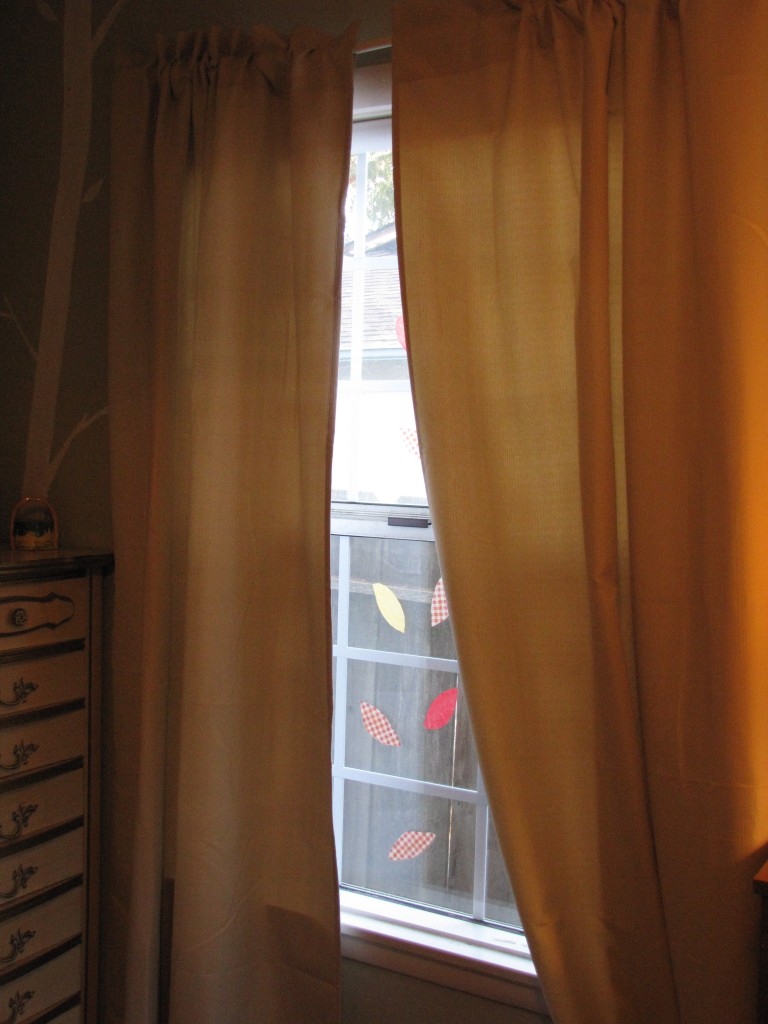
First I found some salvaged tissue paper from last year’s Christmas gifts and Christmas sales.  I chose 3 colors/patterns that reminded my of fall: red, yellow, and a brown/red plaid.  Then I folded the tissue paper like an accordion, and cut a simple leaf pattern out of the paper.

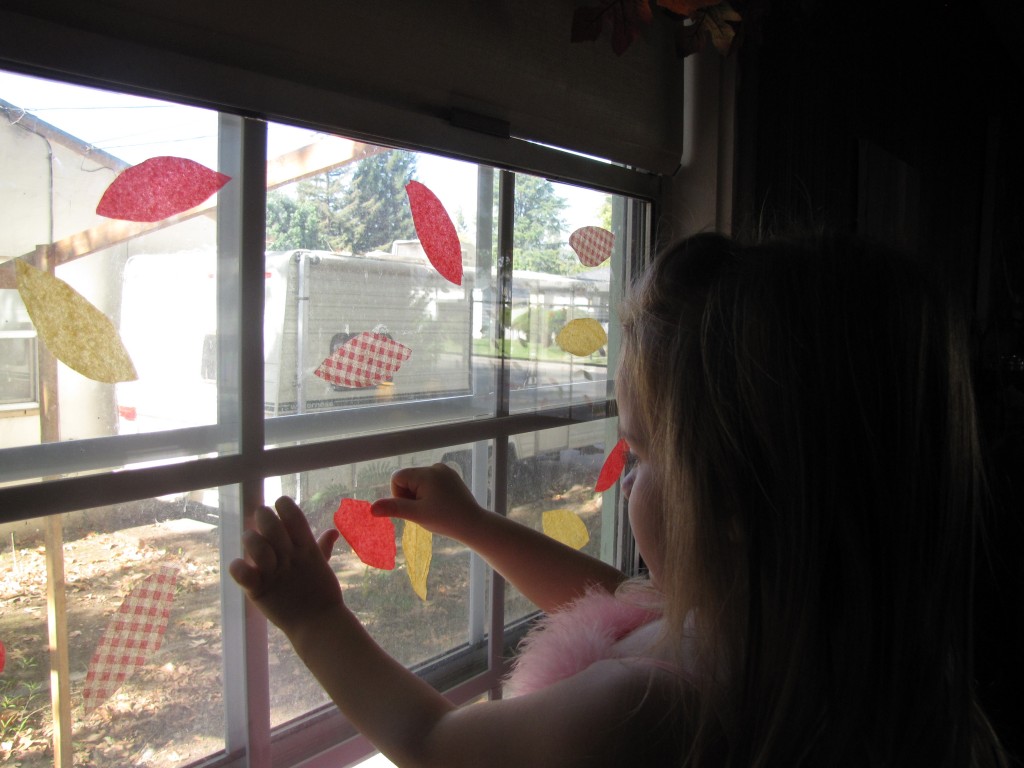
Naomi and I used a glue-stick to spread glue on the leaves, and then all three of us pressed the leaves to the windows.  (Naomi is wearing a costume because it was the day before Halloween.)

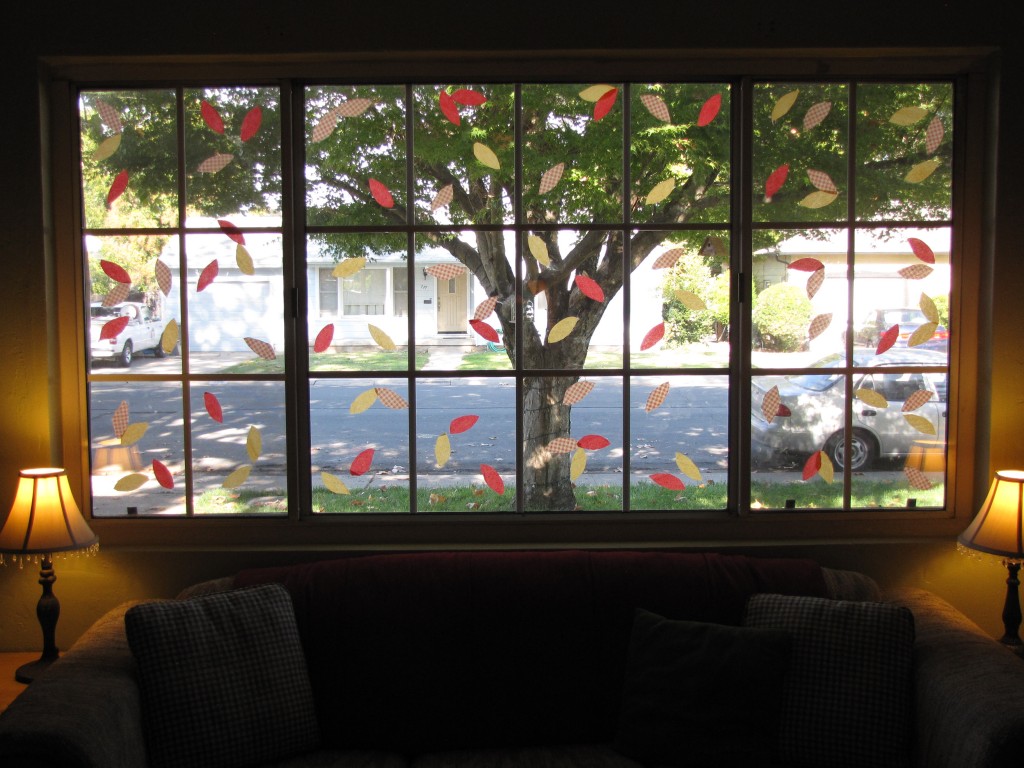
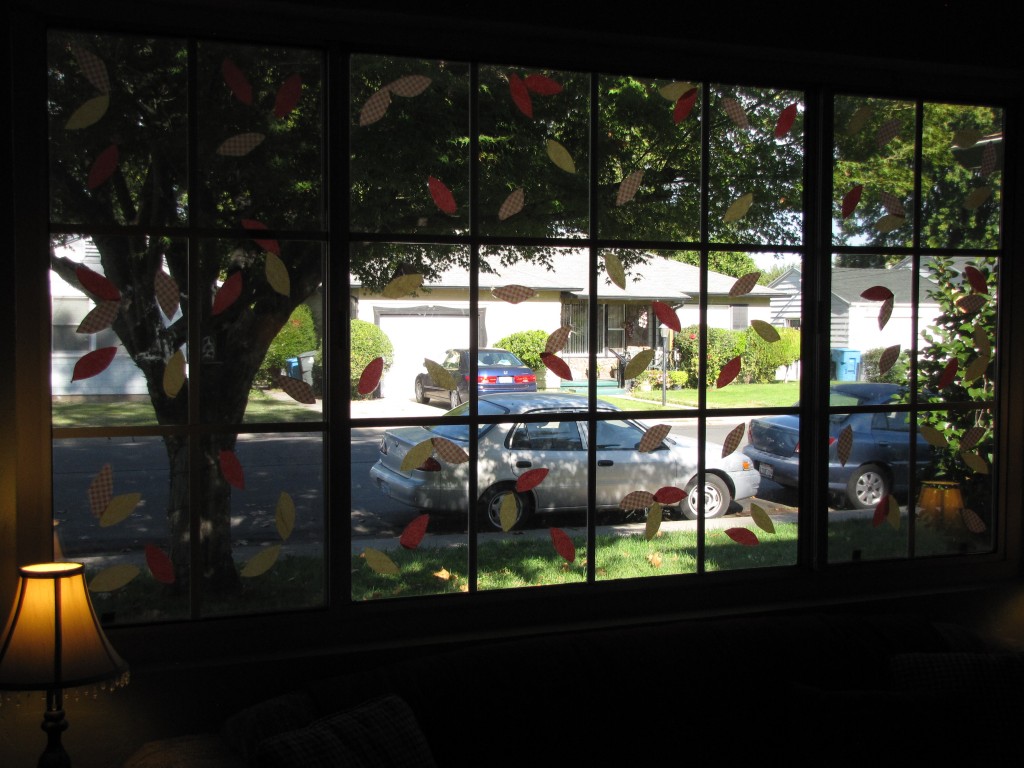
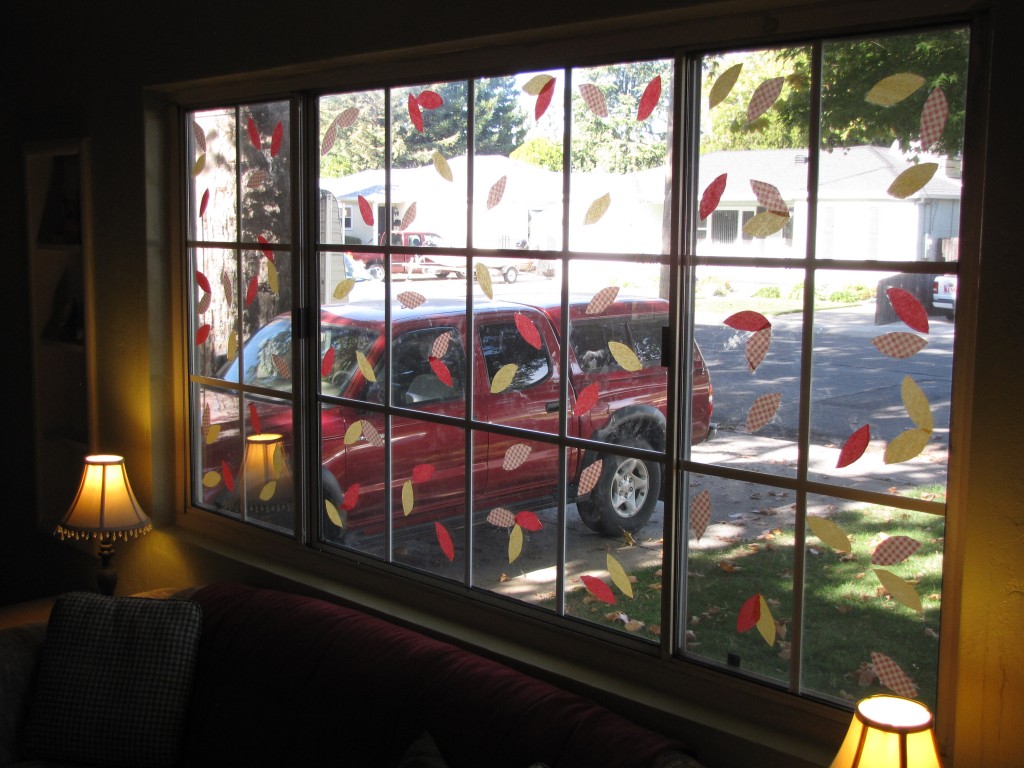
I originally thought we might do a pattern or tree with the leaves, but I quickly abandoned that idea.  We just stuck them all over the windows in no particular order.

We had a great time decorating the front window!

I love sitting in our living room and looking out our “Autumn Windows.”  We miss the changing colors of the leaves here in California, since it is still quite warm outside here.

After we finished the front window, we had a LOT of leaves leftover.  So we moved on to the front door.

Then one of the kitchen windows next to their doll house…

And finally their bedroom windows (at Naomi’s insistence)…

It took us 3 days to do all the windows, but we weren’t in any hurry and the kids were having a great time. I love the stained-glass look of the leaves, and the festive fall look it gives to our home!

What fun autumn activities have you enjoyed doing with your children?

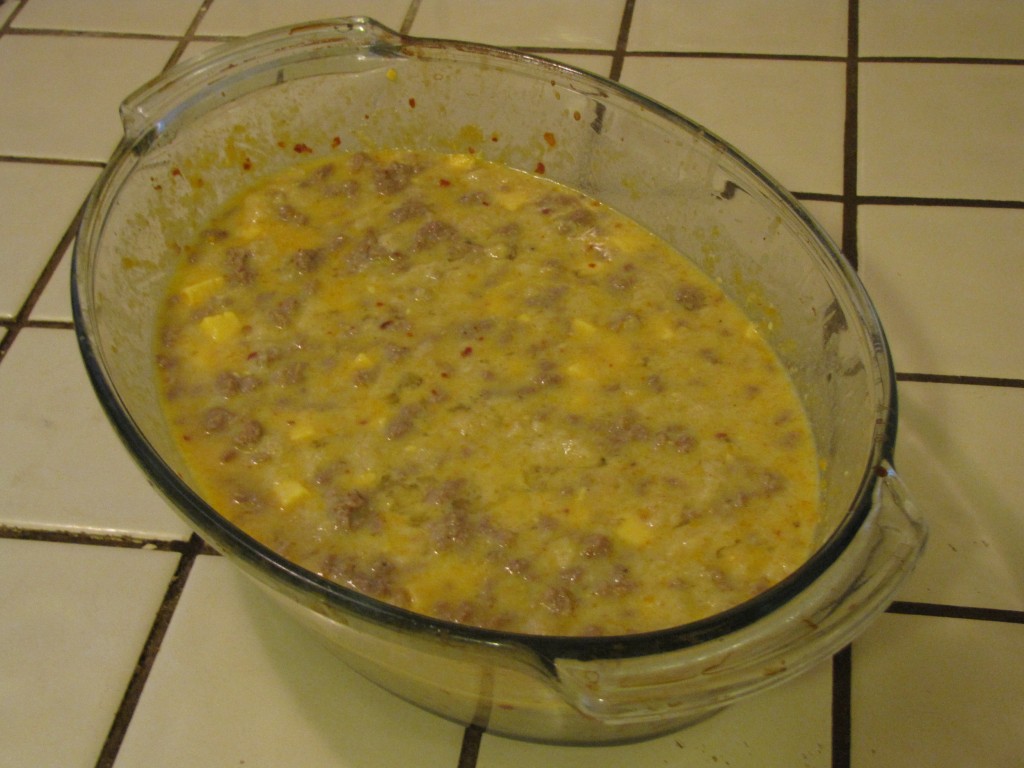
Make-Ahead Sausage & Egg Casserole (Only 7 Ingredients!)

I make this simple Sausage & Egg Casserole every Christmas Eve.  On Christmas morning I put it in the oven first thing, and it's ready by the time the kids are done opening presents!

When I was growing up, one of our many Christmas traditions was eating Sausage & Egg Casserole on Christmas morning.  My parents would prepare it the night before, and then they would let it cook while we opened our Christmas presents.  This dish is a delicious and filling breakfast option for any day when you know you’ll have a busy morning ahead.  Maybe you’ll want to try it for Thanksgiving or Christmas this year!

Sausage & Egg Casserole

Serves 4-6

Ingredients:

  • 6 eggs
  • 1 lb. sausage, cooked
  • 9 slices bread, without crust
  • 3 c. milk
  • 1 1/2 tsp. dry mustard
  • 1 1/2 tsp. salt
  • 6 oz. American cheese

Directions:

  1. Mix milk, eggs, mustard, and salt.
  2. Add cooked sausage and bread (cut up).
  3. Put in refrigerator overnight.
  4. Bake at 350 degrees for about 1 hour.

Enjoy!

(I’m linking up today with Tasty Tuesday! )

Before Cooking

Inexpensive Autumn Decor

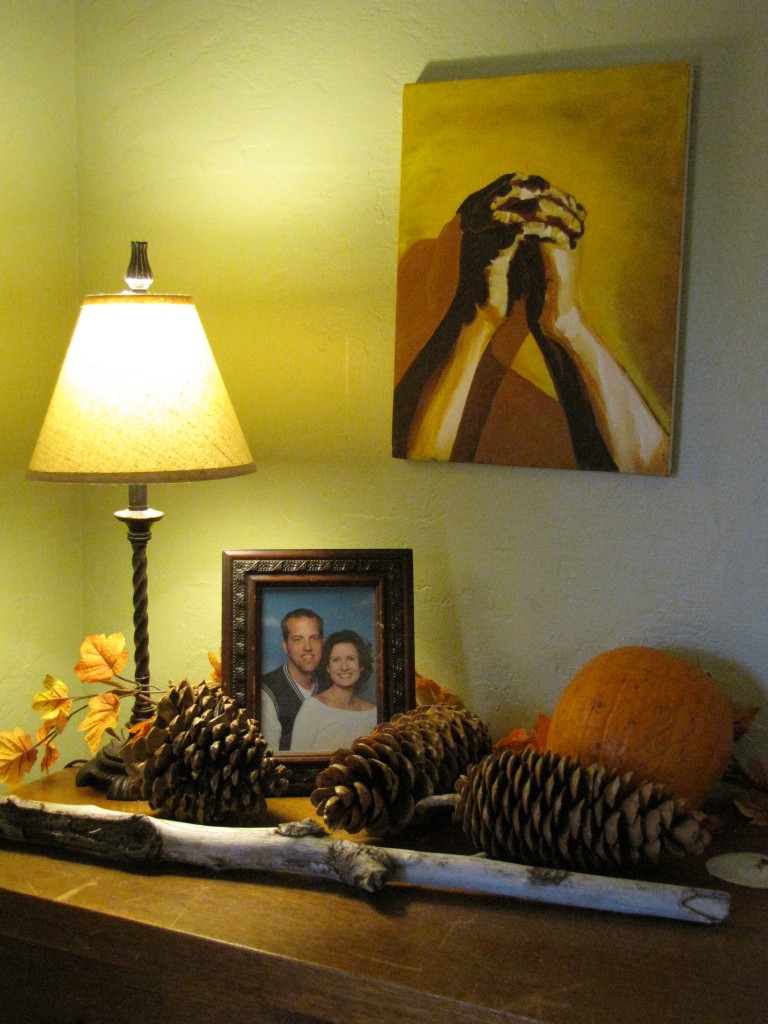
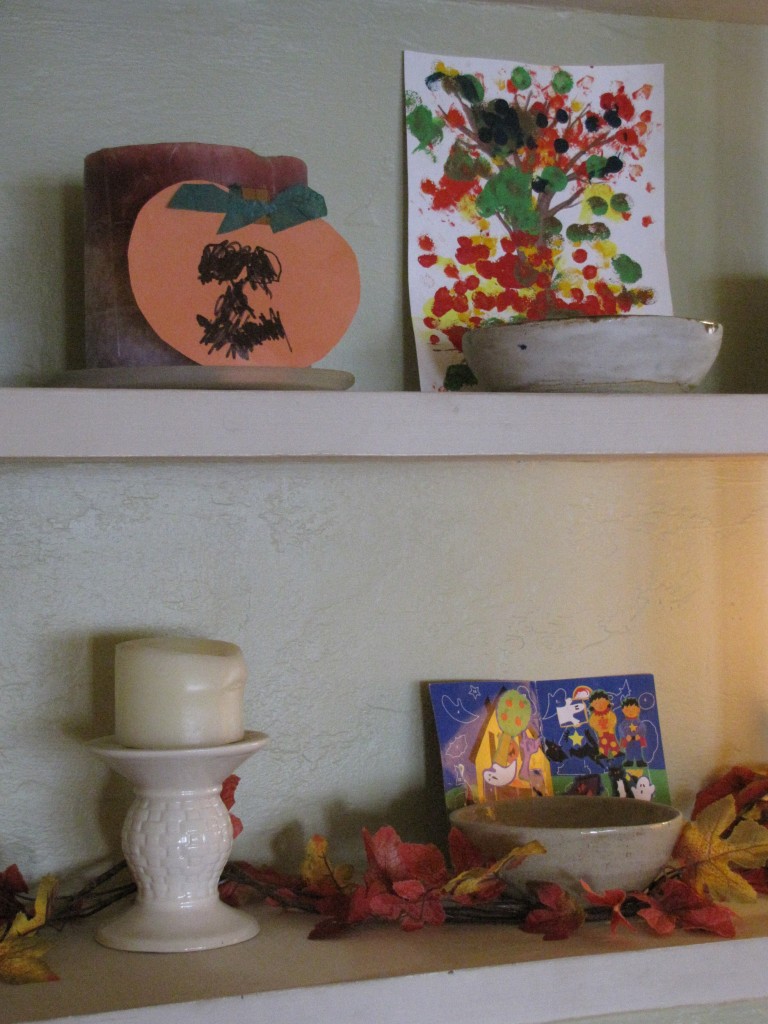
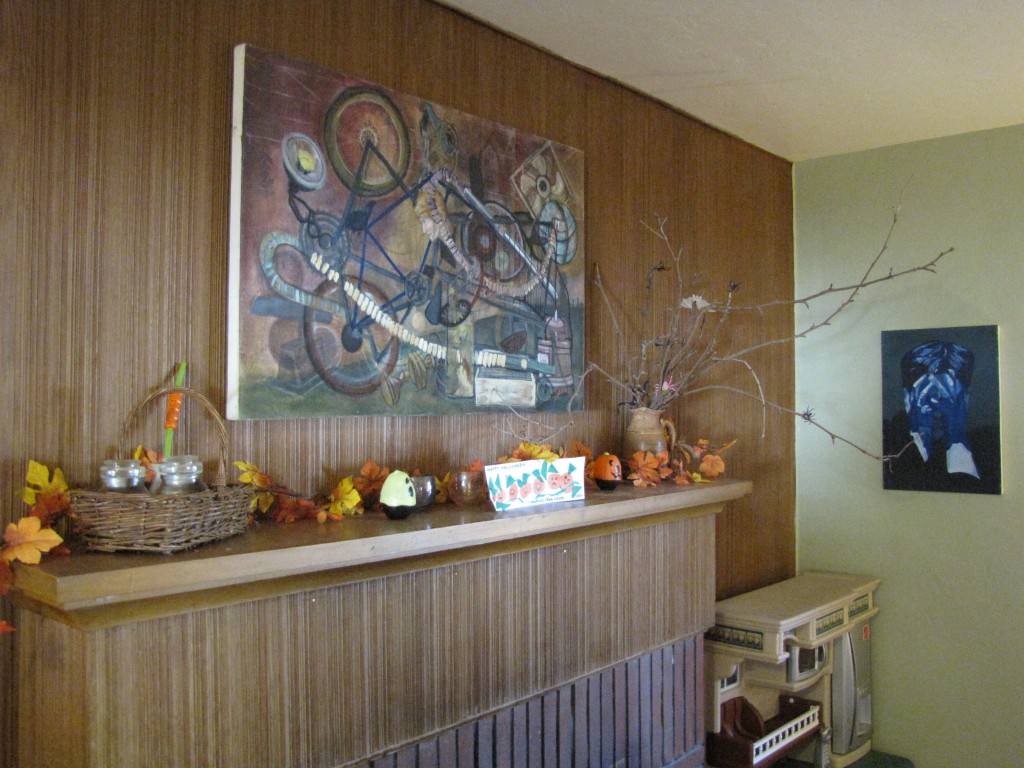
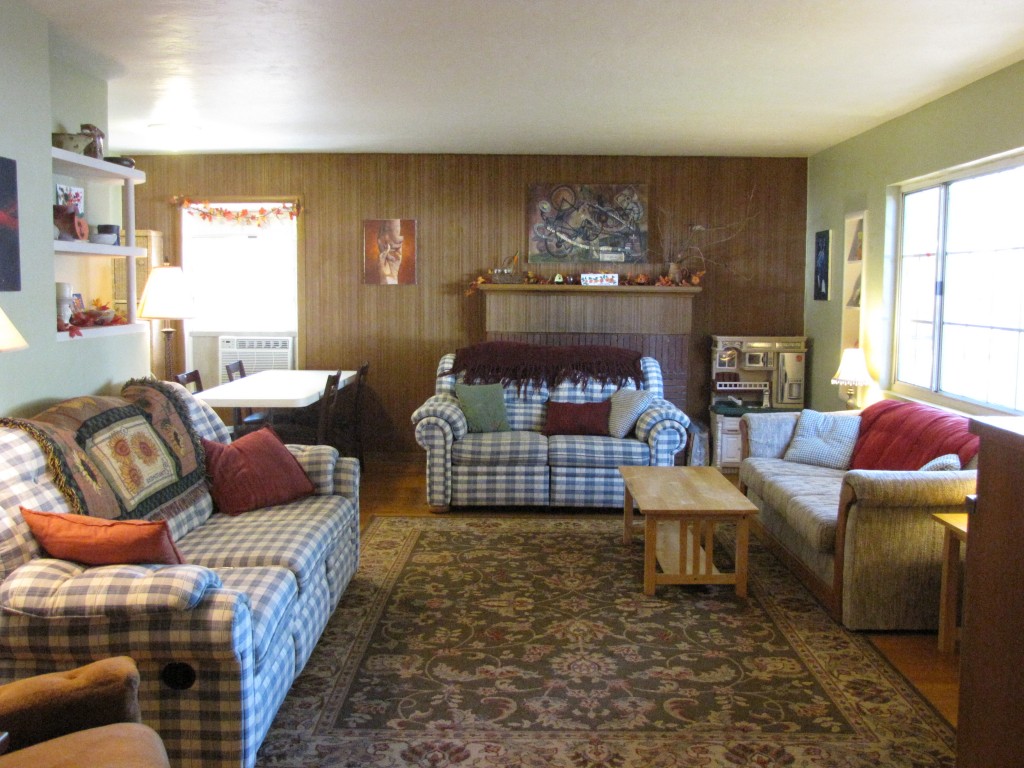
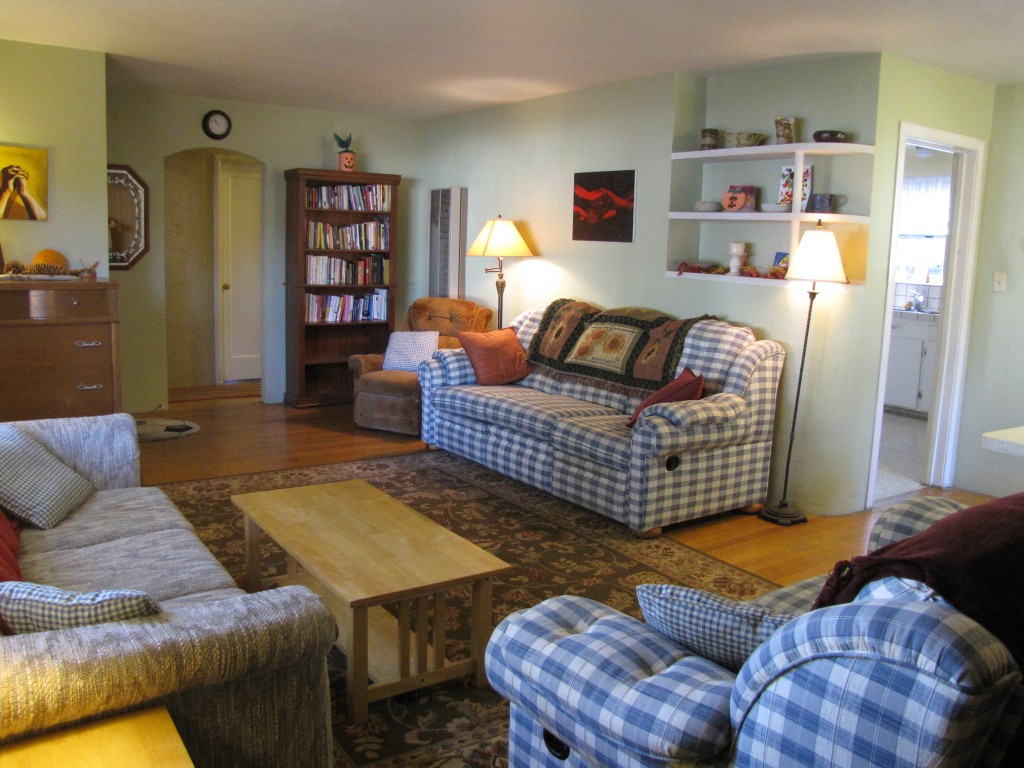
Last year we’d only lived in our new home about a month when I blogged about decorating my home inexpensively for autumn.  This year we’ve unpacked a little bit more, and we were able to decorate a little bit more.

1. Natural Beauty: During the last week of October my parents, sister, brother, and grandmother came to California for the first time!  My parents and grandmother gathered some driftwood, pine cones, sand dollars, and pumpkins while they visited, which ended up making an attractive arrangement on the dresser where they accumulated.

2. Children’s Fall Crafts: Naomi created these fall artworks!  You may remember the Autumn Tree Painting from last year.

3. Halloween Toys: Last year the kids received some Halloween toys from their grandmother, including the Jack-O-Lantern straw, candy dispensers, spider rings, and plastic snakes and bats on the mantel.  The Jack-O-Lantern artwork in the middle is another one created by Naomi.

4. Autumn Leaves: As you can see, I hung fall leaves from one of the windows.  The fall leaves around the room are leftovers from my art classroom, over 5 years ago!

5. Adult Fall Crafts: Here you can see the Coffee-Can Jack-O-Lantern on top of the bookshelves, which was a new addition this year.  All of the paintings you see on the walls were painted during my high school and college days.  I hung almost all of them the day before my family arrived in California!

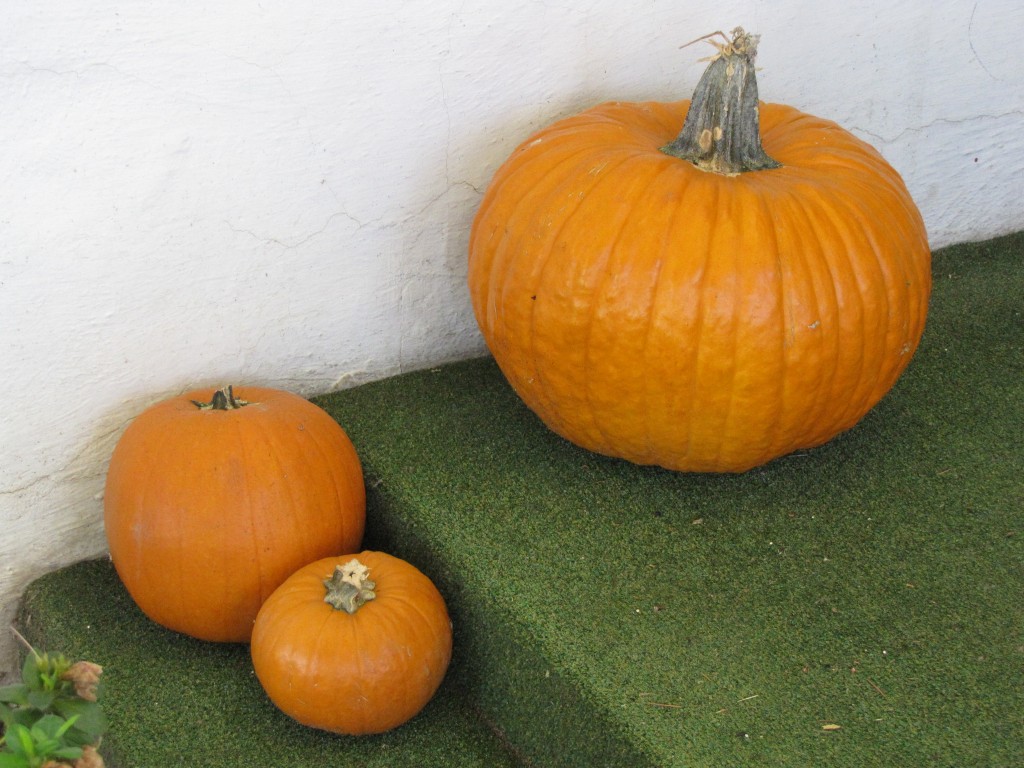
6. Pumpkins: Finally, I placed a few pumpkins on the porch that my parents purchased for us at the pumpkin patch.  We never got around to carving them, but this way they still look nice in November!

(Just in case you were wondering, the kids were in their room creating a royal mess while I took these photographs!  Thankfully they stayed away from the living room and porch just long enough…)

What ways have you found to decorate your home inexpensively for autumn?

Celebrating & Savoring A Simple Christmas: E-Book Giveaway!

The Book:

It has only been 3 weeks since Crystal Paine of Money Saving Mom released her 21 Days To A More Disciplined Life e-Book, and today she is releasing another new e-book!  Celebrating and Savoring a Simple Christmasbreaks down your biggest holiday frustrations into bite-sized pieces.  Crystal begins by creating a budget, and then follows it up with a manageable gift list.  She gives suggestions for affordable gift-giving, cards, gift-wrap, decorations, clothing, and cleaning.  She also addresses meaningful ways to spend the holidays on relationships and virtues.  If you’re looking for ways to simplify this holiday season, you will find this quick read both helpful and practical.

The Special Offer:

For the first 3 days, get Celebrating & Savoring A Simple Christmas for just $0.99!  On Friday November 16, the book will go to the regular price of $4.99, so buy it at the current low price while you still can!

The Giveaway:

I am also excited to give away 1 FREE copy of Celebrating and Savoring a Simple ChristmasPlease share 1way that you would like to simplify Christmas for your family this year in the comment area below before midnight on November 14.  I will choose 1 winner at random from the commenters, and then e-mail you your coupon code.


Toddler Tuesday: 3 Jack-O-Lantern Crafts for Halloween

I know, I know.  It’s a little late for Jack-O-Lanterns by now!  However, October was a busy month for us, and I never got to share some of the small crafts I did with Naomi for Halloween.

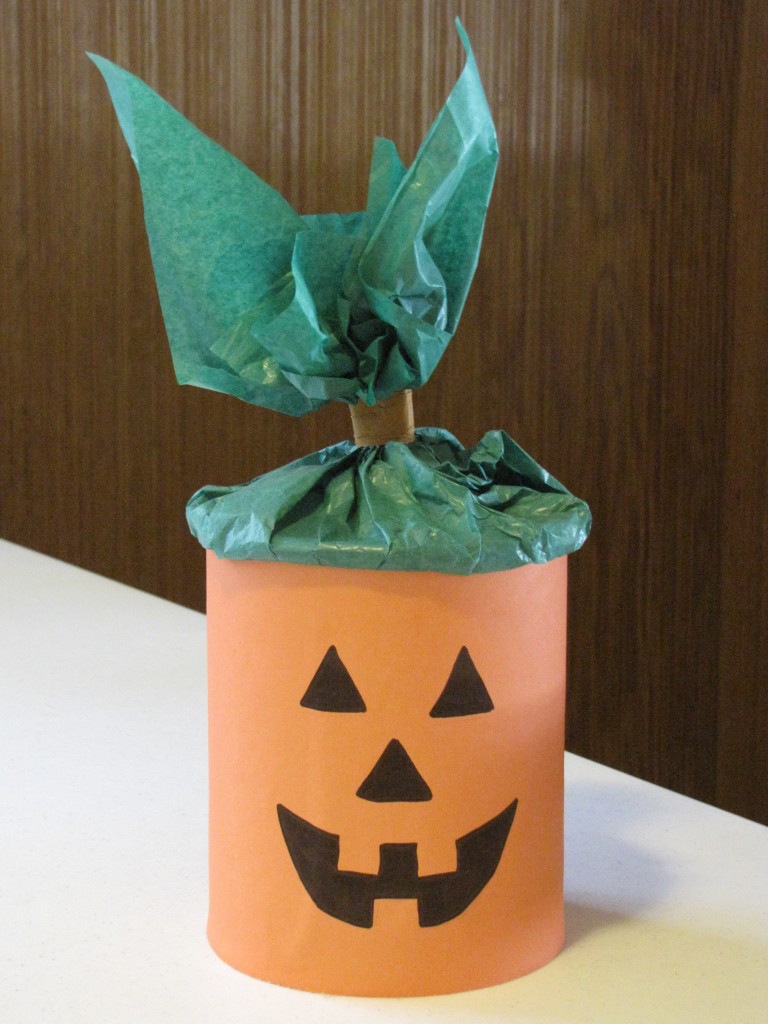
1. Coffee-Can Jack-O-Lantern: Honestly, Naomi didn’t get to help much with this one.  I wrapped a coffee can in bright orange paper, and glued it down using Elmer’s glue.  Then I wrapped the lid with green tissue paper, held together with a bread tie and small piece of brown paper.  Finally I drew a face on the front with a black permanent marker.  She watched the whole time, but I wasn’t sure how to involve her in the process.

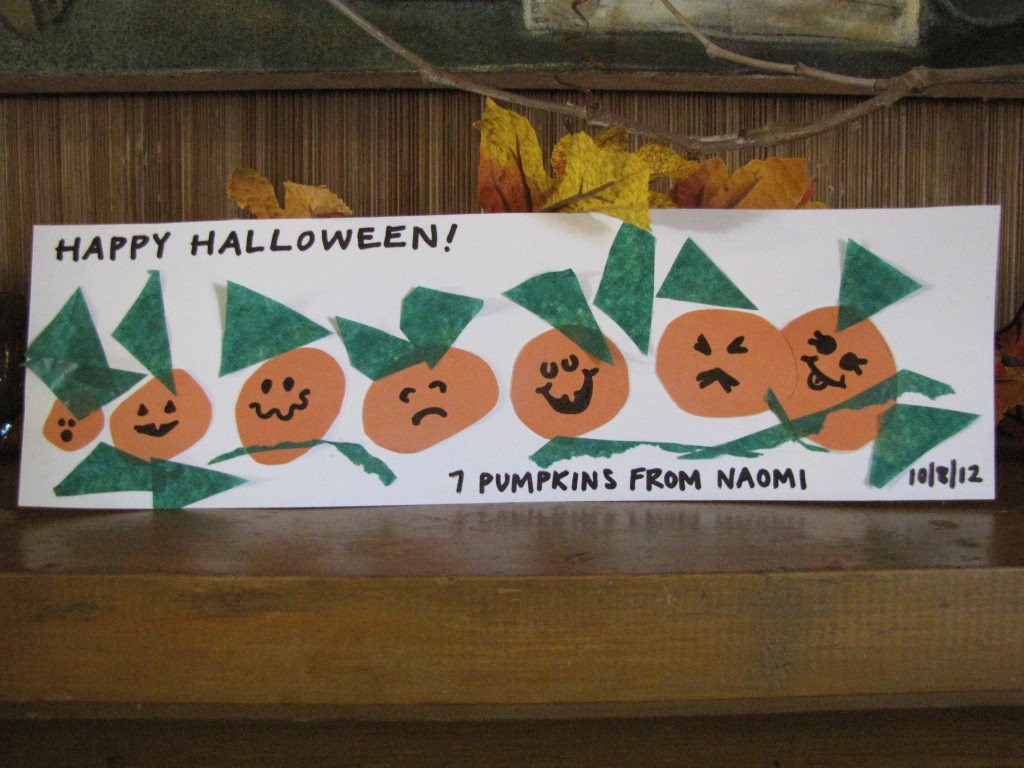
2. Pumpkins in a Row: I felt bad that Naomi hadn’t been able to participate in the first project, so I gave her a scrap sheet of white paper and cut out 7 round circles.  I had Naomi count them, and arrange them by size.  She glued them down with a glue stick, and then I cut triangles out of the green tissue paper for leaves.  We used green tissue paper scraps for the vines.  I drew the faces and added the words afterward.  She told me what expression she wanted on each.

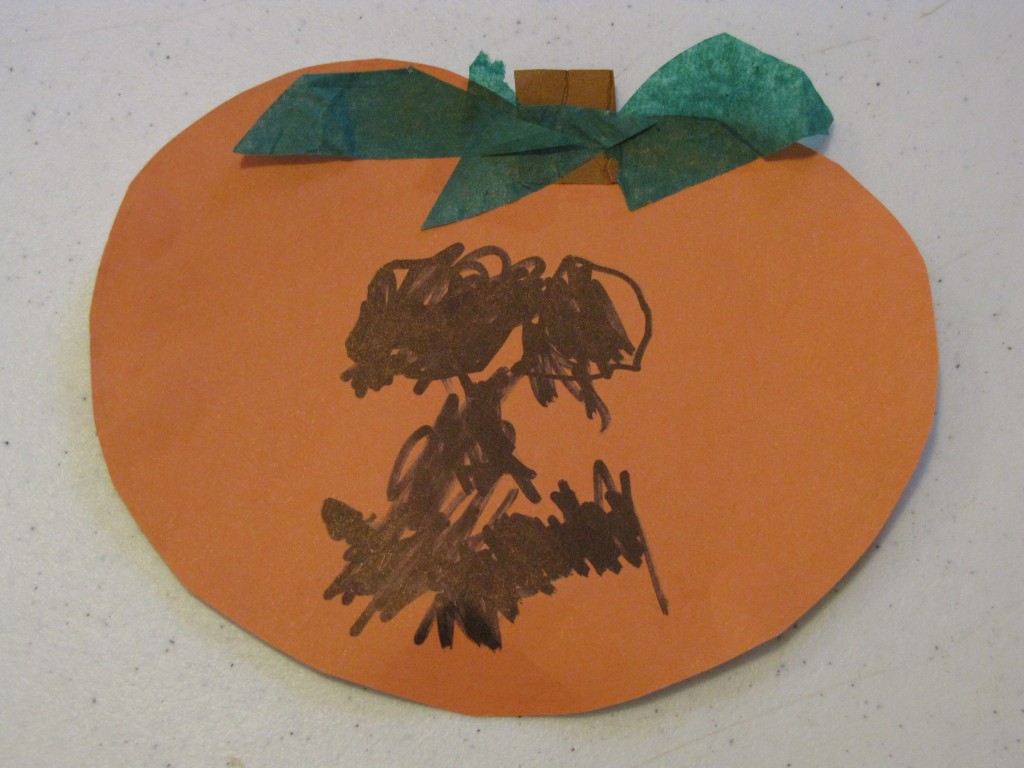
3. Paper Jack-O-Lantern: Naomi still wanted to make another Jack-O-Lantern, so I cut out another pumpkin shape.  I gave her a small brown square for the stem and a few pieces of green tissue paper for the leaves.  She told me what expression she wanted for the face, so I drew a basic outline for her.  Then she colored in the face with a black permanent marker.

What fun crafts have you enjoyed doing with your toddlers this autumn?

Tiny Prints: 10 FREE Holiday Cards!

Beginning right now through Tuesday 11/13 at 11:59pm PT, anyone, Republicans, Democrats, Independents, even Yankees fans, can get 10 Free Holiday cards from Tiny Prints. Below are all the details.

Offer: 10 Free Holiday Cards (A $24.00 value!)

Start date: Now

End Date: Tuesday, November 13 at 11:59pm PT

Promo Code: HOLIDAYCHEER

Limitations: Flat cards only – options charges will apply (rounded corners/paper options/envelopes options) and shipping charges will also apply. Regular shipping only costs $3.50 in the U.S.   If customers purchase additional items and spend more than $50.00, they will get FREE shipping using the same code, HOLIDAYCHEER.


Book Review: Belly Laughs, Don’t Sweat The Small Stuff About Money, & Organized Simplicity

Belly Laughs by Jenny McCarthy: When I picked this book up at the local library’s Used Book Sale, I had no idea who Jenny McCarthy was.  Had I known, perhaps I could have saved myself the trouble!  I do NOT recommend this book to Moms, expecting or otherwise.  McCarthy makes pregnancy sound terrible and terrifying, unlike the “laughs” indicated by the book’s title.  The author has no knowledge of pregnancy aside from her own personal experience.  After reading this book I was very concerned for her marriage which, I was not surprised to discover, ended a year after the book was published.  I was also concerned for her son, as her immaturity was evident on every page.  McCarthy is living proof that all the money, fame, looks, and exotic lifestyle the world has to offer cannot buy happiness or contentment.

I finished Belly Laughs in two days (thankfully) because I hate to leave books unfinished.  If there is any encouragement this book has to offer, it is that Jenny McCarthy is proof that ANYONE (with enough money & fame) can write a book, and have it published.

Don’t Sweat the Small Stuff About Money by Richard Carlson: As with the other “Don’t Sweat” books, this book is not so much about money as it is about a life philosophy.  Much like Dale Carnegie’s How to Stop Worrying and Start Living, it is about changing your attitude to change your circumstances.  This book has 100 chapters, each only 2-3 pages long.  It is quick read, with tips that are simple to understand and apply.  I enjoyed the optimism and enthusiasm of the book.  Although this book is not about the nuts and bolts of financial success, I think readers (like myself) on the road to financial freedom will find it upbeat and encouraging.

Organized Simplicity: The Clutter-Free Approach to Intentional Living by Tsh Oxenreider: I think this is the first book I have ever read on the subject of organization.  I LOVE to organize and live simply, but I’ve never been interested in reading books about the subject.  However, this book came highly recommended.  After reading Organized Simplicity, I now believe that Tsh Oxenreider and I are kindred spirits.  Long before we ever lived in China, I loved to simplify my life.  I knew that if God was going to call me somewhere or to do something, that I didn’t want to be hampered by disorganization, excessive possessions, or (now) debt.  Tsh’s family went through a similar simplifying process as they packed up and moved to a foreign country, taking only 15 boxes with them on the airplane as they started their new life.  Her love for simplicity in life, purpose, time management, finances, possessions, and home is very similar to my own.  If you are longing for a more intentional life that is less cluttered (making more room for relationships, improved health, improved finances, and an improved environment) , then I would highly recommend this simple and thought-provoking  how-to book.

Powered by WordPress | Designed by: Online Games | Thanks to DJ, Games and Addicting Games