Toddler Tuesday: Free & Easy Toddler Toys

You don’t have to be around a toddler for long to realize that the price you pay for their toys does not matter to them.  They unwrap a toy, and then show greater delight in the toy’s packaging!  They also disregard their own toys to dig through your personal belongings when you’re not looking.  What’s a parent to do?

Here are a few suggestions for some free and easy toddler toys.  No assembly required!

  1. Empty Plastic Spice Containers make an excellent addition to your toddler’s kitchen set.
  2. An Empty Dish Soap Bottle and Plastic Cups make great bath tub toys!
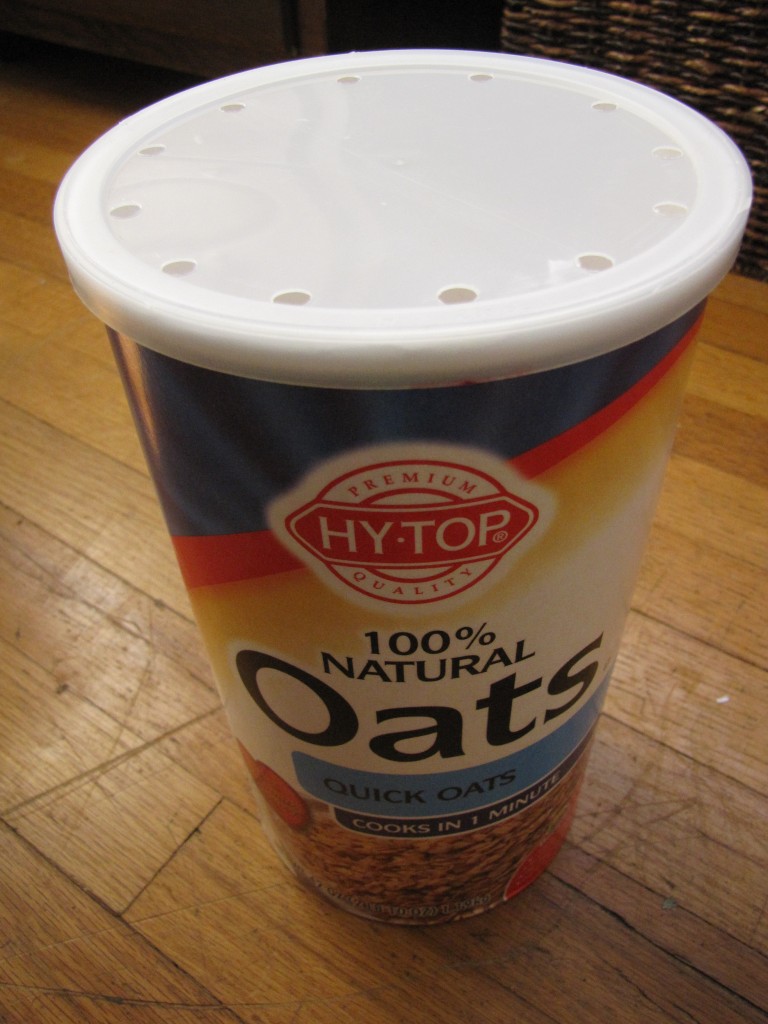
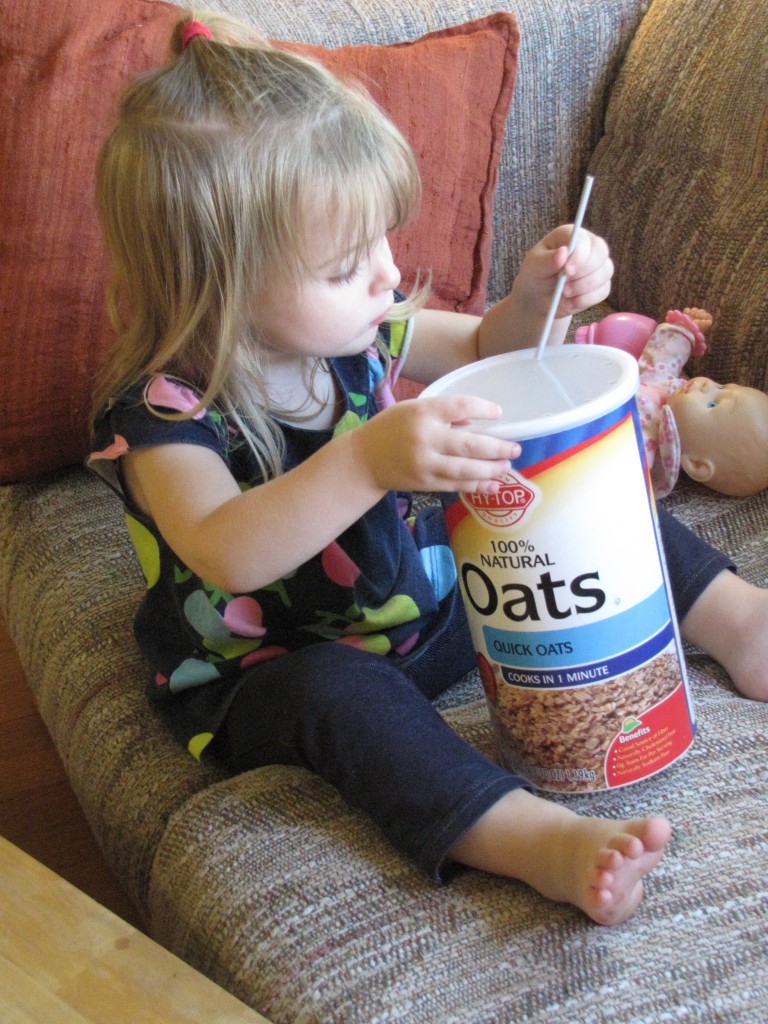
  3. Try the Oatmeal Container Toy I made recently for Naomi.  (Okay, some assembly required).
  4. Paper and A Pen can be used for coloring when you forget her crayons and coloring books.
  5. Disposable Paper/Plastic Cups can be used for stacking, noise-making, or lining-up.
  6. Empty Canisters can be used for emptying and filling.
  7. Empty Plastic Peanut Butter Jars can be used for screwing and unscrewing.
  8. Pots, Pans, Bowls, and Spoons are great for noise-making.
  9. Old Clothes are perfect for dress-ups.
  10. Wine Corks can be used as paint stamps for little fingers.
  11. Cardboard Boxes are ready-made houses, treasure-chests, hiding places, and more.
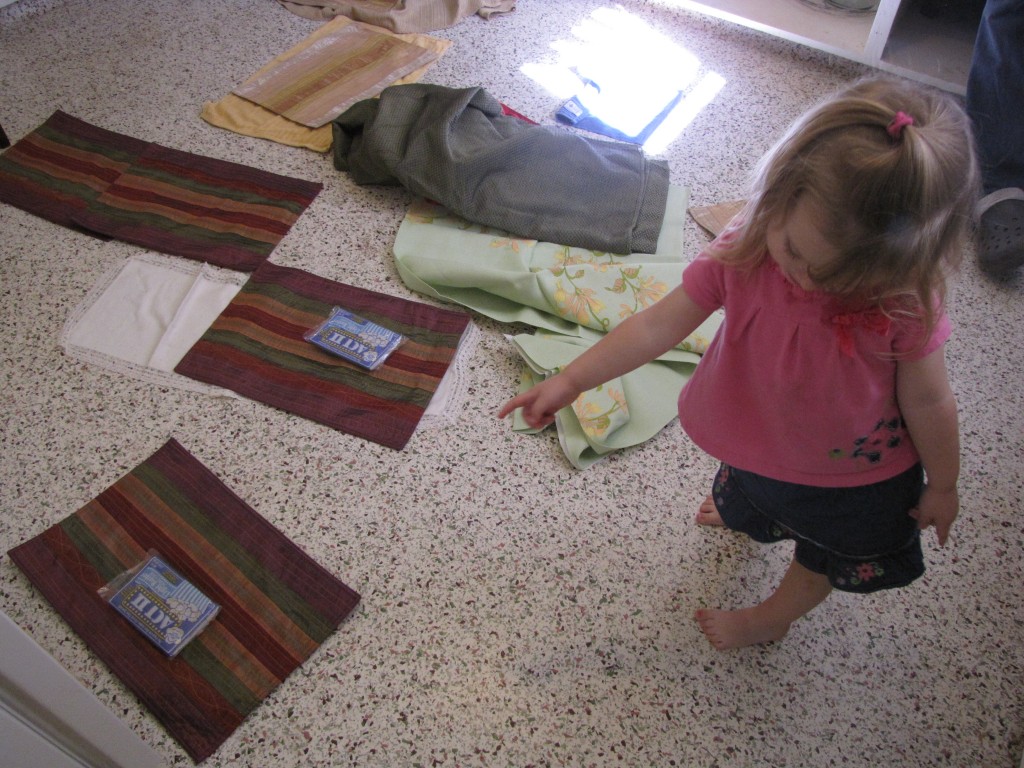
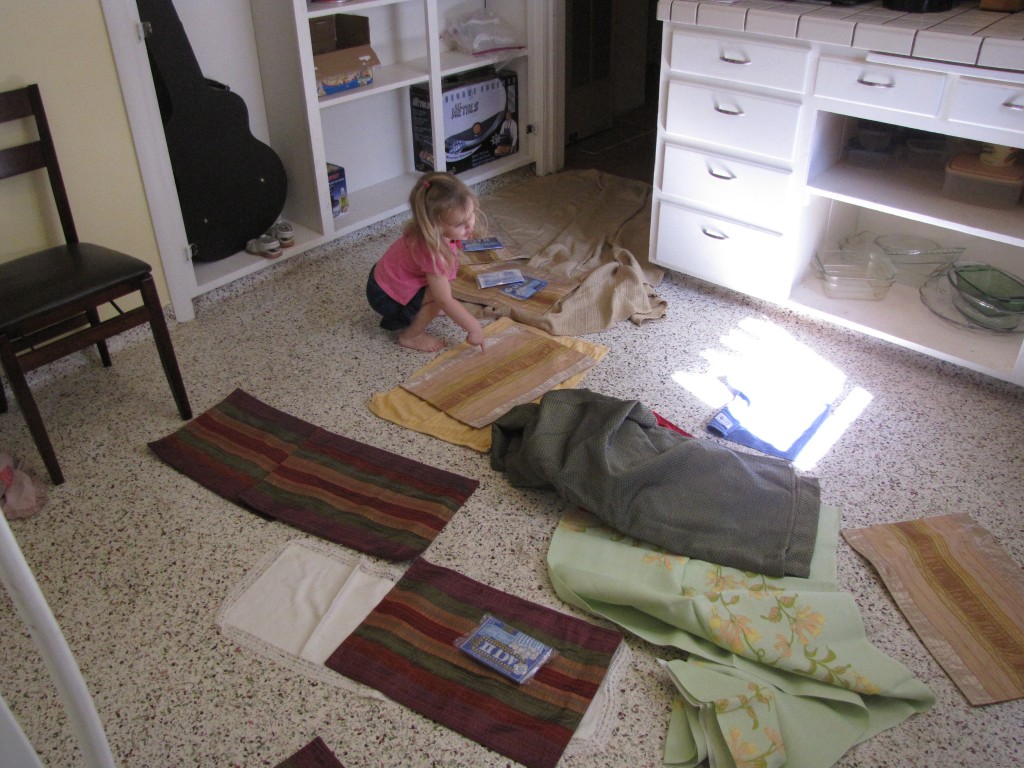
  12. Blankets, Table Clothes, and Place Mats can be used for picnics and forts.

In the photos above, Naomi pulled out our place mats, designating each one a bed for one of our family members or friends.  She walked around the room telling me who was sleeping on each bed.  Many of them also had an unpopped bag of popcorn to munch on.

What kinds of free and easy toys does your toddler enjoy?

A Frightfully Frugal Halloween

On Saturday evening our family got dressed-up for Trunk-Or-Treat at a local church.  As usual, we tried our best to find creative ways to save money for the holiday.
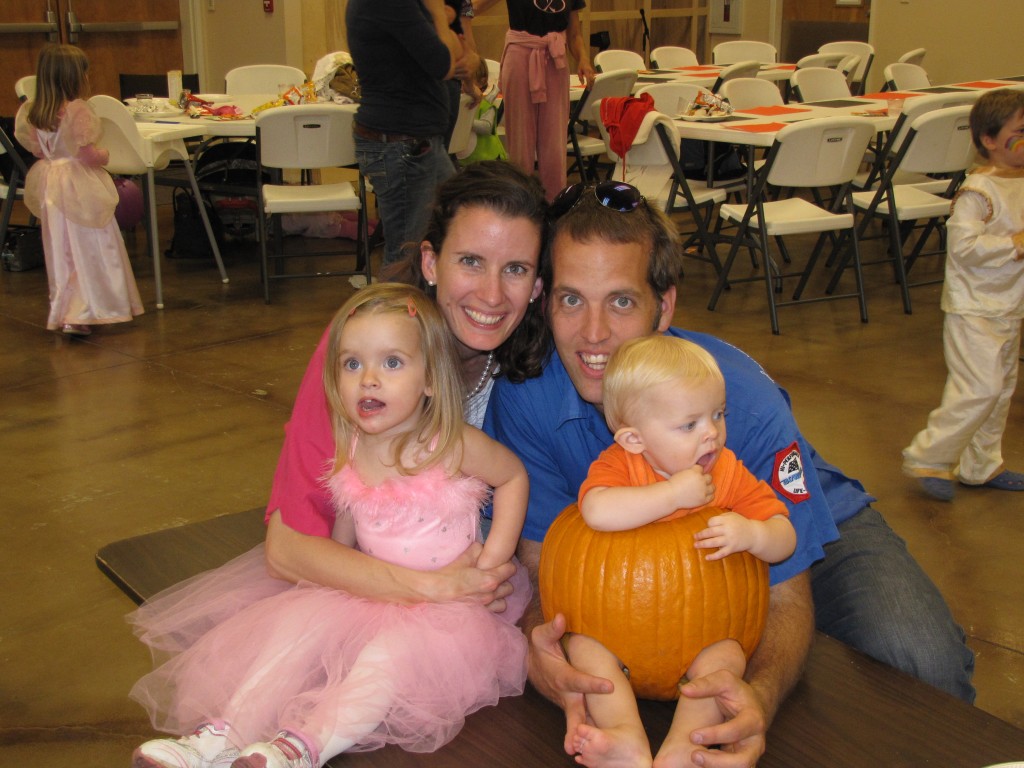
Naomi’s Cinderella Costume:

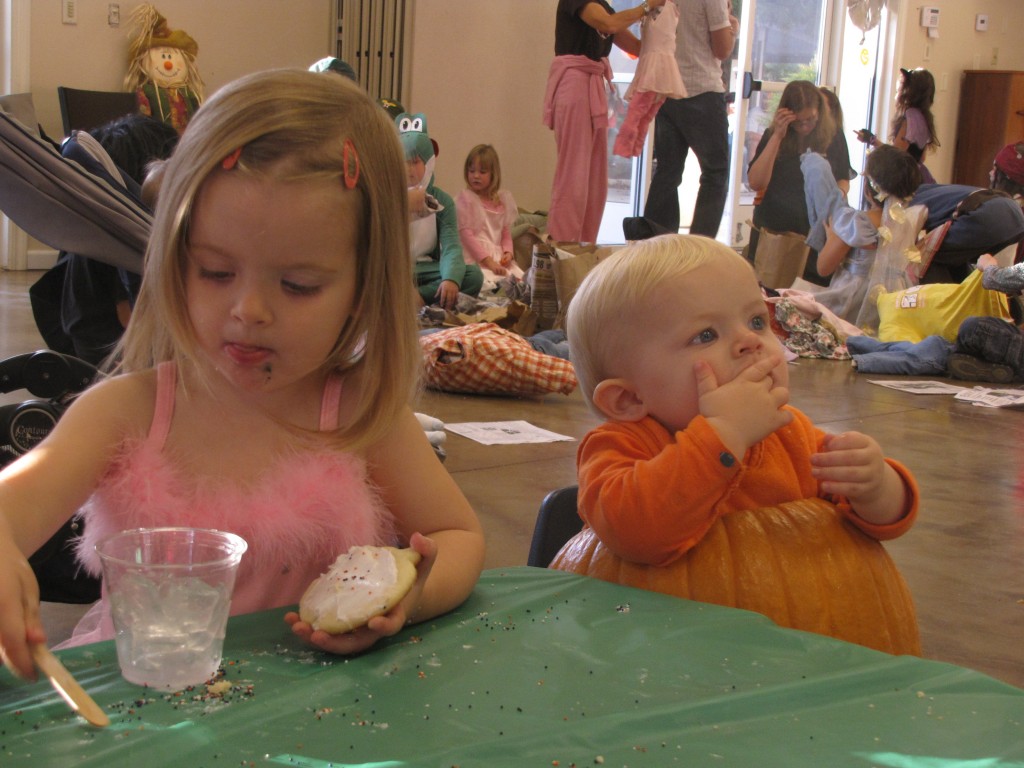
Naomi’s dress was hand-me-down from another family, and the same dress she wore last year.  I bought a $0.25 tiara at a yard-sale but, as expected, she refused to wear it.  I’m just glad she left her barrettes in all evening!

Oliver’s Pumpkin Costume:

The pumpkin Oliver is seated in cost $5.00 at Winco.  I carved it like a jack-o-lantern, using my hands to measure his waist and legs to be sure the holes were large enough for him.  I wish I could take credit for the idea, but I spotted it on Pinterest a few weeks ago!  His shirt is an orange onesie, turned inside-out (to hide the football pattern).  Together, they were Cinderella and her pumpkin.

Halloween Party:

Brad and I were not aware that there was an entire Halloween party prior to Trunk-Or-Treat!  The church offered free face-painting, play-dough molding, paper-pumpkin crafts, scarecrow decorating, a mini obstacle course, cookie decorating, and even a haunted house designed by the youth group.  A dinner of hot-dogs, chips, and drinks was also served.  Our kids were especially fond of the cookie decorating.

Brad’s and My Costumes:

Brad’s Grandpa was in a Bowling League for many years, so we wore matching bowling shirts with “Roy” embroidered on the front.

Trunk-Or-Treat:

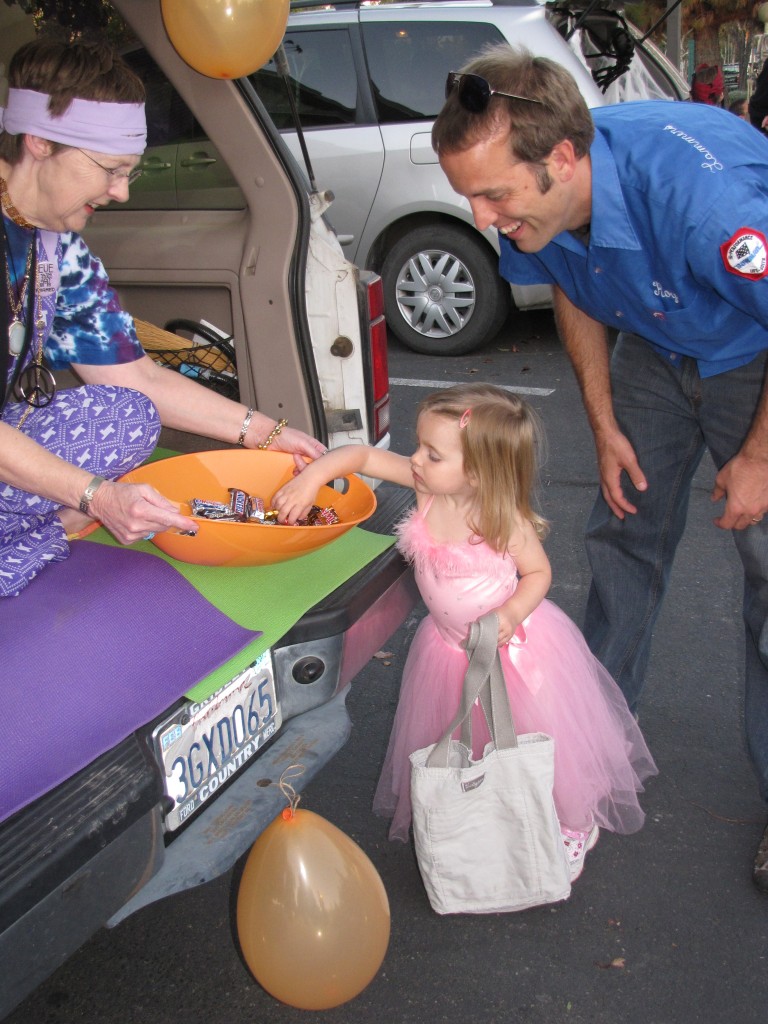
There were only about ten cars decorated for Trunk-Or-Treat, but that was just right for Naomi and Oliver.  Brad walked from car to car with Naomi, admiring the decorations and asking “Candy, please?”  I pushed Oliver in the stroller and snapped photos.

The kids were exhausted when we got home, and both slept an hour later this morning!  Yeah!

How did you save money while celebrating Halloween?

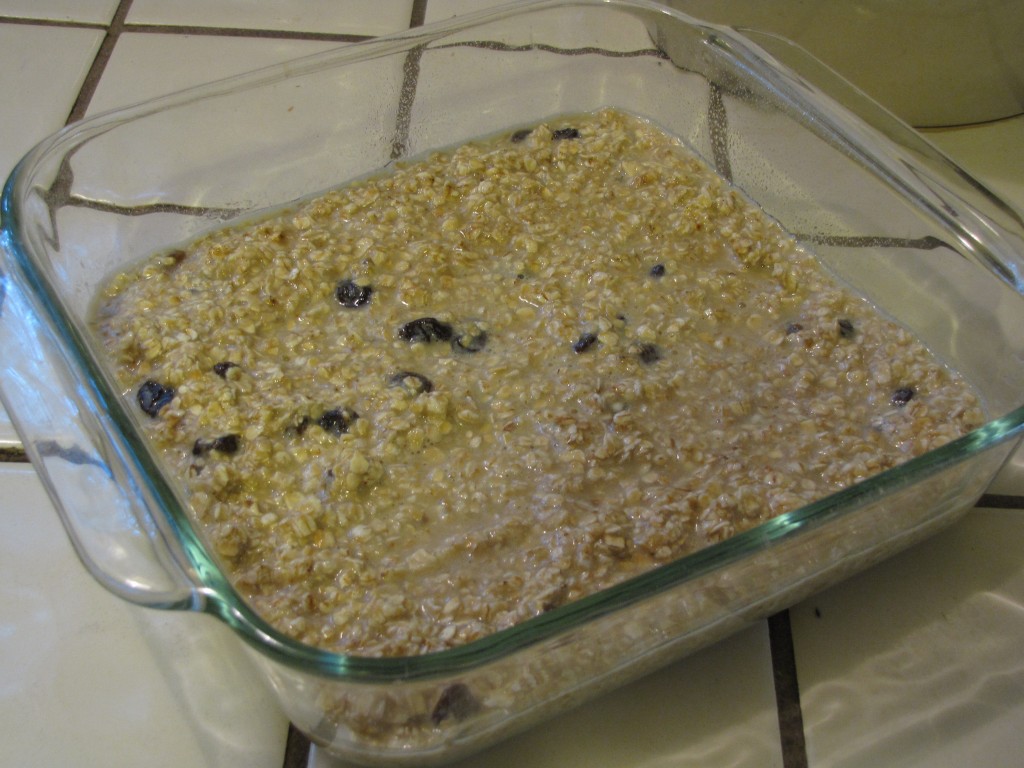
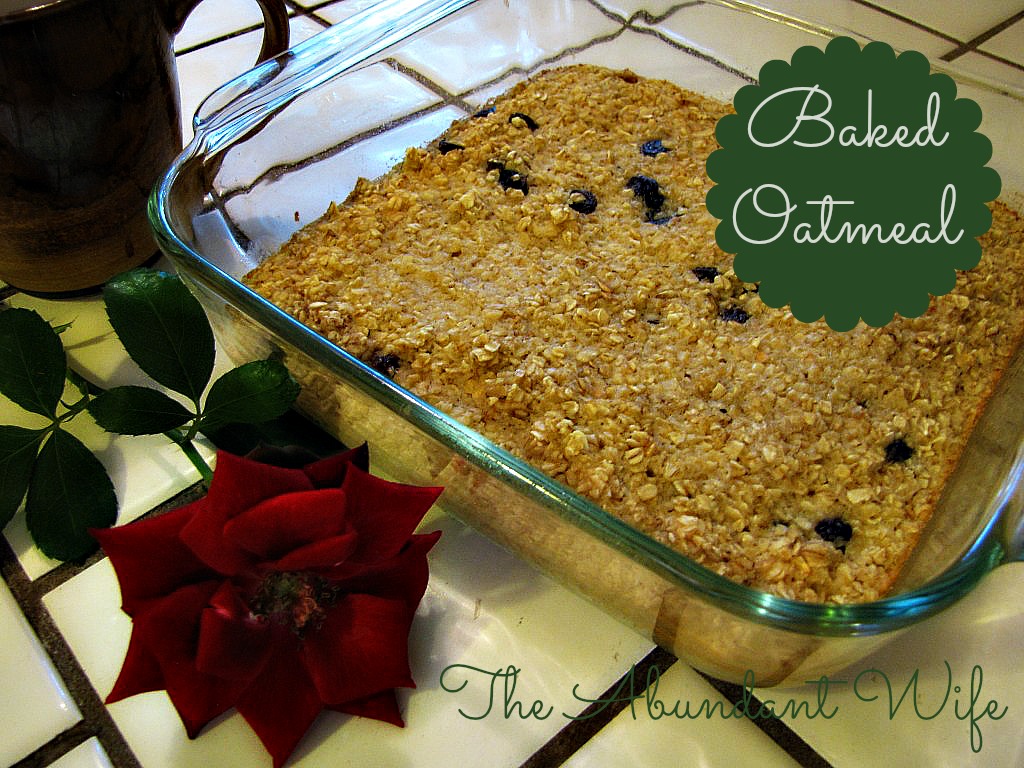
Baked Oatmeal

At our house we usually eat oatmeal for breakfast, but occasionally I will mix things up with eggs, french toast, pancakes, waffles, or cereal.  I was looking through Simply in Season for some new recipes, and I found this great one for Baked Oatmeal.  We’ve had it twice now, with and without nuts, and it’s been great both times!  Everyone in our family ate it all, and wanted more.  It’s not too sweet, and I threw a little cinnamon over it the second time I made it.

The recipe suggests speeding up prep time by mixing the ingredients the night before, then combining them in the morning.  Leftovers can be stored and eaten later.  One of the things that I really like about it is that it uses ingredients that I usually have in the kitchen already.

Dry Ingredients:

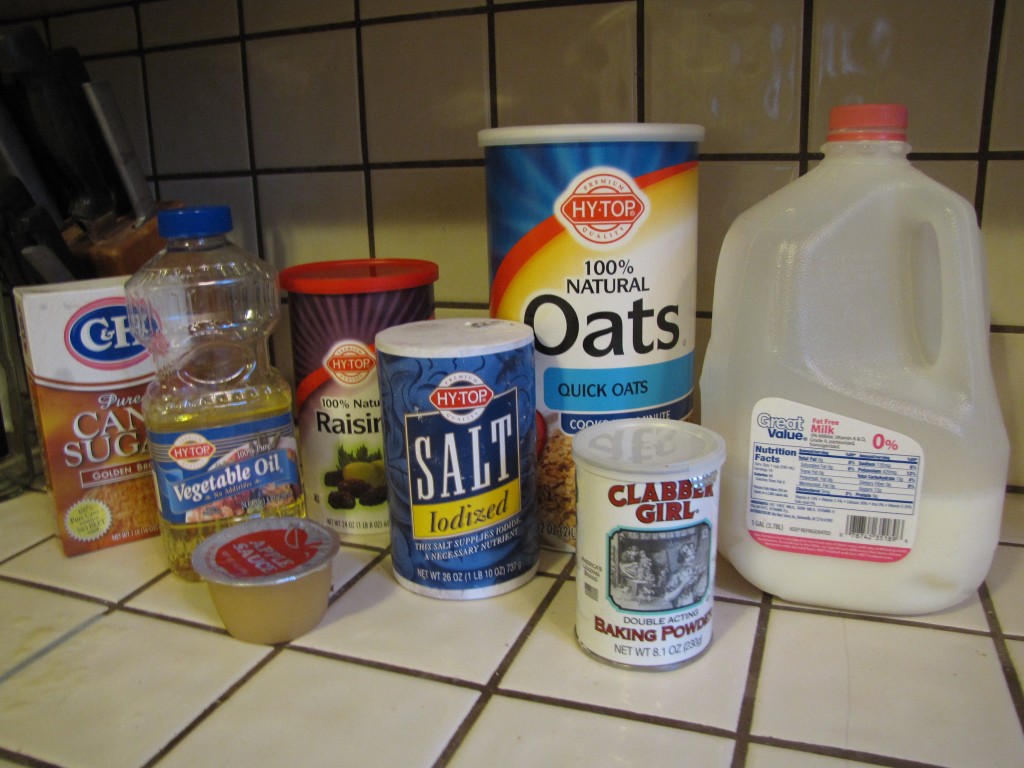
  • 2 cups / 500 ml rolled oats
  • 1/3 cup / 75 ml brown sugar
  • 1 tsp baking powder
  • 1/3 cup / 75 ml raisins (or other chopped dried fruit; optional)
  • 3 Tbsp chopped walnuts (optional)

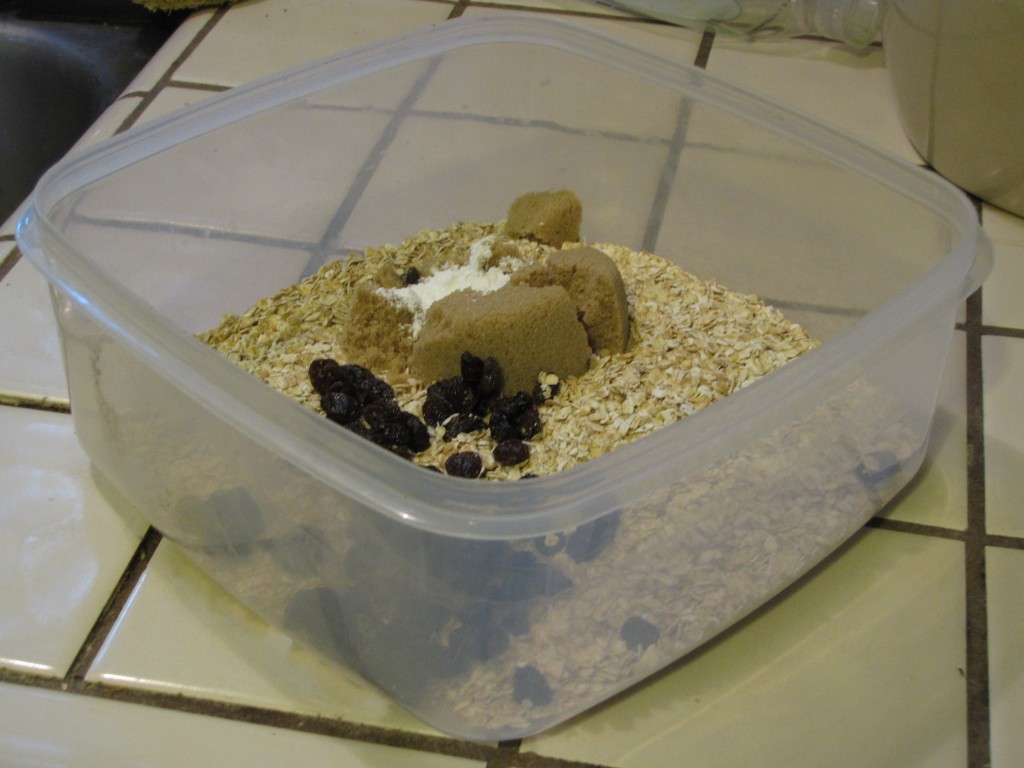
Combine in a medium bowl.

Wet Ingredients:

  • 1 cup / 250 ml milk
  • 1/2 cup / 125 ml applesauce
  • 2 Tbsp oil
  • 1 egg (beaten)

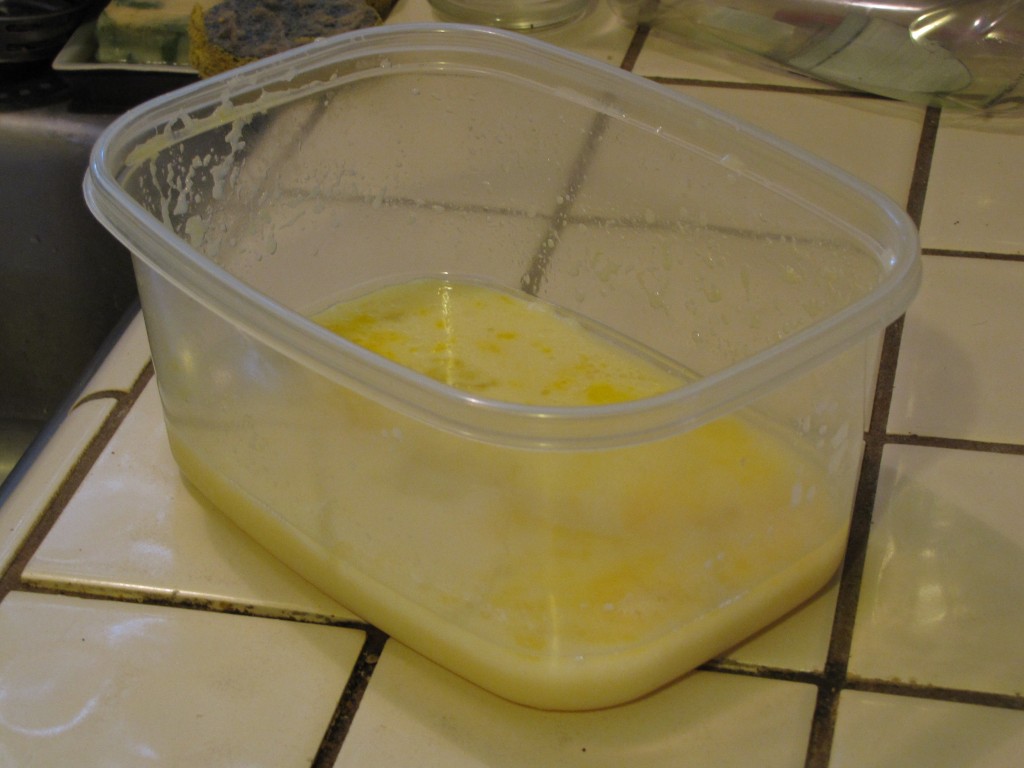
Combine in a separate bowl.  Add to oat mixture; stir well.

Pour into a greased 8 x 8-inch / 2-L baking pan.  Bake in preheated oven at 350F / 180C for 25 minutes.  Serve warm with milk.

Baked Oatmeal Recipe: This delicious breakfast dish is a family favorite!  Make it the night before, and serve with milk.  Yummy!

What are some of your family’s favorite breakfast foods?

10 Things I Learned From My First Attempt at Freezer Cooking

“I have been following Money Saving Mom® for over a year now, and I have long been curious about the concept of Freezer Cooking. As I was creating my meal plan for this week, I looked on Crystal’s website for some Freezer Cooking Recipes. It was then that I realized that her recipes were not all that different from recipes that I already use. This was a new idea to me!”

Read the rest of my guest post on Money Saving Mom here!

Have you ever tried freezer cooking before?  What were some of the pros/cons that you observed?

Freebie Friday!

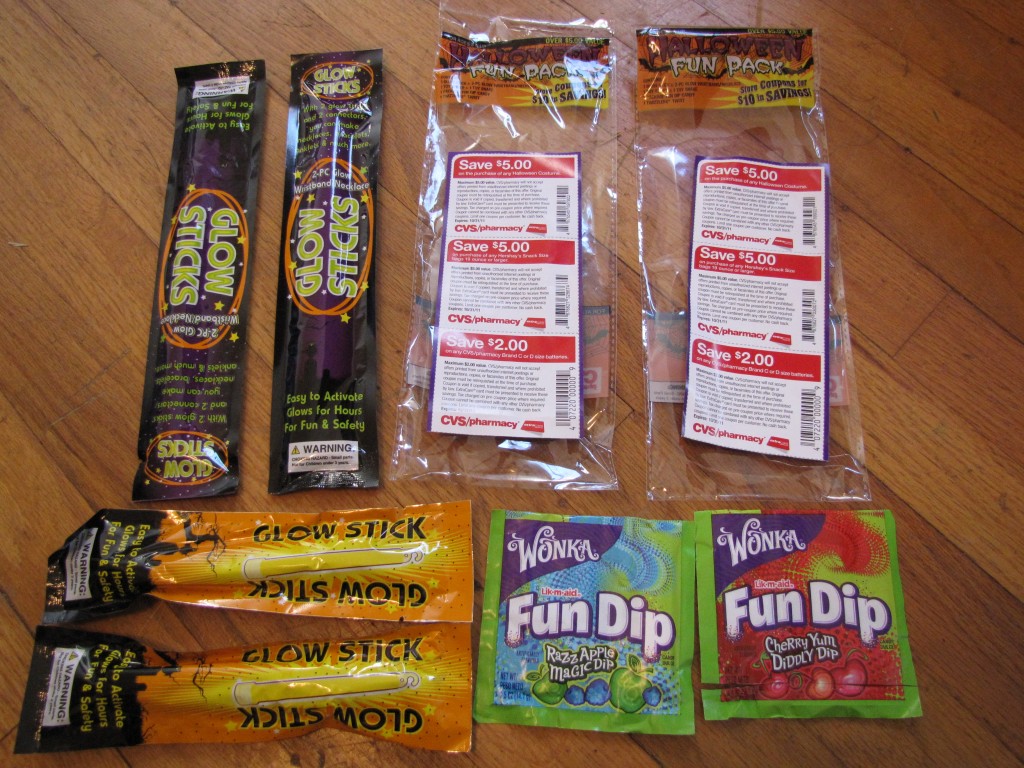
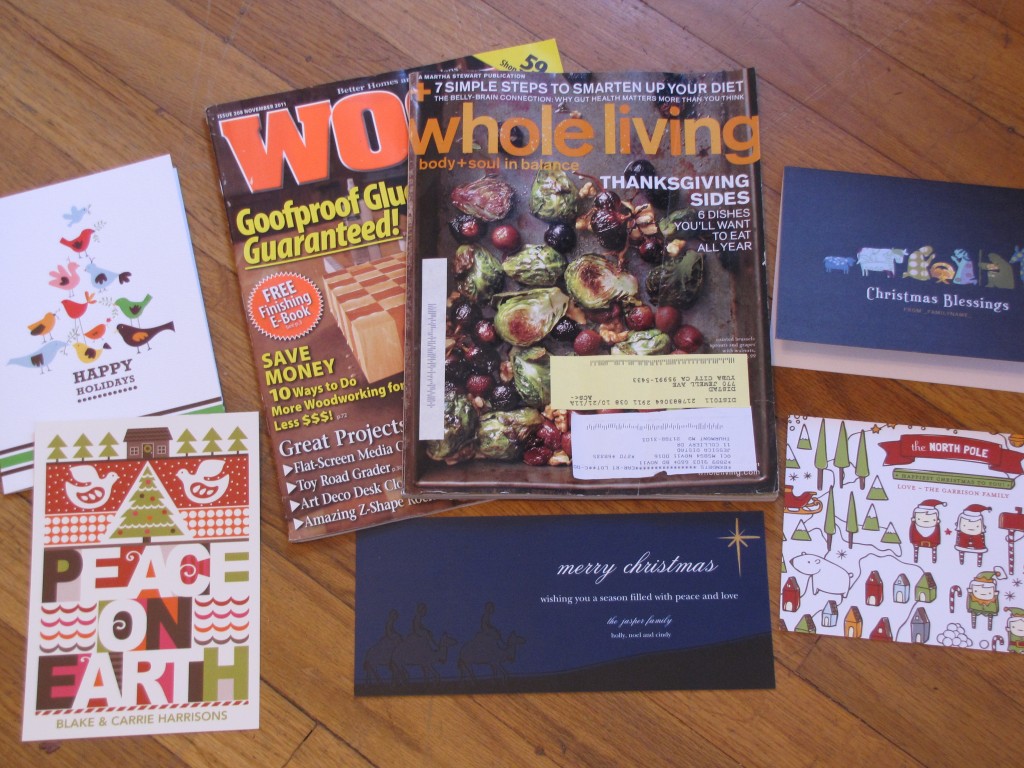
This turned to be a great week for freebies!  I took photographs mid-week hoping to clear off my desk, and by the next day there was a new pile on my desk!  Here are some of the great freebies we received:

Free Stuff from Halloween Fun Packs (2) at CVS Register:

  • Glowsticks
  • Fun Dips
  • Twizzlers (already eaten!)
  • $12 of coupons

Free Stuff from Walgreens:

Free Stuff in the Mail:

What freebies have you received this week?

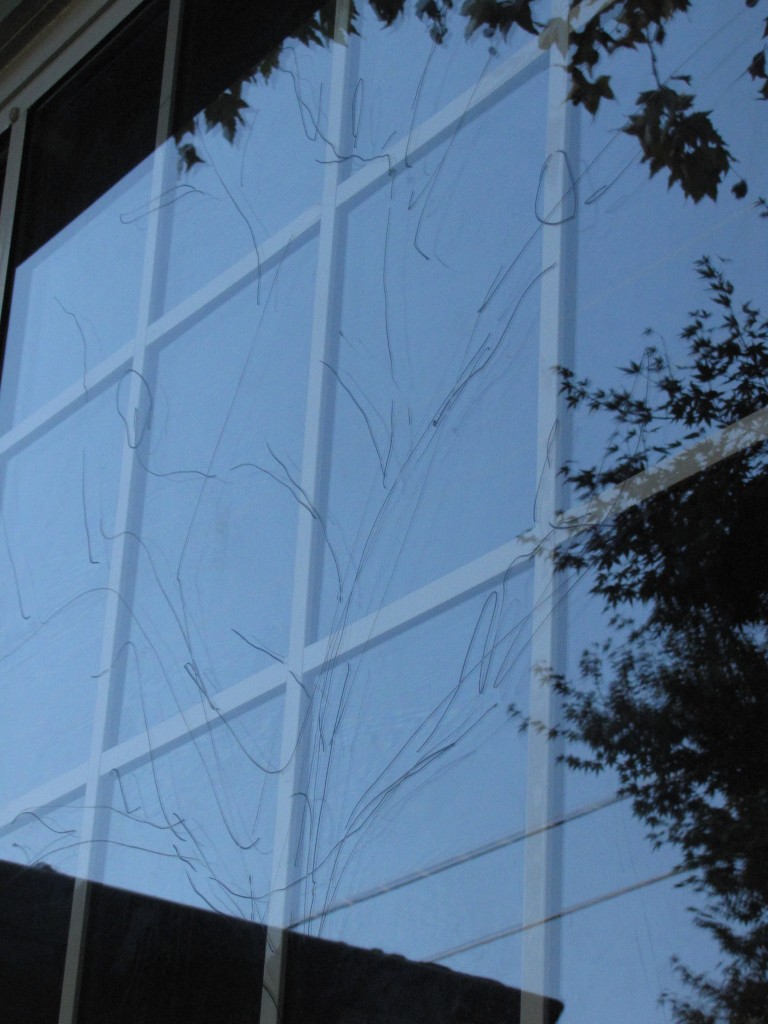
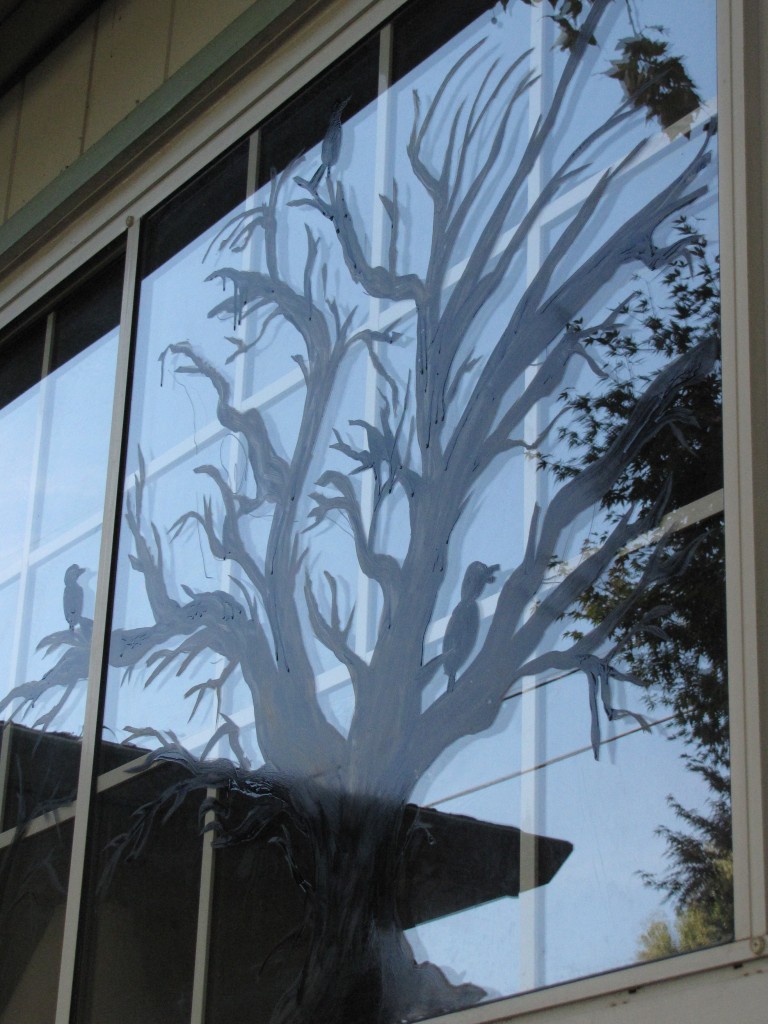
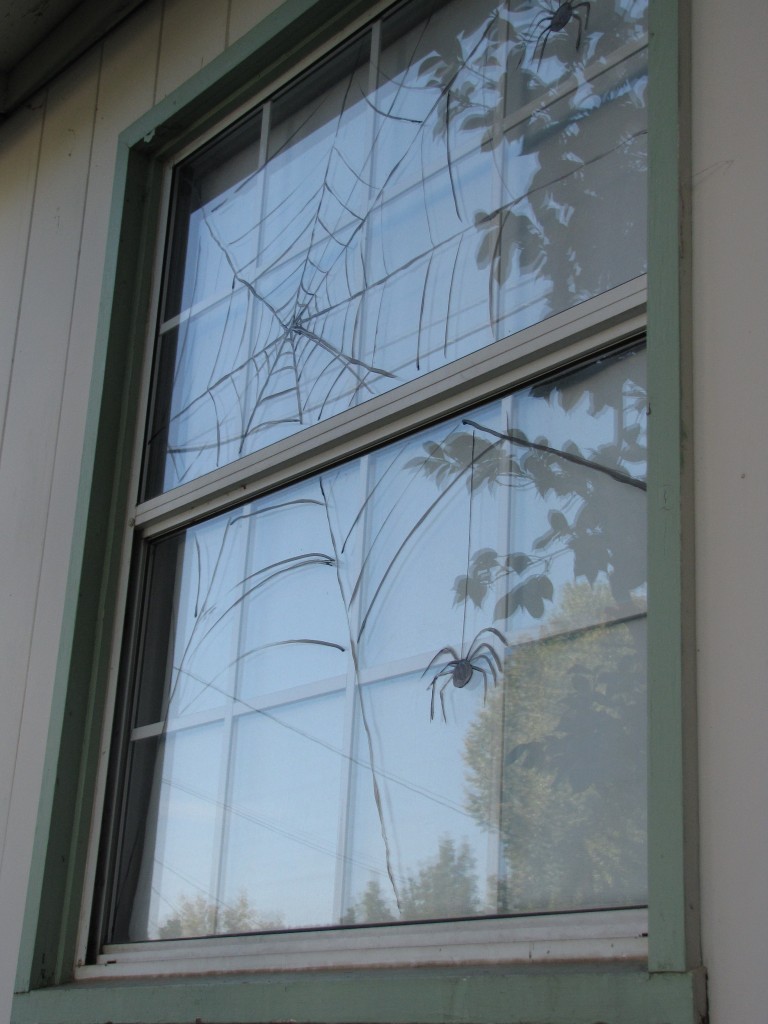
DIY Halloween Window Painting

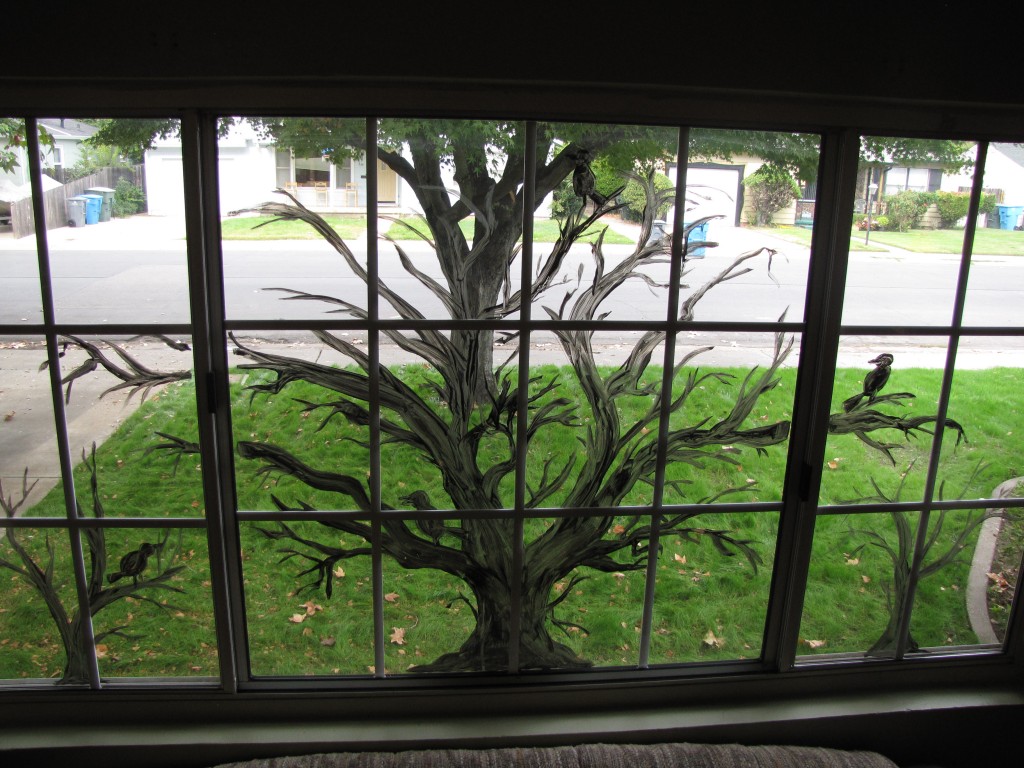
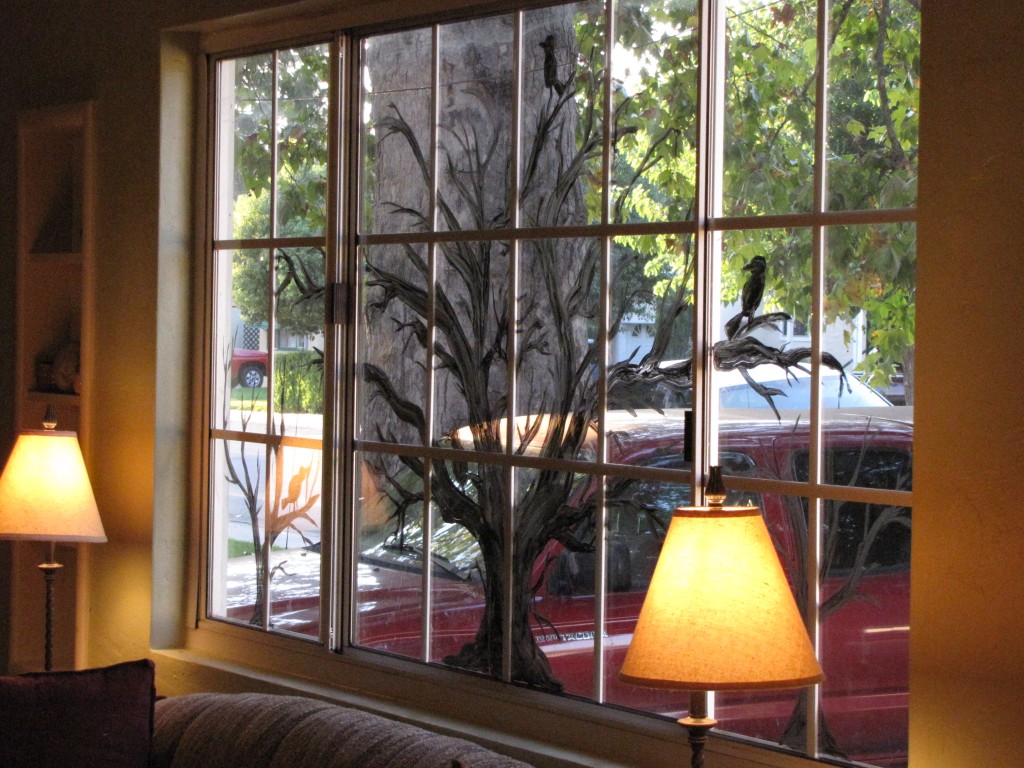
Two years ago I was asked to help paint the windows of a store-front at Christmas with some friends.  So when I saw these windows on Pinterest, I figured I could try a little “DIY” painting on our windows instead of buying decals or yarn.

Materials:

  • Step-Ladder
  • Window-Cleaner
  • Dry-Erase Markers
  • Picture (of what you want to draw)
  • Paper Plate
  • Brushes
  • Black Acrylic Paint (from any craft store)
  • Water/Washcloth

 DIY: Halloween Window Painting

  1. Use your step-ladder to climb on up and wash the surface of the window you will be painting.  You might as well wash the other side too while you’re at it!

2. Choose a simple image.  This is a silhouette, so if it’s too complicated you won’t be able to identify what it is.

3. Put your picture where you can see it while you sketch on your windows with the dry-erase markers.  I prefer using the same color as my paint, but work with what you’ve got.  If you make a mistake, just wipe it off and do it again!

4. Squeeze your black paint on to a paper plate.  Put a little paint on your brush, but not too much or it will drip.  Fill in your drawing, working from large to small.

5. Touch up any mistakes with your washcloth.  Throw away your paper plate.  Wash up your brushes in the sink.  You’re done!

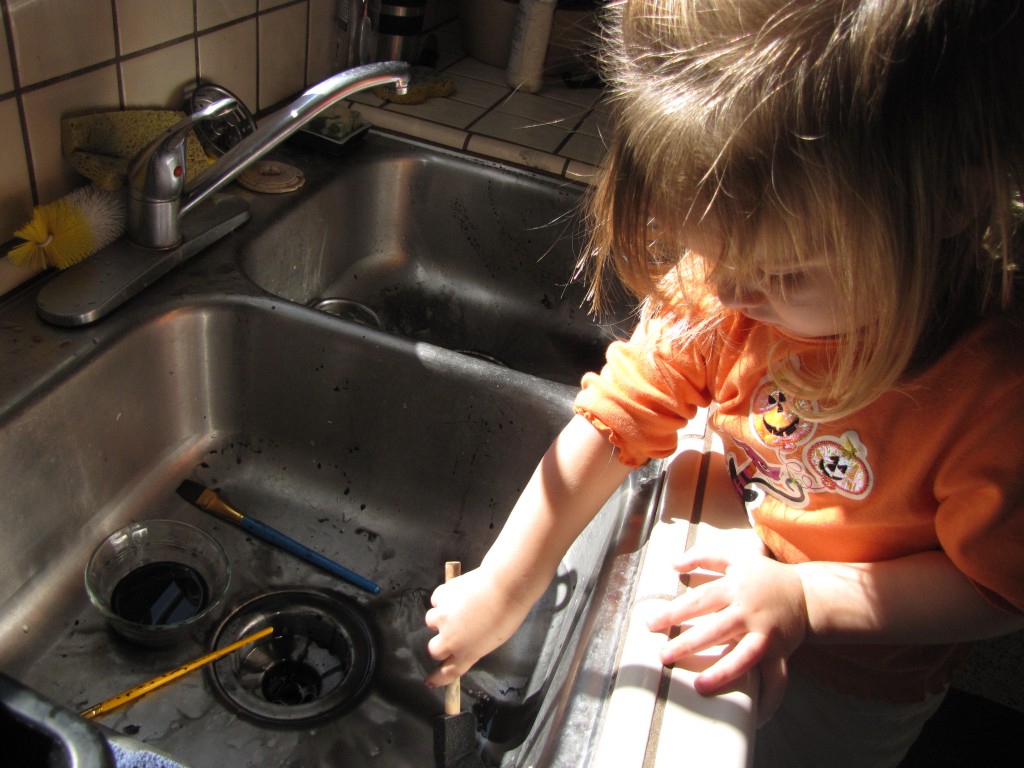
A nice side benefit of painting was that Naomi really enjoyed “painting” in the sink with the black water.  🙂

Here is the finished view from above…

…and the finished view from across the living room.

What kinds of DIY projects have you done for Halloween, this year or in past years?

Q&A Wednesday: How can I decorate my home inexpensively for autumn?

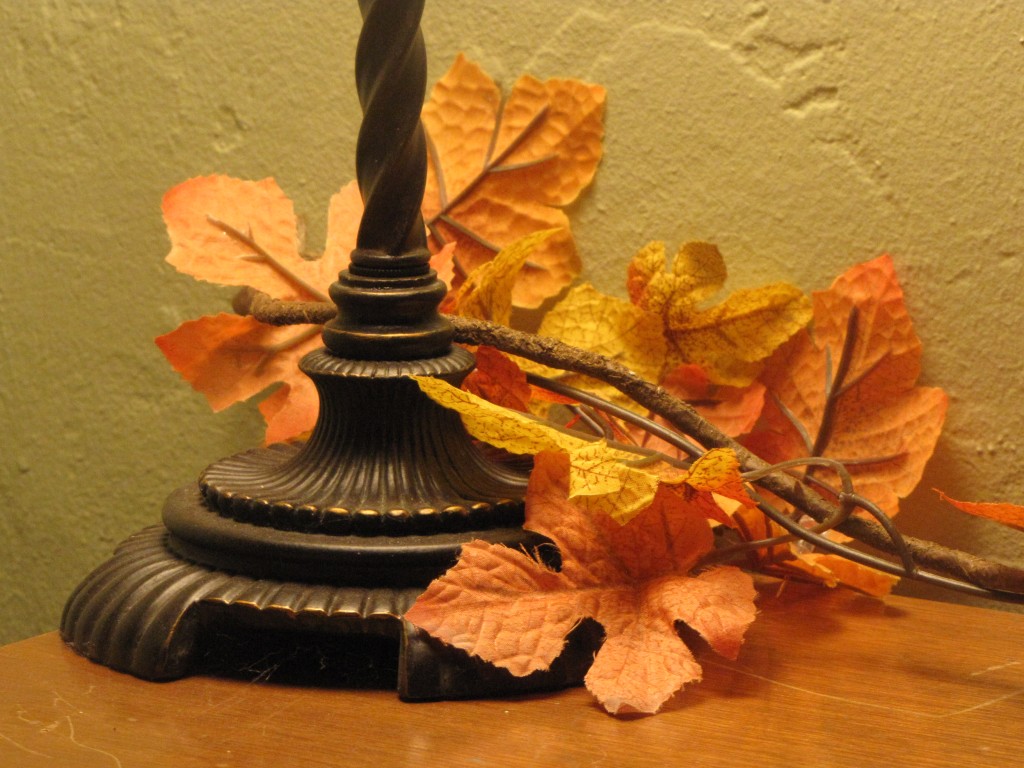
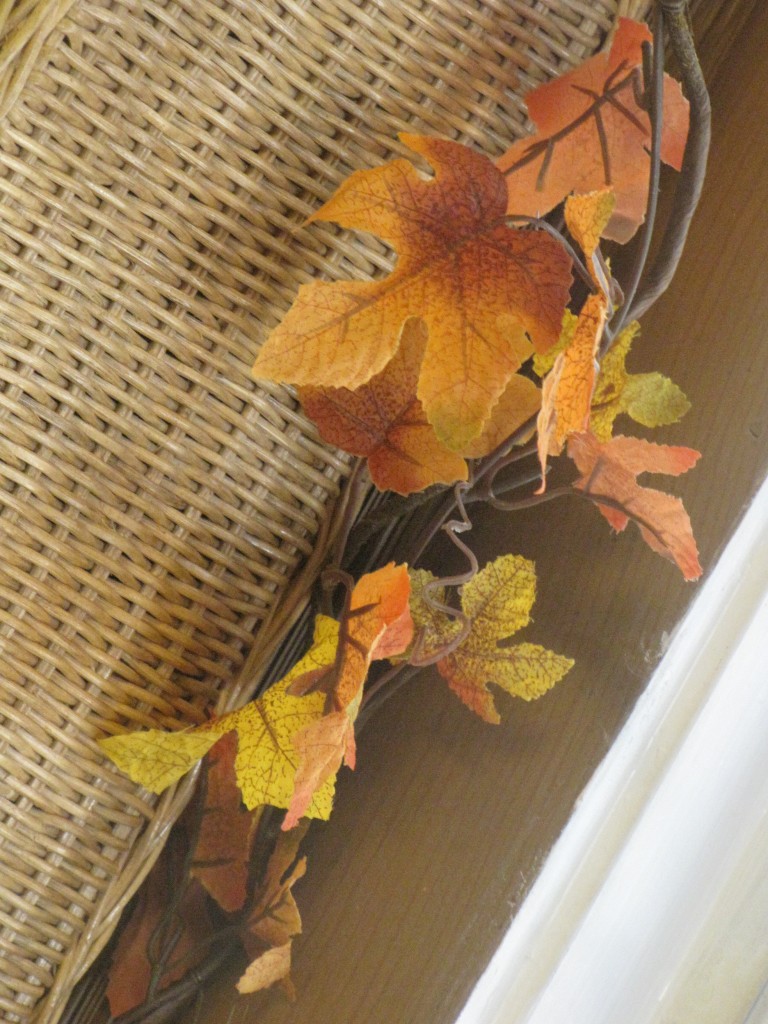
When you move into a new place, or eyeball your old place, you may be wondering the same thing I was.  Seasonal decor isn’t exactly high on our budget priorities right now.  So I was really excited when I spotted some fall leaves leftover from my teaching days!  There were four strands, so I laid them on the shelves around our home.

Behind the lamps on the dresser,

Draped over the wicker cabinet,

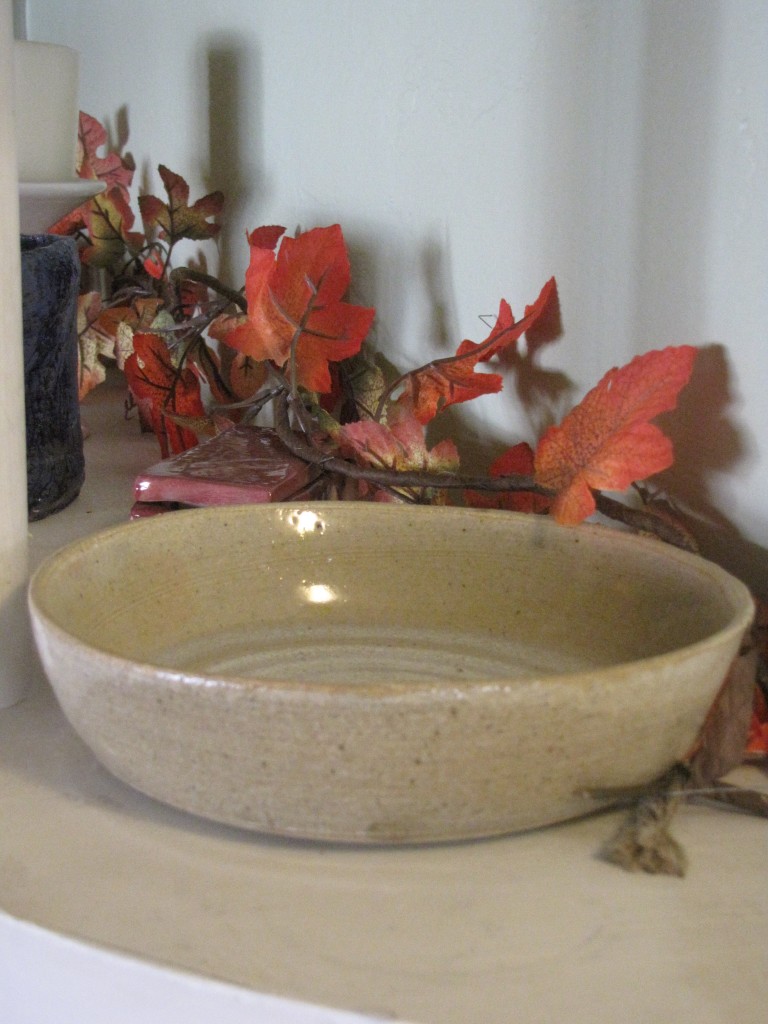
Along the shelf with my pottery,

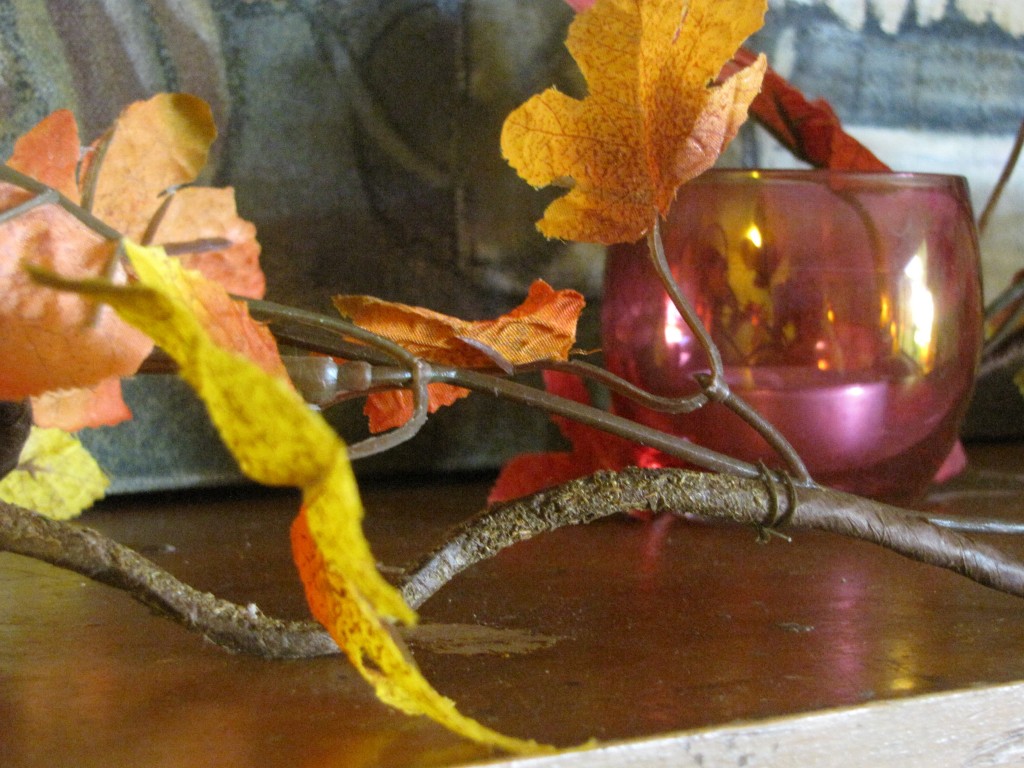
And wound through the candles on the mantle.

I also saw these great stick bouquets on Pinterest, and decided to make one for myself.  I didn’t have all the materials pictured, so I used this vase first.

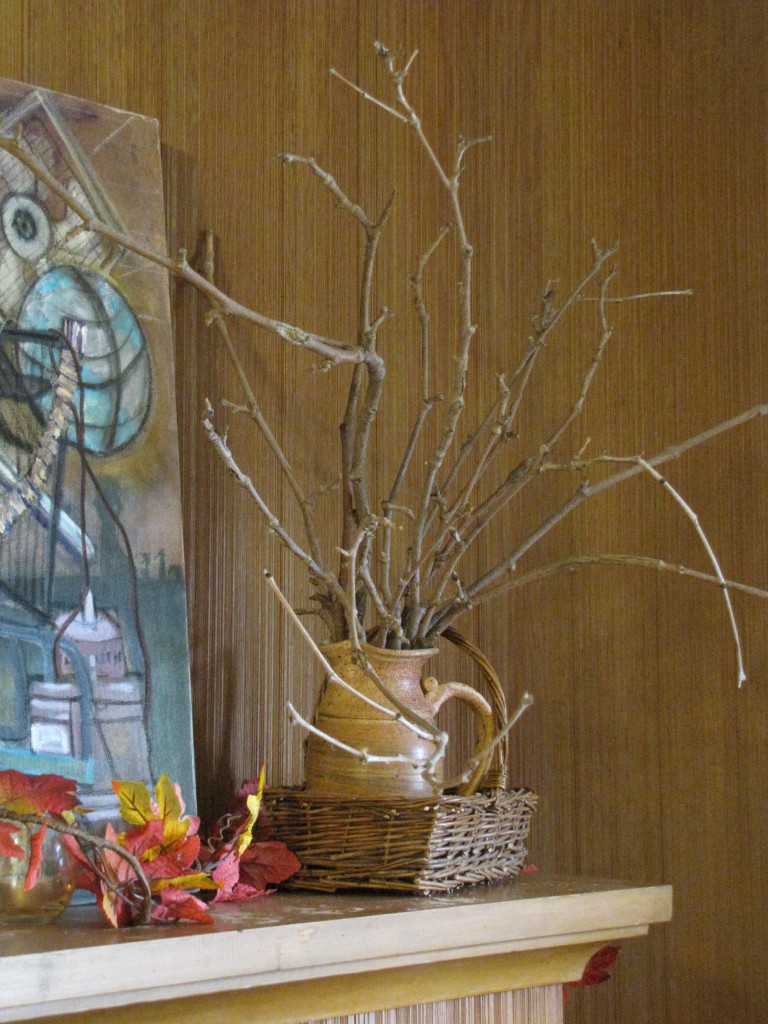
I wasn’t completely pleased with the effect though, so I tried this pitcher instead.  I liked the result a lot better this time.

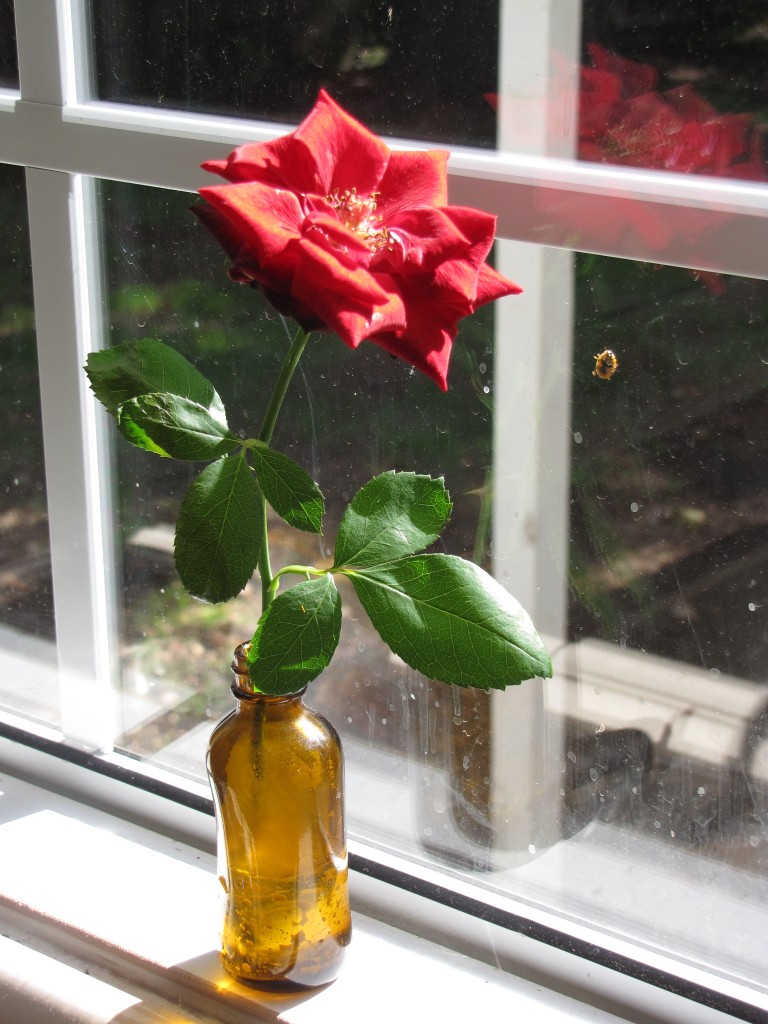
Finally, Brad has been watering our once-dry backyard and now our roses our blooming!  It’s so fun to find out what colors each bush holds.  Placing cut flowers in vases around the house is always a nice touch, no matter what season!

How do you decorate your home inexpensively for autumn?

Toddler Tuesday: Oatmeal Container Straw Game

A few weeks ago I started thinking about DIY projects and recycling some of the items we use around our home.  We eat a lot of oatmeal, so I typed in “Oatmeal Container” on Pinterest, and found this adorable busy bag game from Merriment Design.

Unfortunately, I didn’t have any straws or sticker paper, and I didn’t want to use up our entire ink cartridge printing those color pages.  I tried painting cardstock with Naomi, but she decided that she was not in the mood to paint.  So the half-finished oatmeal container sat on my desk for a couple weeks.

Then I saw this post by Armstrong Family Fare.  I decided not to let my limited resources keep Naomi from enjoying her new game.  Who cares if it’s not “pretty”?  Besides, my hope in trying some “recycling” was that I would not have to go out and buy more supplies. I decided that she could learn and play just as well with an undecorated oatmeal container.

So I grabbed the hole puncher and a handful of coffee stirrers.

As you can see, Naomi loved her new toy.

Oliver liked playing with the coffee stirrers too!

What kinds of simple games or toys does your toddler enjoy?

Frumps to Pumps: The Get Dressed Challenge! Week 2

The Get Dressed Challenge!

Today is Day 12 of Frumps to Pumps!  As with most resolutions, I’ve had my more and less successful days.  Some days I’ve run for the shower at the first cries from Oliver, or when Naomi wanders into our room.  Other mornings I’ve successfully showered, dressed, had quiet-time, and even gotten a few other things done before the kids were up.

I’ve observed some challenges in completing “The Challenge”:

  1. I’ve always been one to hit the snooze button a couple of times before actually getting up, so with no place to go, I keep procrastinating!
  2. It is a challenge to go to bed on time.  I enjoy my evenings with Brad (or without), working or just relaxing once the kids are asleep.  I have a difficult time forcing myself to stop and go to bed.
  3. I need to settle on a wake-up time and stick to it.  My kids are up at 7am, so 6:30am is just not enough time for me to do what I would like to do in the morning.

I’ve also observed some great benefits!

  1. I’m a lot more likely to experiment with my clothes, hair, make-up, perfume, shoes, etc when I have time to get ready.
  2. I’m a lot more likely to take care of my health.  I’ve been better at brushing my teeth, taking my vitamin supplements (yes, I’m still breastfeeding!), and drinking something besides coffee.
  3. I’ve been more organized, and thus more productive.  With my “getting dressed” out of the way I can focus on the other chores that help our home to run smoothly.

How do you keep yourself motivated when getting up and dressed can be a challenge? 


Simply in Season: Acorn Squash with Sausage Stuffing

One of my favorite cookbooks is called Simply in Season: Recipes that celebrate fresh, local foods in the spirit of More-with-Less (compiled by Mary Beth Lind and Cathleen Hockman-Wert).  I love that it encourages readers to purchase locally-grown foods when they are in season, decreasing food costs and waste while increasing healthy diets and support of local growers.  I also love the little stories and thoughtful ideas mingled throughout its pages.  Simply in Season is divided into four sections for the four seasons, with recipes under each season for everything from main dishes to canning.

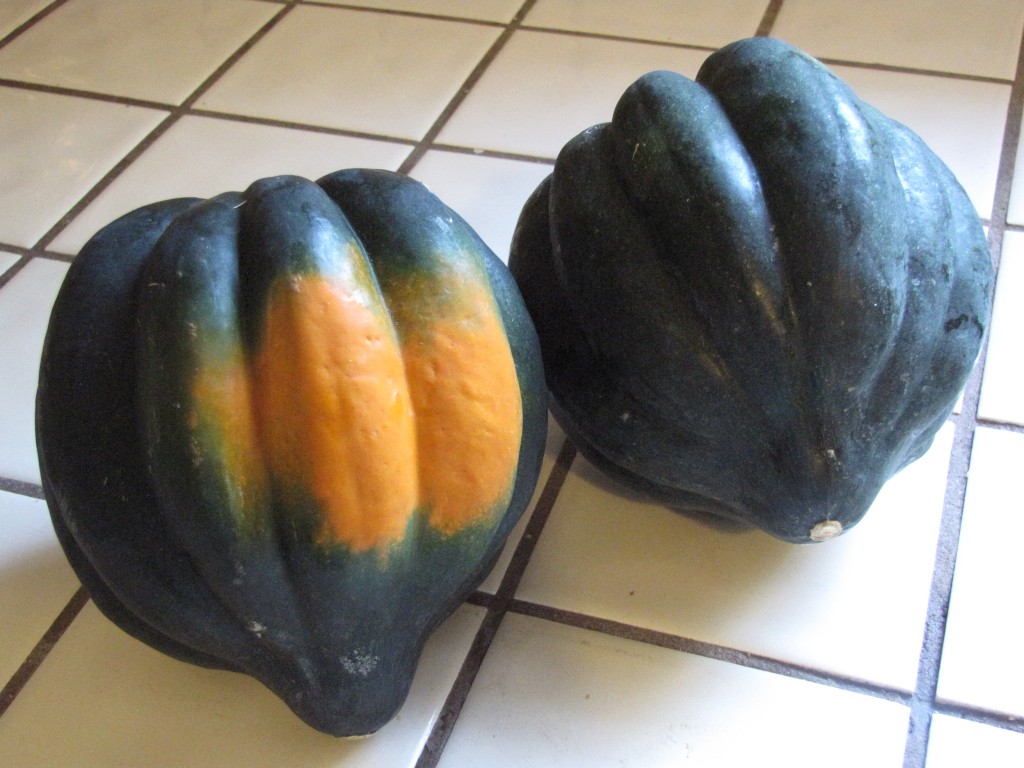
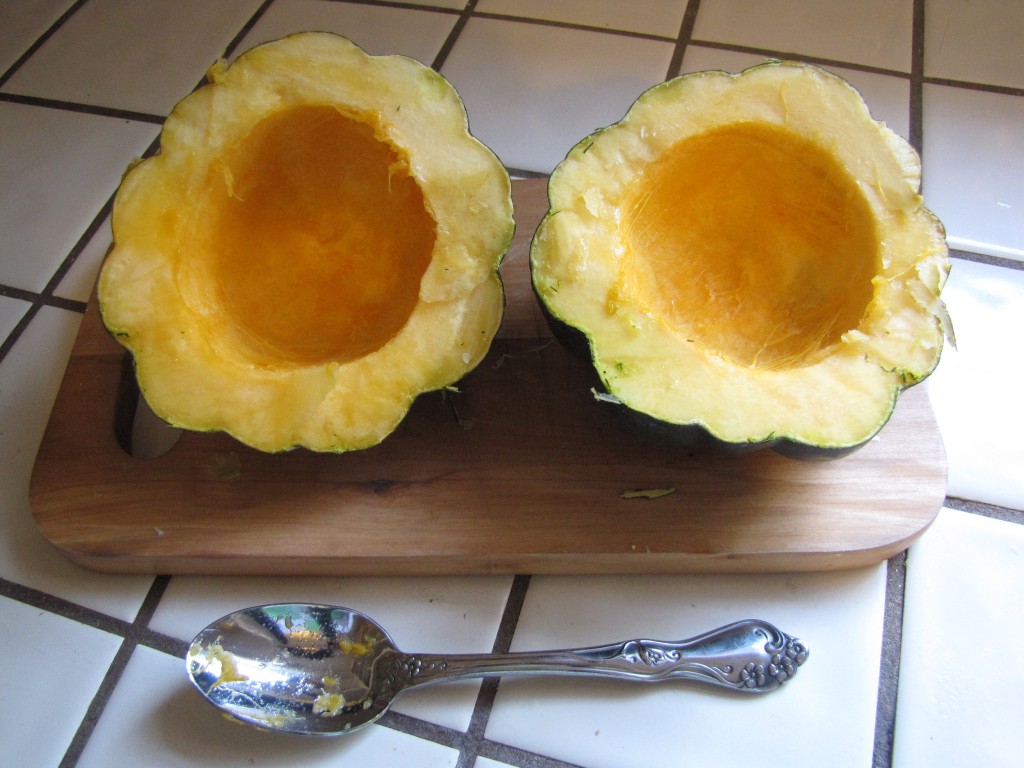
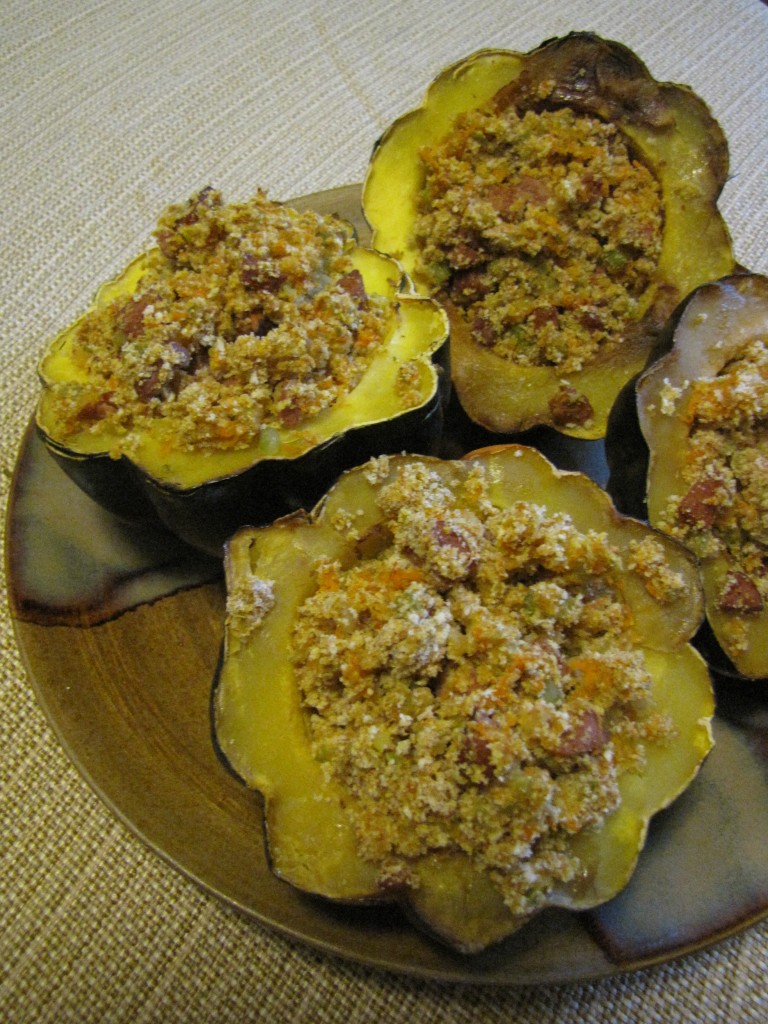
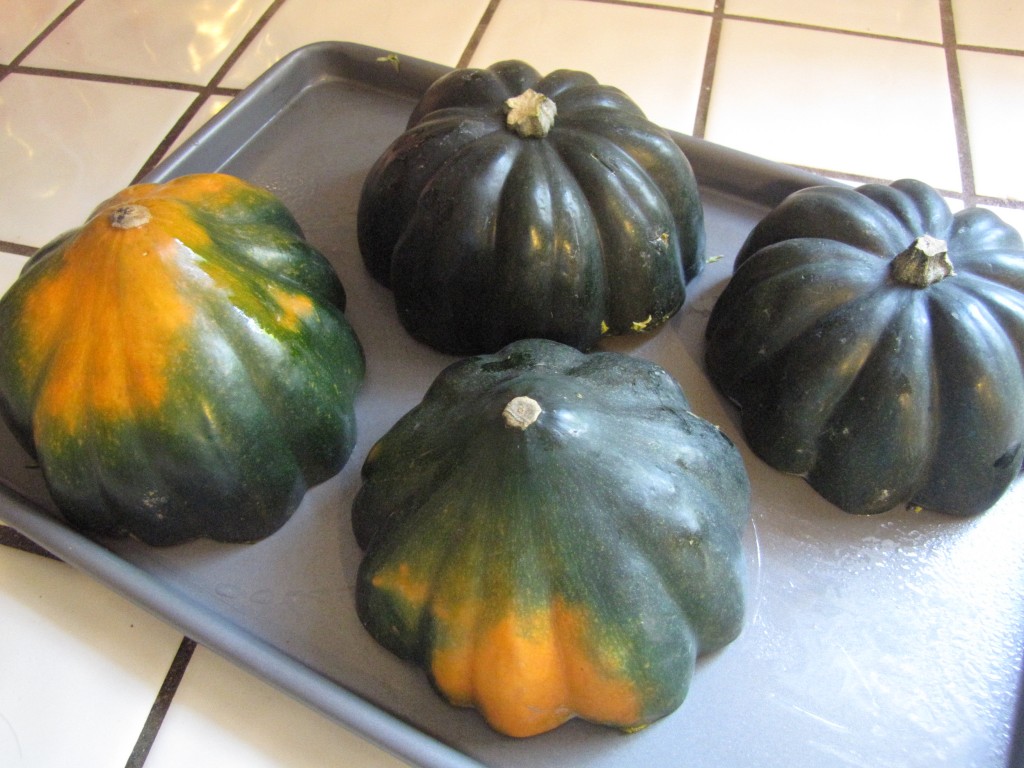
So today I decided to make stuffed acorn squash.  They were on sale for $0.68 at Winco!  I couldn’t pass that up, so I bought four of them.  I mostly worked on this recipe while the kids were napping.  Brad was out of town for the evening, so it was the perfect night to try it since he doesn’t like acorn squash.  In order to make stuffed acorn squash, you have to first prepare the squash.  After that, you can fill it with any stuffing you choose (there are five different stuffings listed in the book).

This recipe was a big hit with the kids, especially Oliver who ate everything I gave him and then wanted more.  Naomi tried the squash, but preferred the stuffing.  I ended up eating all of my squash, and most of hers too.  It was a little drier than I thought it might be, but that might be because I used pre-cooked turkey sausage.  When I make it again I’ll try uncooked sausage.  Still, it was delicious!

STUFFED ACORN SQUASH (Serves 4-6)

  • 2-3 large acorn squash or other winter squash

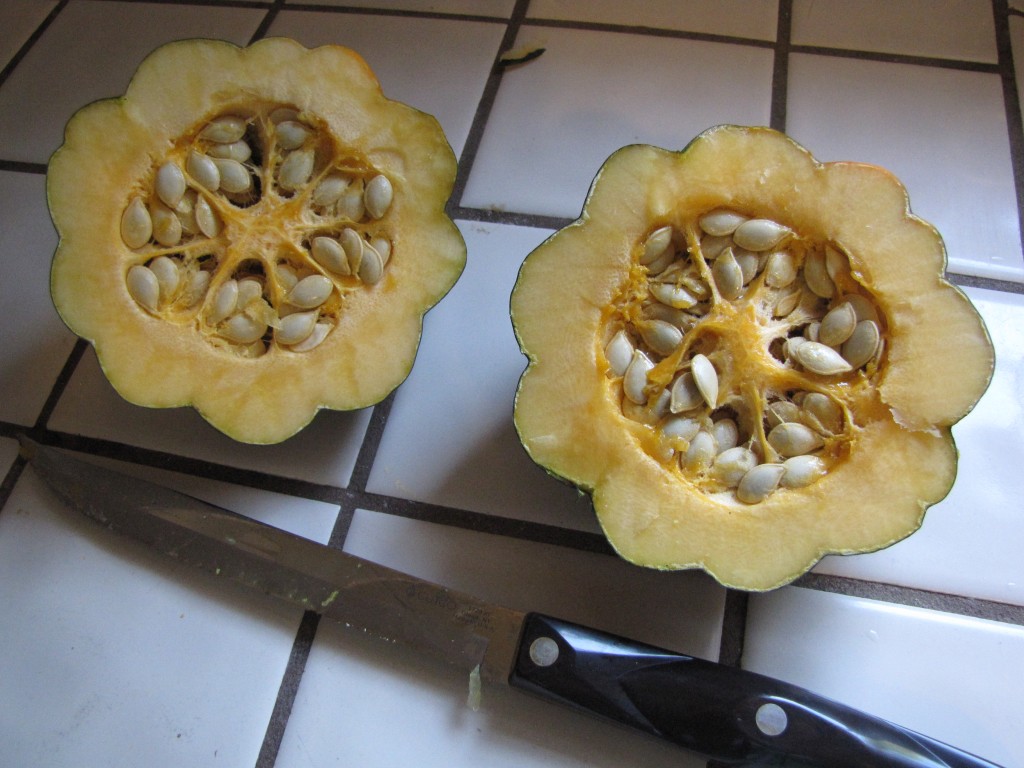
Cut squash in half and remove seeds and strings.  To make this easier, pierce squash with a knife and microwave a minute or two.  (This was the hardest part of the recipe!  Brad had to cut the first one open for me.)

Place cut side down on lightly greased baking sheet with sides.

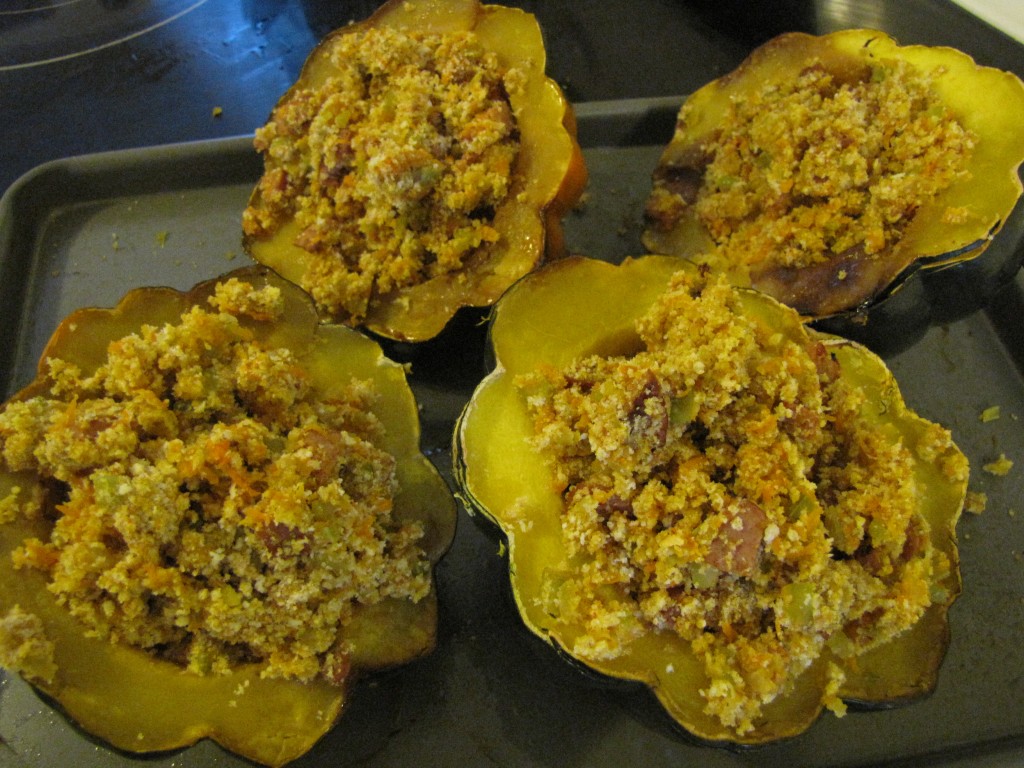
Bake at 350F/180C until almost soft but not mushy, 40-50 minutes.  (Or cook in the microwave for about 10 minutes covered.)  May do this step in advance.  Remove from oven, fill with stuffing, and finish baking as directed.

SAUSAGE STUFFING

  • 1 pound/500g bulk sausage or turkey sausage
  • 4 celery stalks (finely diced)
  • 1 medium onion (finely diced)
  • 2 carrots (shredded)
  • ¼ cup/60 ml water
  • 2 cups/500 ml bread crumbs

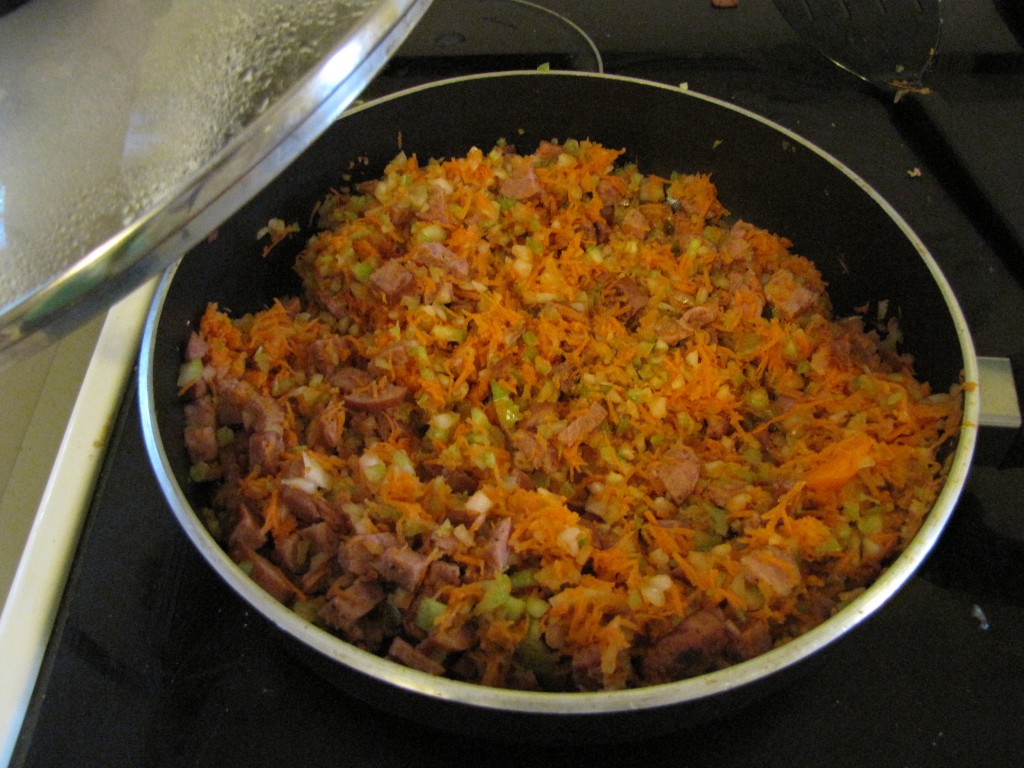
Sauté sausage just until cooked through.  Add celery, onion, carrots, and water.  Cover and simmer 15 minutes.

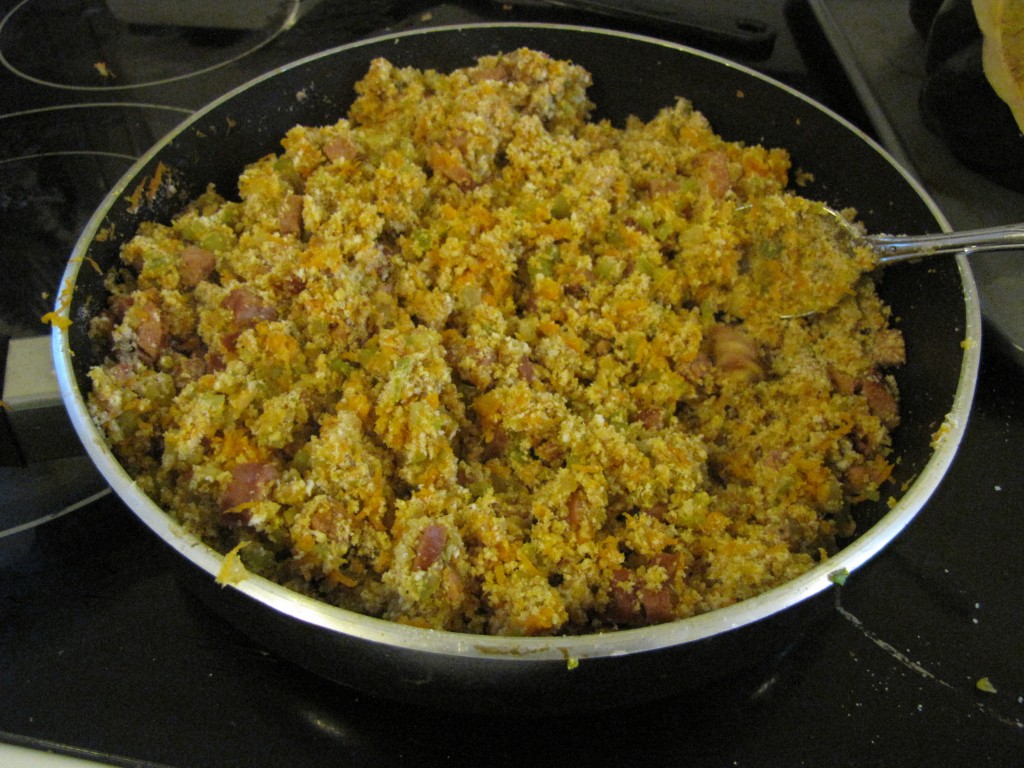
Mix in bread crumbs.  Stuff into cooked squash and bake at 375F/190C for 10 minutes.

Bon appétit!

What is your favorite cookbook?  Do you have a favorite seasonal recipe?

Powered by WordPress | Designed by: Online Games | Thanks to DJ, Games and Addicting Games