Toddler Tuesday: Autumn Tree Painting

This week I discovered Pinterest for the first time.  Let’s just be grateful I didn’t discover it any earlier!  I have already spent WAY too much time looking at images to pin on my boards.

BUT, I was also inspired by all the art projects I saw for toddlers, and quickly chose one for Naomi that I found on Frugal Family Fun Blog.  Naomi had a cold this week, so it was the perfect indoor activity for her while Oliver took his morning nap.

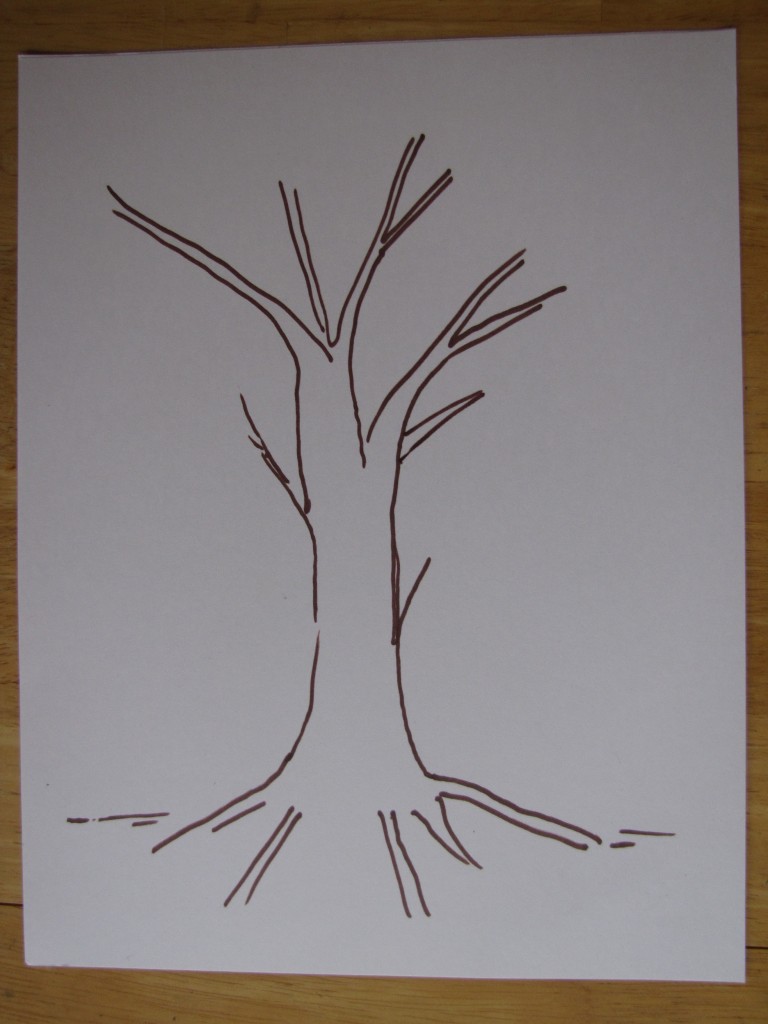
First I sketched out the tree with a dark brown marker.

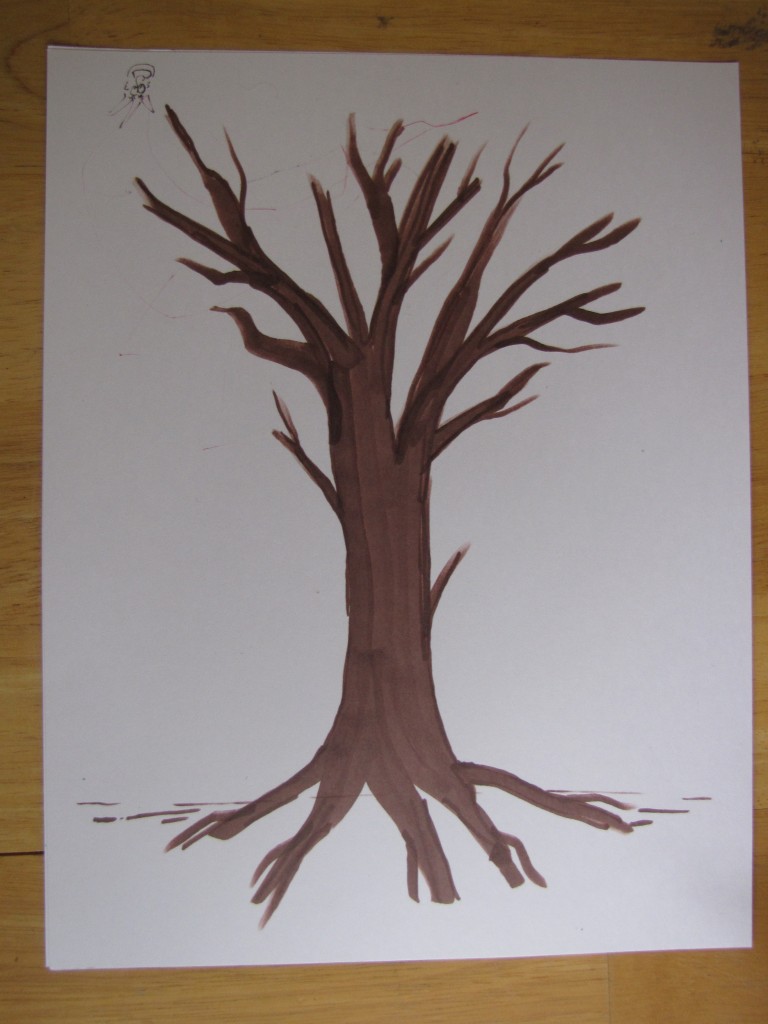
Then I colored in the lines I had made.  (Yes, Brad drew that little upside-down face in the corner!)

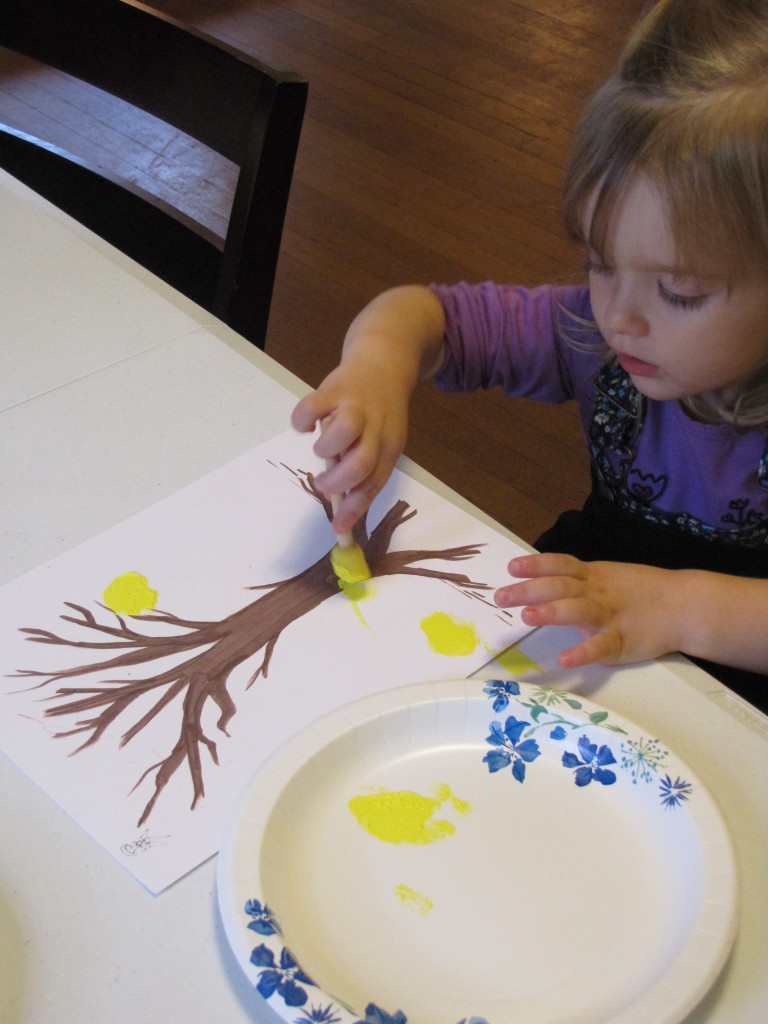
I put an apron on Naomi and sat her at our plastic dining room table.  I rolled up her sleeves, and gathered all her supplies.

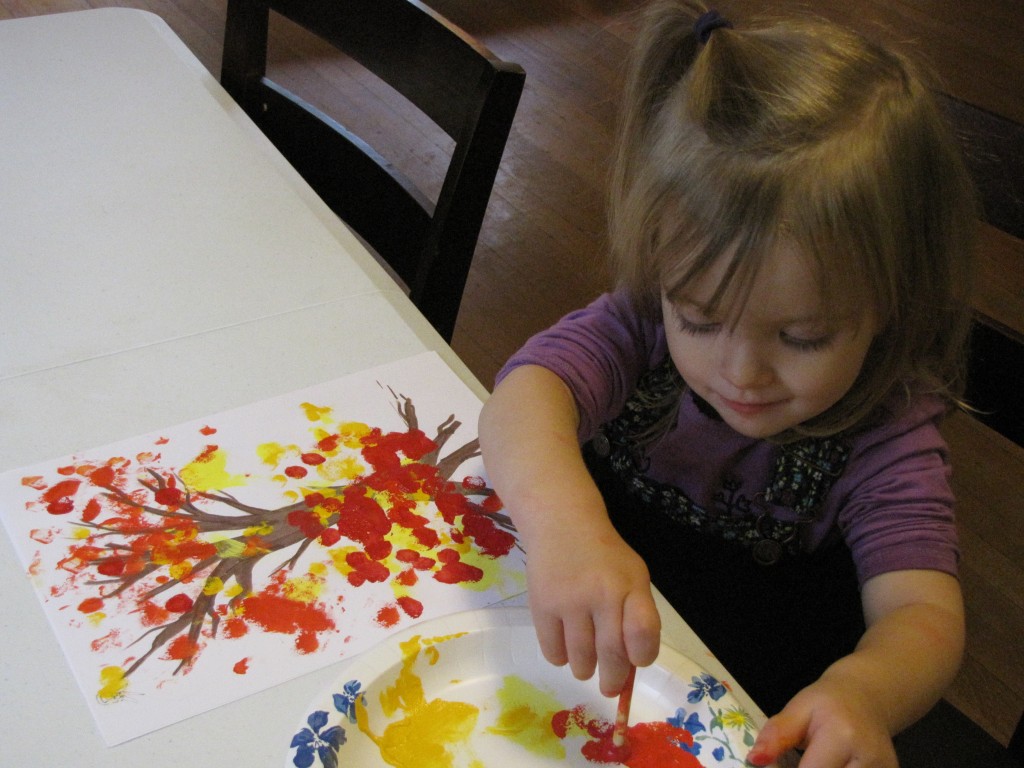
Then I gave Naomi a paper plate with some yellow paint on it, and a couple of mini sponge stencil brushes.  (I try to always work from light colors to dark.  It’s easier to get quality light colors when the brush is cleanest.)

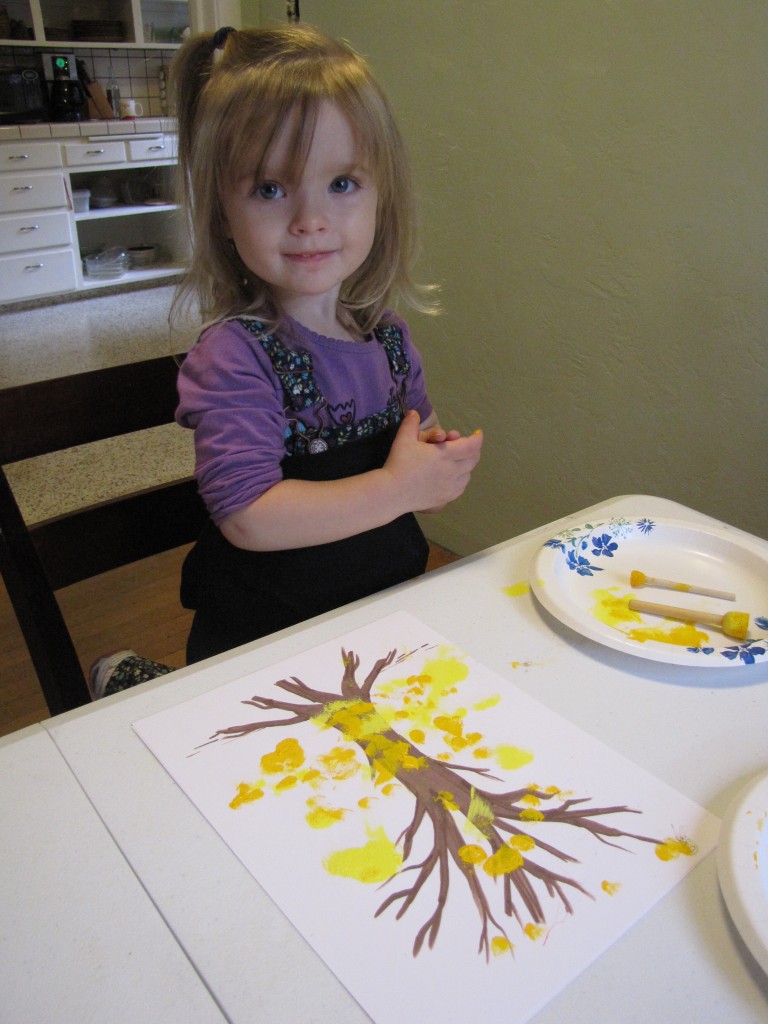
After she was done with the yellow, we moved on to orange and red…

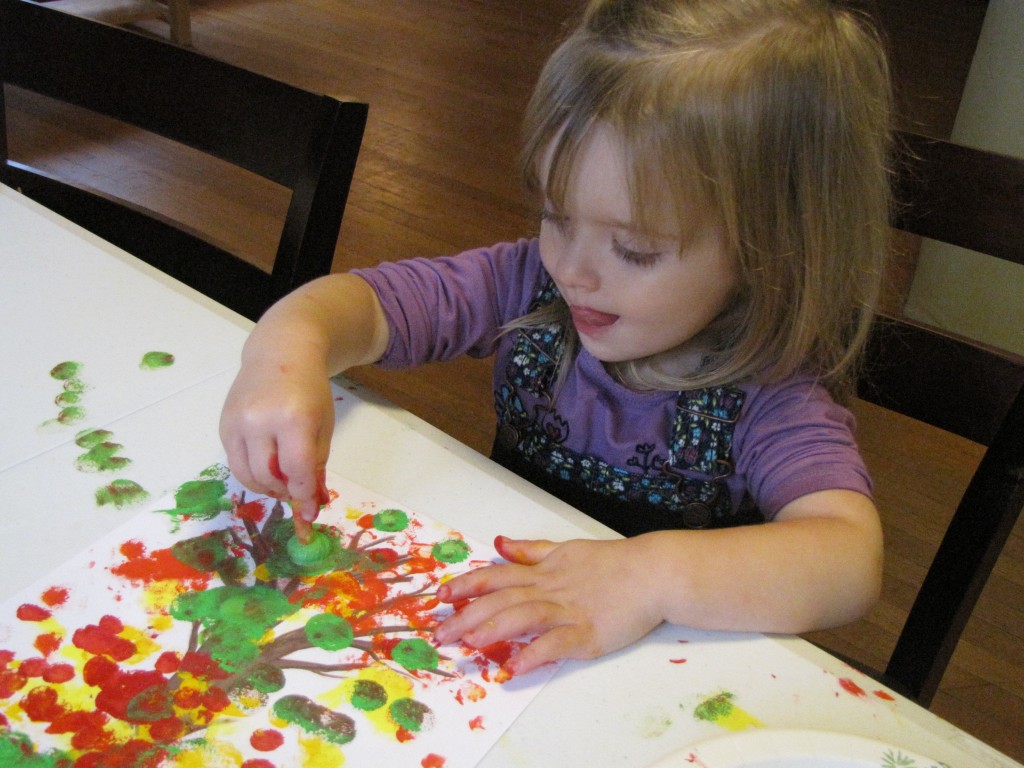
…And then light green and dark green.

Naomi had a great time, and temporarily forgot that she was feeling sick.

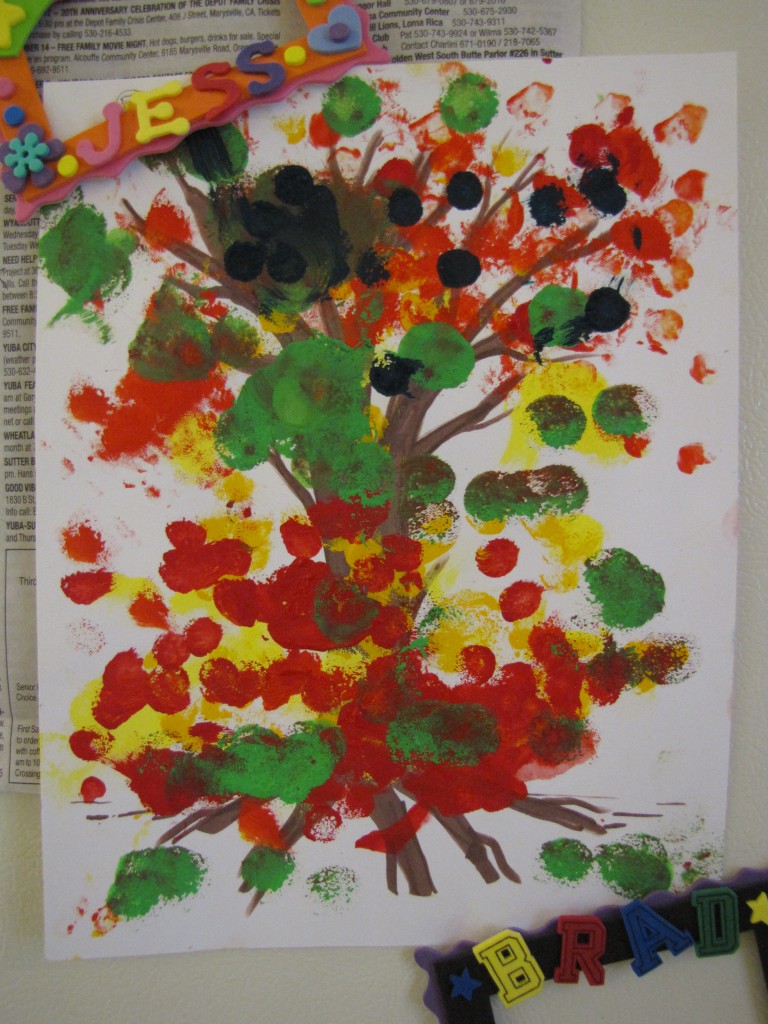
Brad and I were so proud of our little artist, that we had to pin her masterpiece up on the refrigerator, and show it to the grandparents on Skype.  Brad believes she will be a great impressionist painter someday.

As for Naomi, she will periodically announce, “Paint!” and then run into the kitchen and point to her artwork.  She is very proud of herself too!

My First Craigslist Purchase

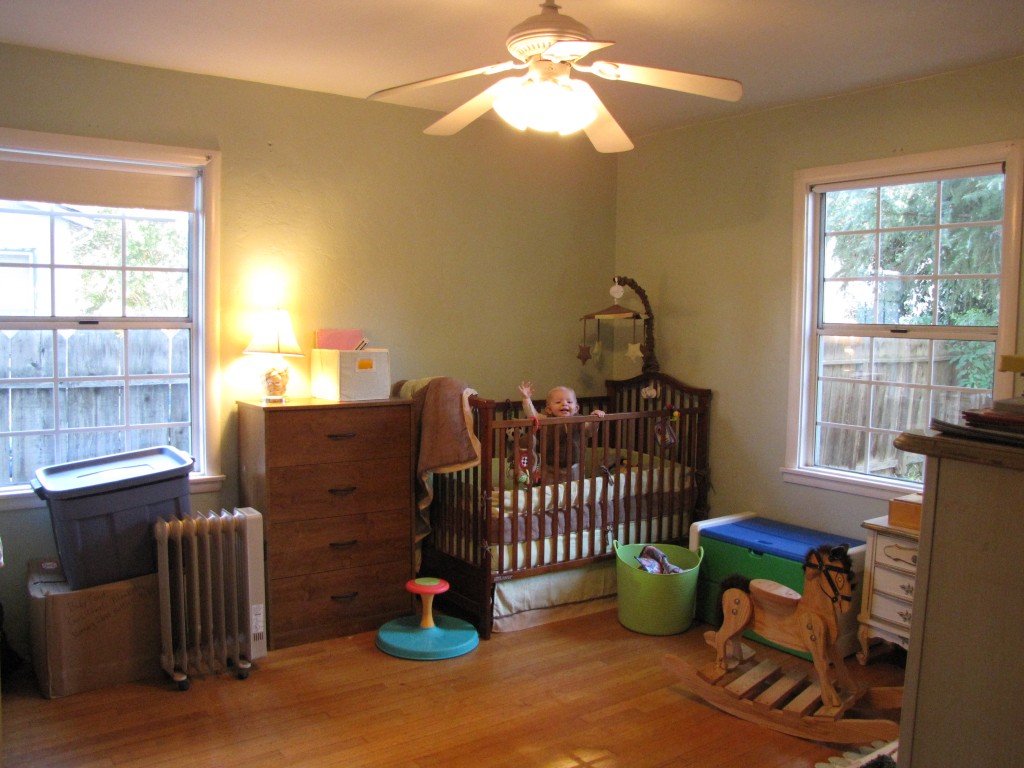
I knew this day would come but, with our previous living arrangements and then our big move, I had procrastinated.  It was time to commit.  If you looked at our kids’ room photos from last week, you probably noticed that 2-year-old Naomi was in her crib, and 9-month-old Oliver was in his pack-n-play.  Both children had outgrown this arrangement, and it was time for a change.

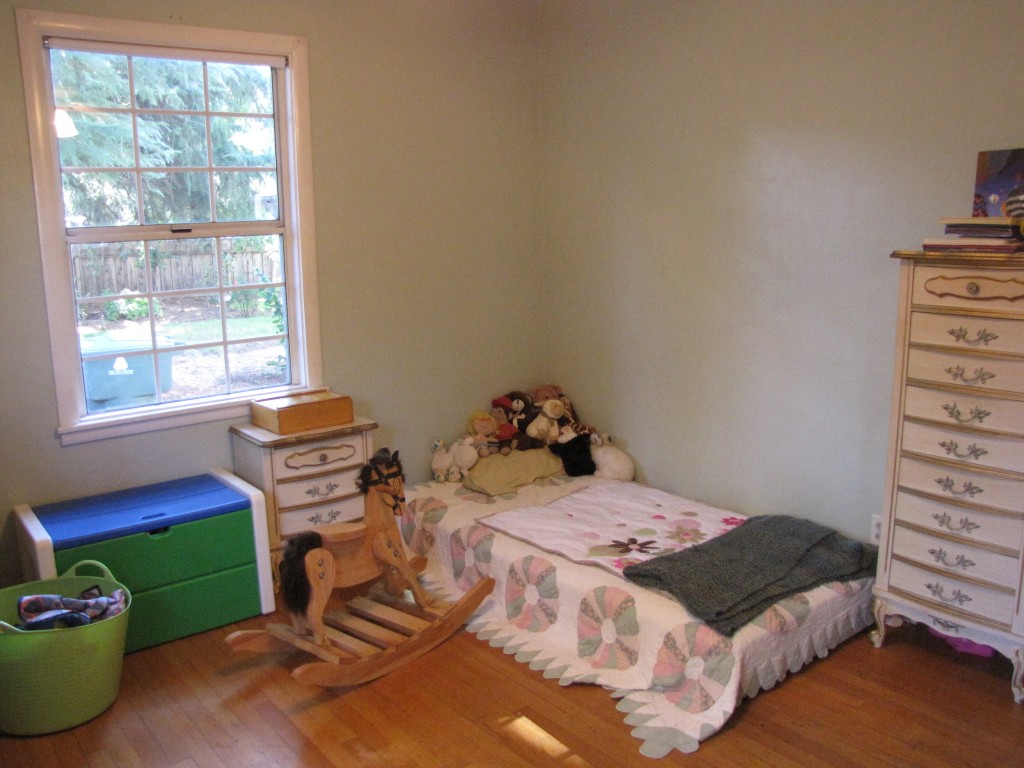
On Sunday afternoon, I rearranged all of the furniture in the kids’ room.  I packed up Oliver’s pack-n-play, dragged in Brad’s old mattress, and put my old bedsheets and quilt on it.  Naomi was delighted with her “new” toddler bed, and she and Oliver have already spent many hours bouncing, rolling, reading, and putting baby dolls to sleep on it.  Of course, now she can get out of bed on her own, so that’s taking some getting used to!

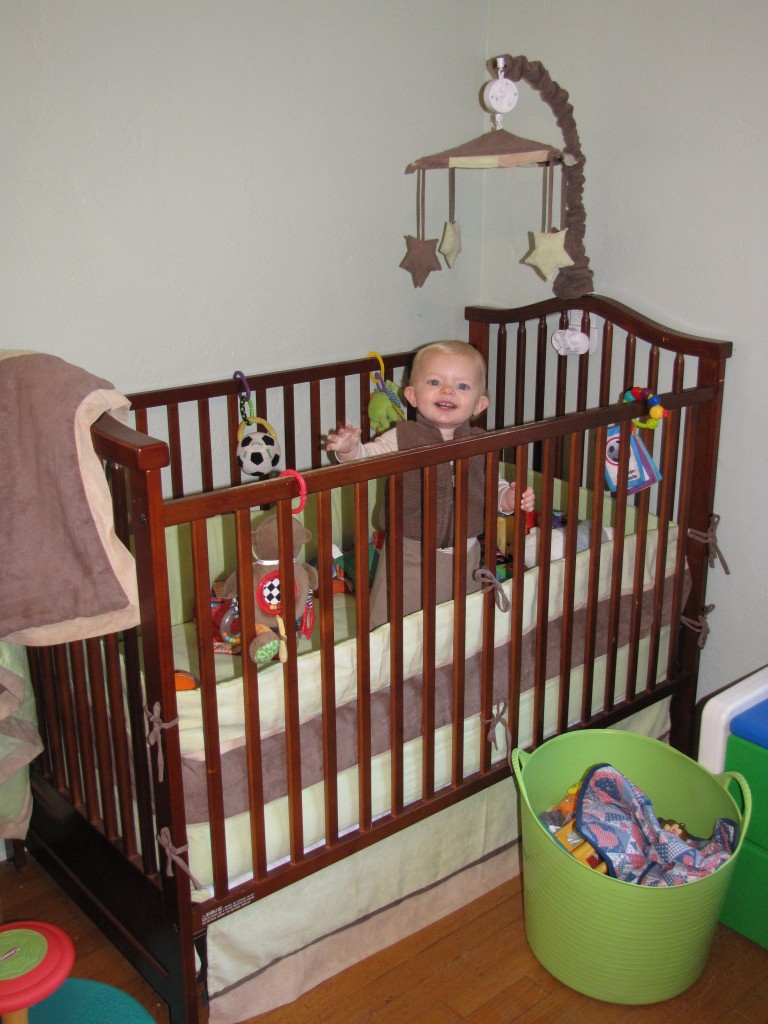
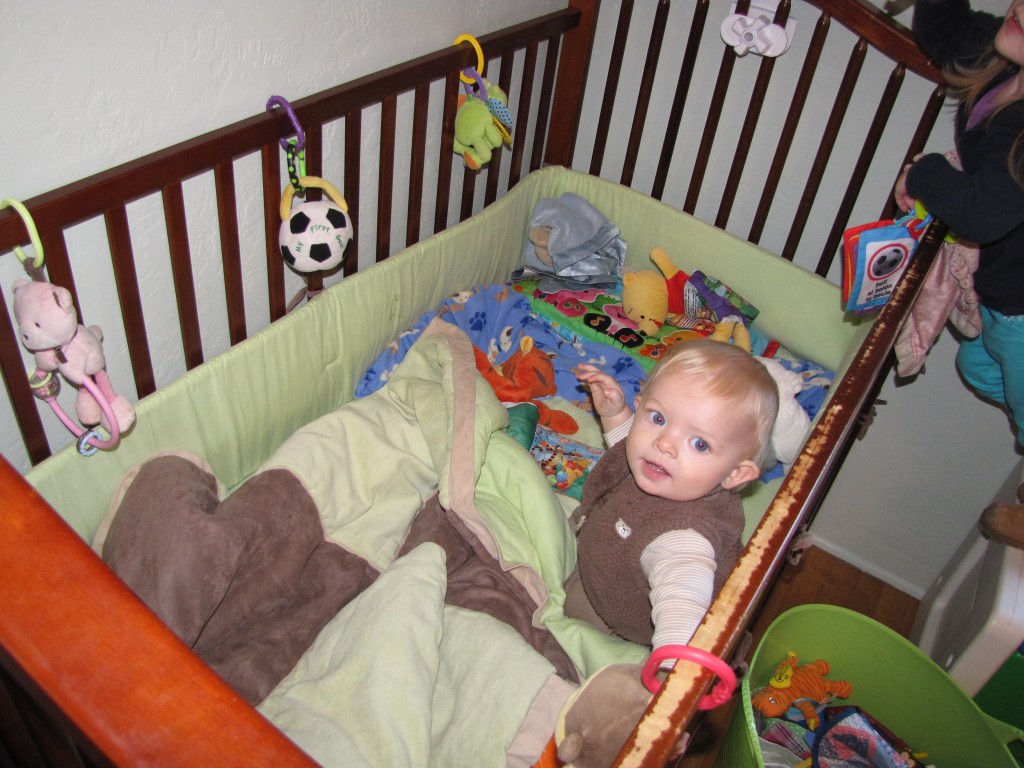
The move also meant that it was time to put away Naomi’s adorable baby girl crib bedding, and find something a little more masculine for Oliver.  Ever since I sold my car on Craigslist last month, I’ve been looking around on Craigslist for good deals on things we need for our new place.

So I was delighted when I found a 10-piece nursery-in-a-bag listed for $30.  The same “Pam Grace Creations Meadow Green” was listed for $100-$110 on various websites.  The woman who posted the set said that her son had never really used it.

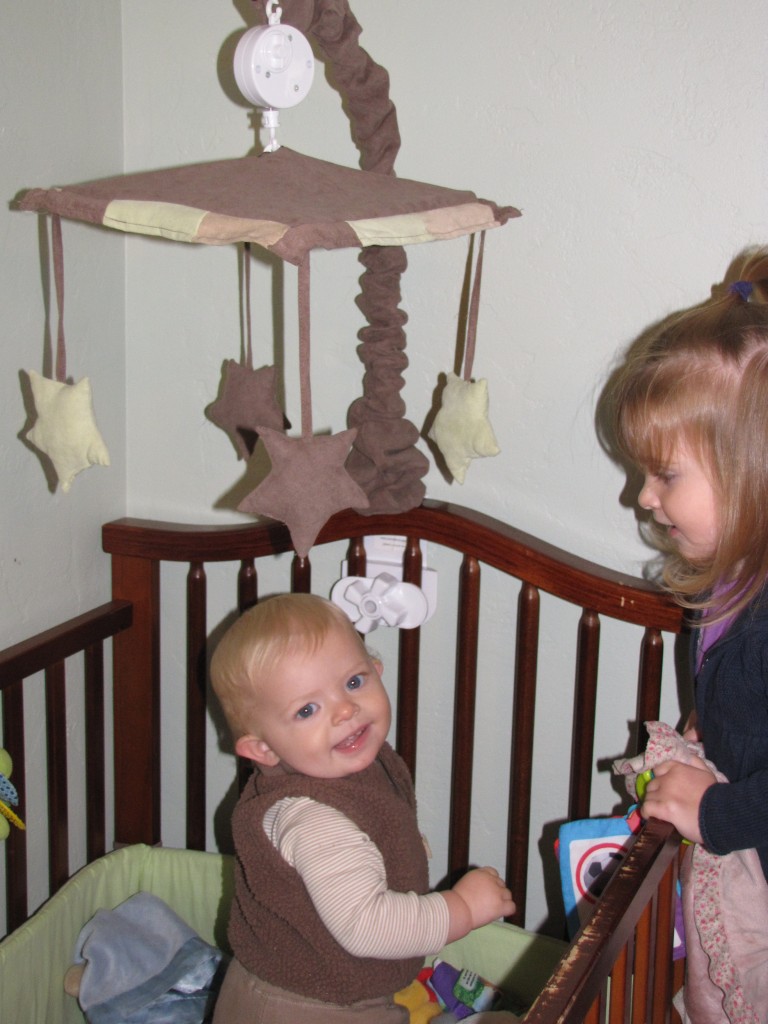
Brad and I drove over together to check out the bedding set.  After some brief introductions, we pulled each part of the bedding out of the bag and examined it.  There were a few small stains on the crib sheet, but aside from that, it was all as she had described it.  I paid her cash, and we returned home with our first Craigslist purchase. Oliver loves being in the big crib, bouncing on the mattress, gnawing on the crib rails, and waving at the mobile.

Have you ever bought anything on Craigslist?  I’d love to hear your stories, and your tips!


One More Time: Homemade Chocolate Acorns!

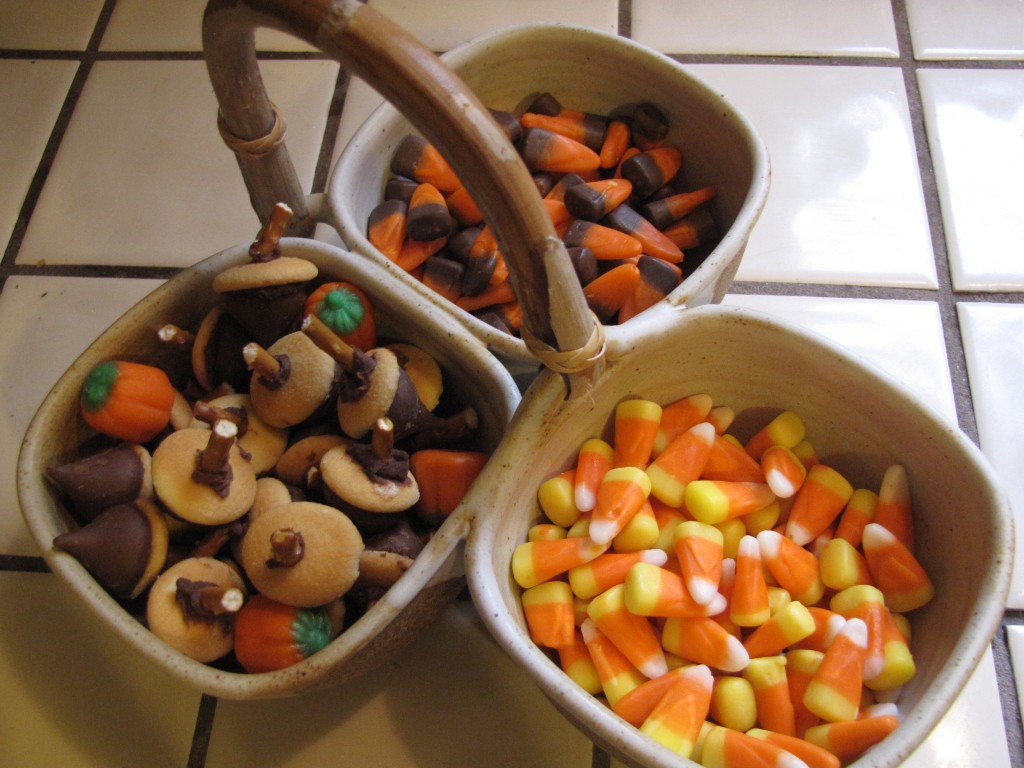
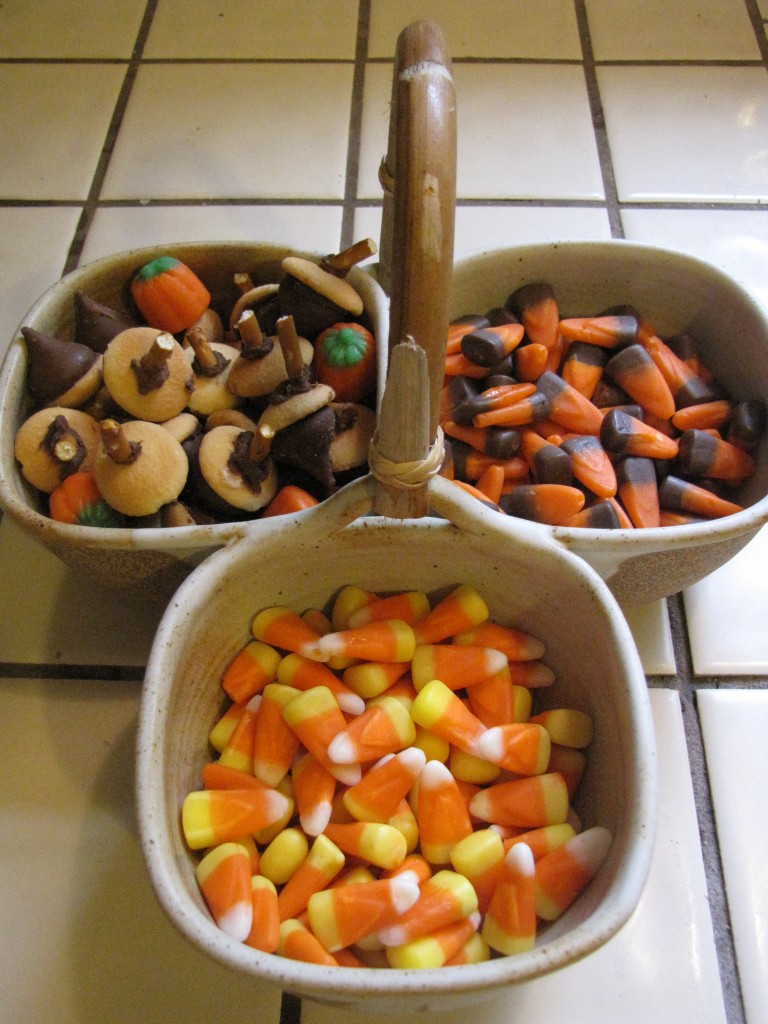
If you didn’t get to read last week’s post about making Homemade Chocolate Acorns with Naomi, this is your chance!  We decided to use the rest of the bag of Hershey Kisses last night.  This time I got some better photos of the finished product, paired with some colorful candy corn.  Aren’t they perfect for autumn?

Thanks again to From Chapel Hill to Chickenville for the recipe!

Love Your Rental: Clean Up The Exterior

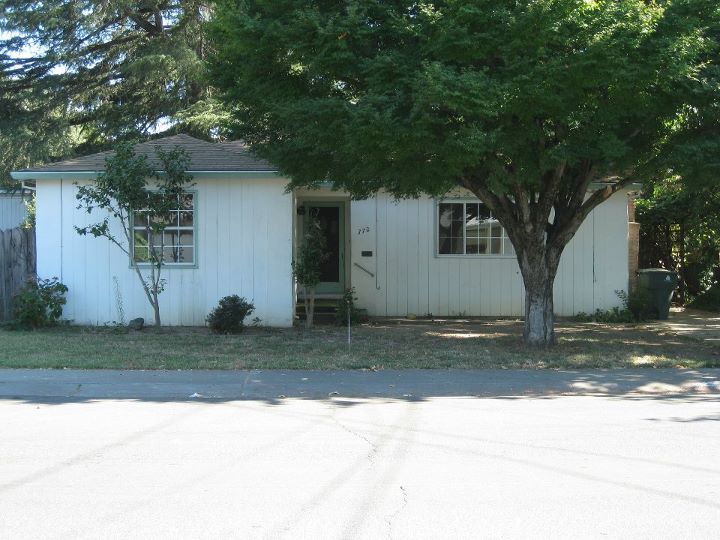
When Brad and I arrived at our new place, we were told that it had a lot of potential, but it was in need of some love.  One of the places that was most obvious was around the outside of our house.  So Brad and I (and even Naomi) have been spending a lot of time loving our yard this week.  Here are 5 tips for how you can clean up the exterior of your rental:

1. Pull up those weeds!

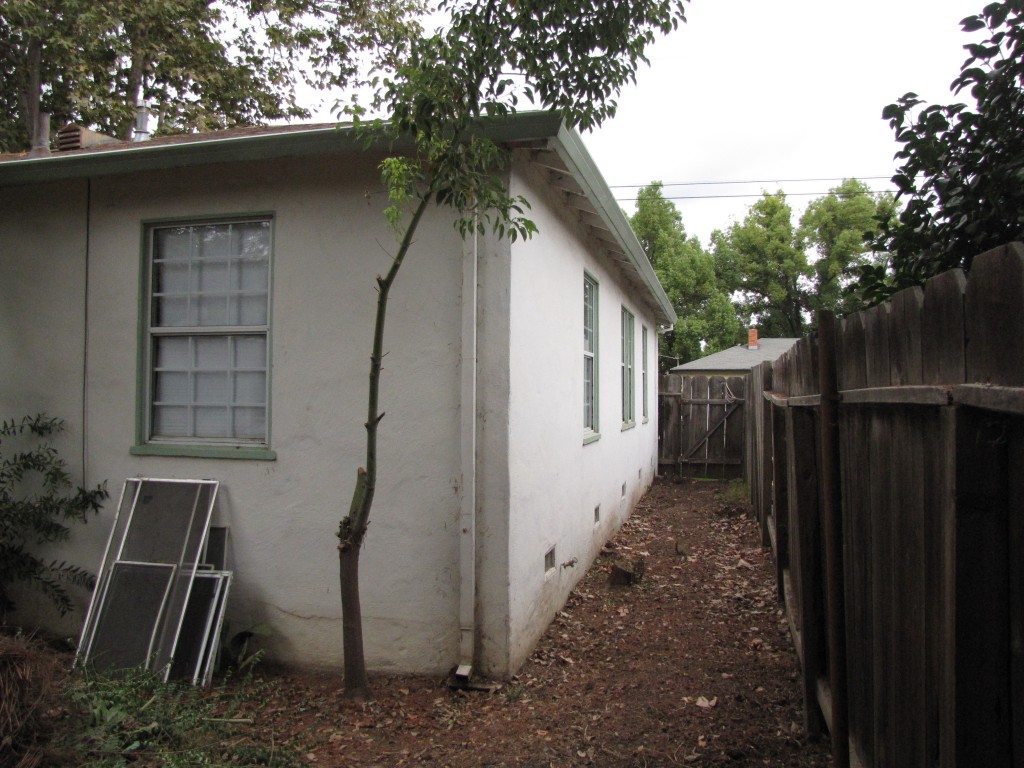
Here is the side of our house before weeding…

…and here is the side of the house after weeding.

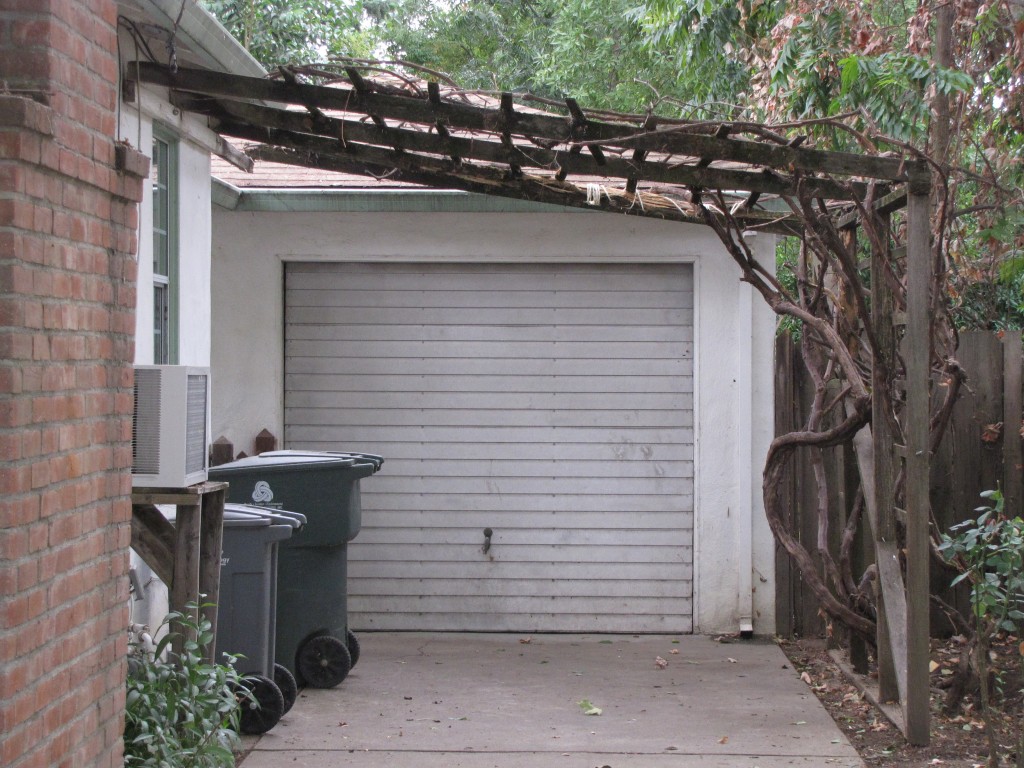
2. Remove debris from your roof, gutters, and in our case, grape arbor!

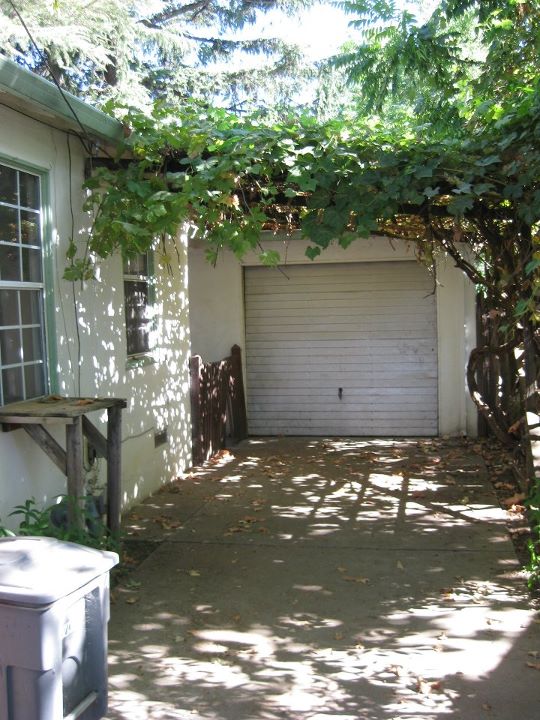
Before Brad cleaned…

…And after Brad cleaned.  (If you look closely, he also wrapped some twine around a splintered part of the arbor.)

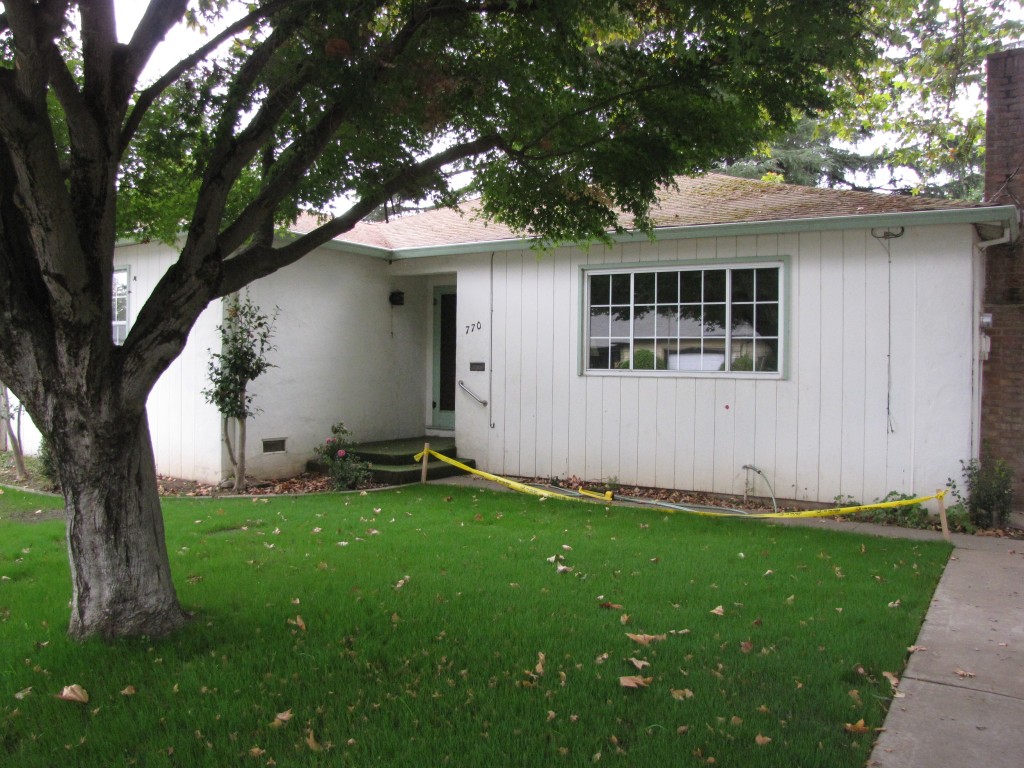
3. Plant fresh grass!

Before the new grass was planted…

…And after the new grass was planted. (Thank you Sperbeck’s for donating our lawn!)

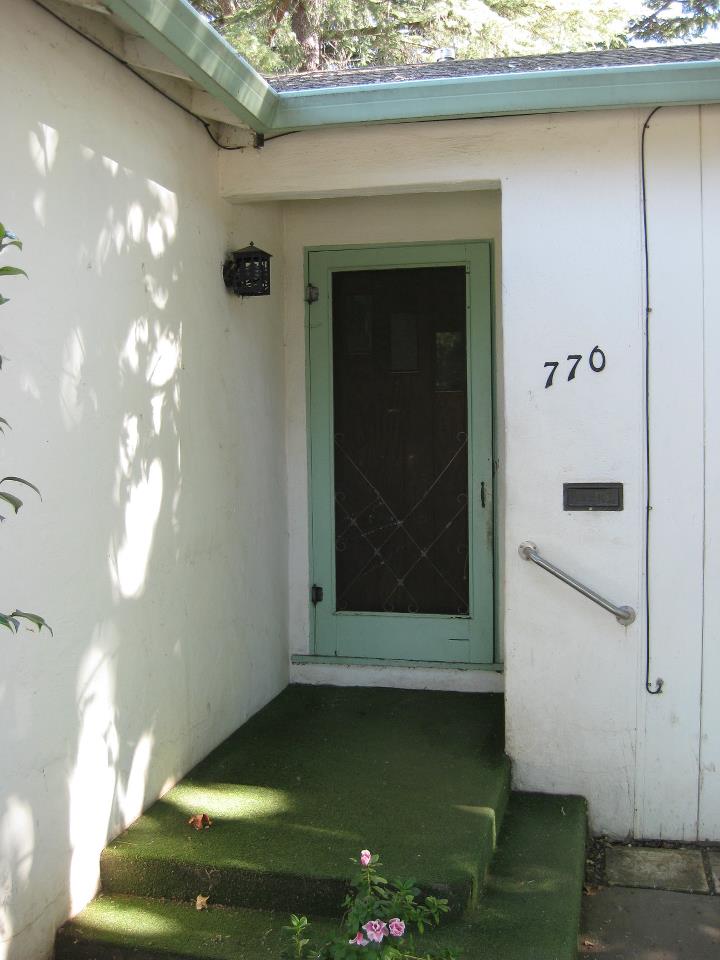
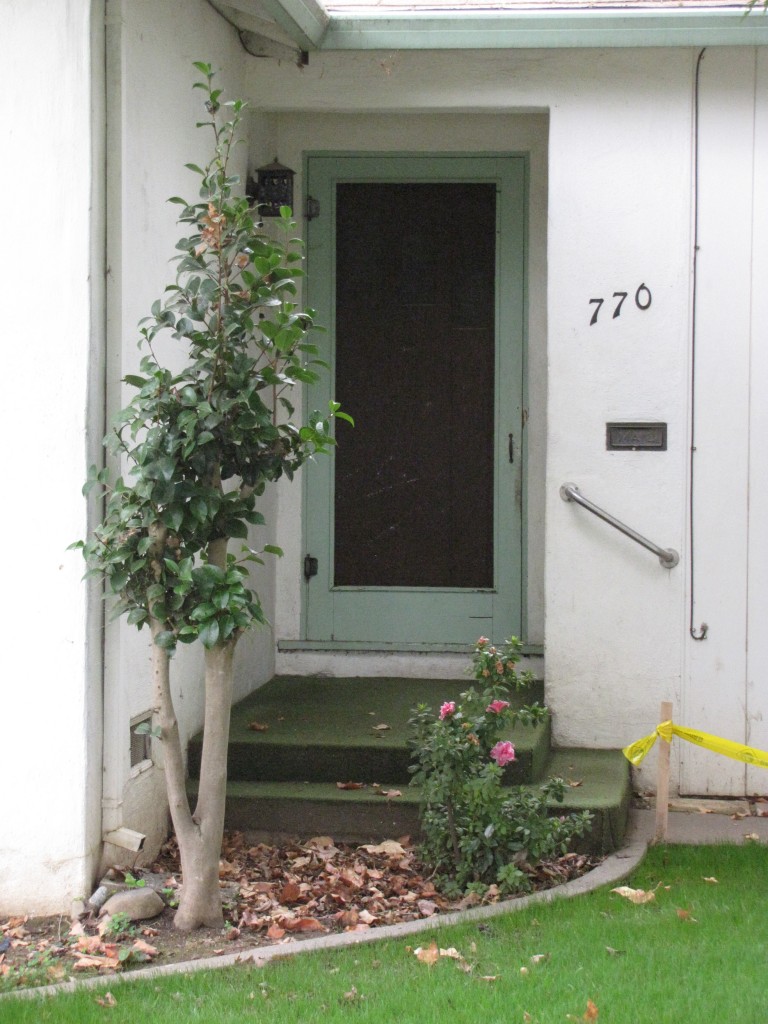
4. Freshen up your front door!

If you look closely, you’ll see a broken decorative metal thingy criss-crossing the screen door.

…And after removing the metal thingy (with permission from the property manager, of course).

5. Wash your windows and window screens!

Although it’s not very noticeable in these photos, clean windows and screens make both the inside and outside of the house look nicer.

What tips do you have for loving the exterior of your rental?

Q & A Wednesday: How can I get a good deal on window treatments?

Our kids have not been sleeping as well since we moved, and one of the main reasons is their bedroom!  At my parents’ house, they slept in a dark, cool, windowless bedroom in the basement.  In our new place, they are on the main floor with two big windows and no window coverings.  During the day the sunlight shines in, and during the night the neighbors’ porch lights shine in.

So we wanted some blackout-type blinds or curtains to help the kids sleep.  But have you seen the prices on window coverings?  PHEW!  After a lot of shopping around, I decided on roller-shades for the rooms most in need of privacy and darkness throughout the house.  JCPenney’s had cut-to-size textured roller shades in various colors on Clearance.

The final price was about $13 per shade.  I also had $50 in JCPenney’s gift cards, which made the deal even better!  In the meantime, I’ve been checking out The Nesting Place on a tip from The Prudent Homemaker.  She has lots of creative solutions for how to cover your windows inexpensively.  So now I’m thinking about what kind of inexpensive curtains I might use in addition to the blinds.  But for now, the kids are sleeping better and we have privacy where we need it most!

Have you found any great deals on window treatments?  Or do you have any creative solutions for my windows?

Toddler Tuesday: Hawaiian Pizza

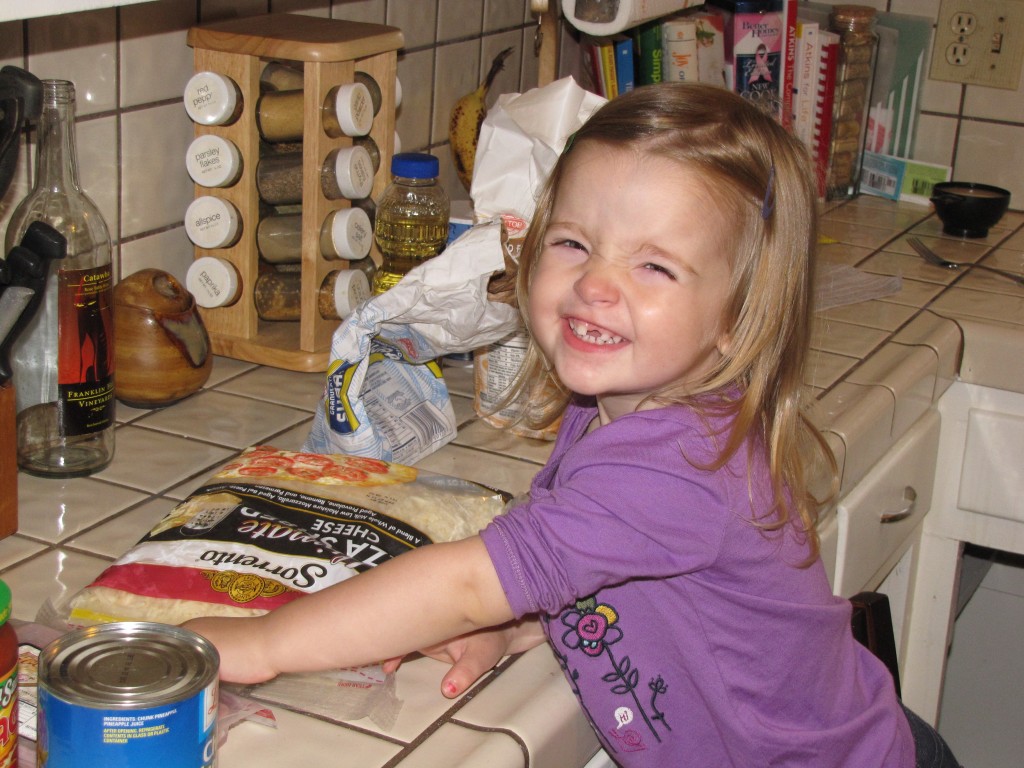
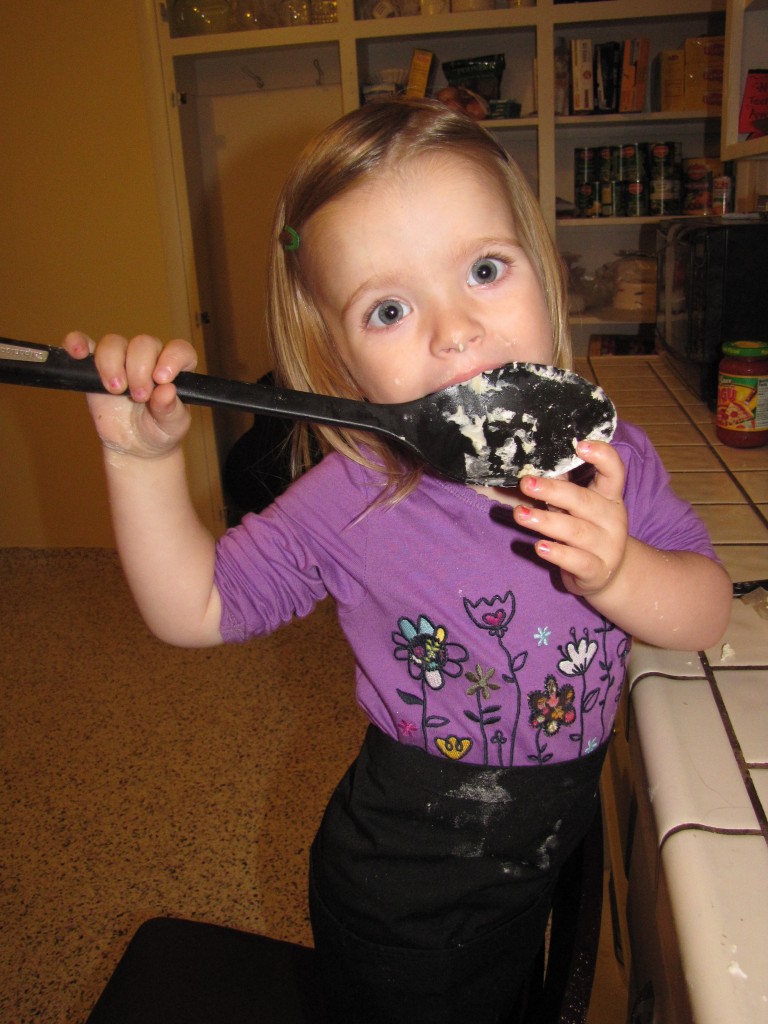
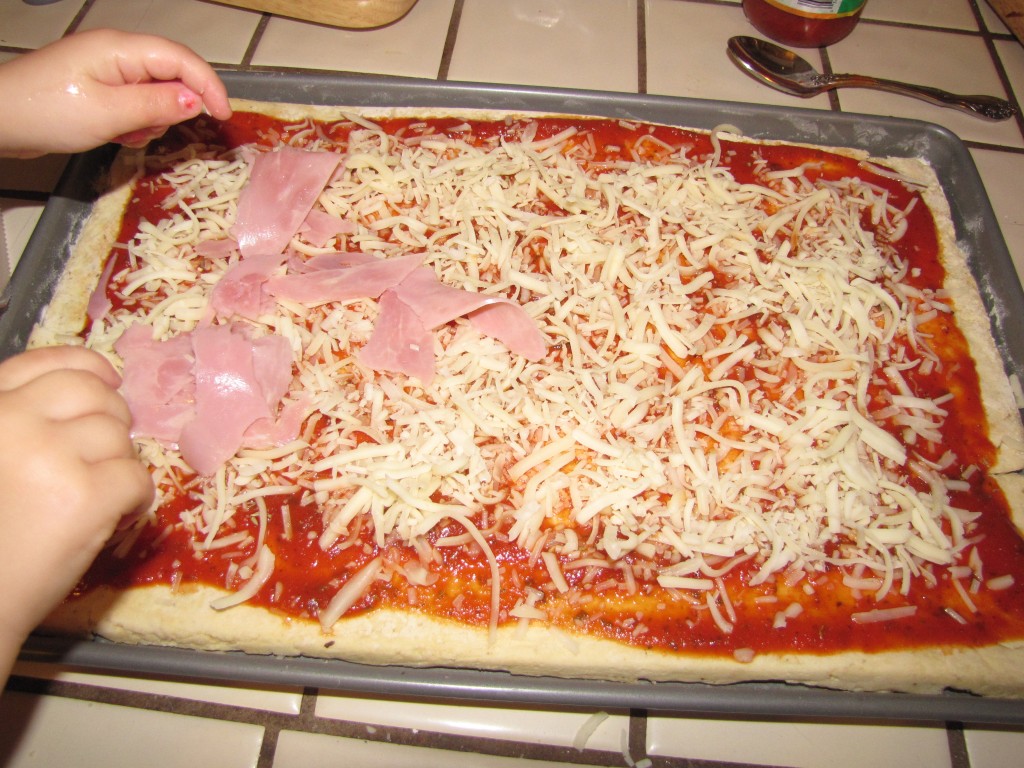
Last week, I was so excited to find my old recipes when I was unpacking!  I found some recipes that I hadn’t seen since we lived in China!  This recipe for pizza crust comes from my friend Jess who lived with us in China during our second year.  This was my first time making it with Naomi, and she was VERY excited.  She calls pizza, “peaches” and she wanted to be involved in the whole process.

Ingredients:

  • 1 package of active dry yeast
  • 1 cup of warm water
  • 3 cups of flour
  • 2 Tbsp. of sugar
  • 2 Tbsp. of Italian seasoning
  • 1 tsp. of salt
  • 2 Tbsp. of vegetable oil
  • pizza sauce
  • mozzarella cheese
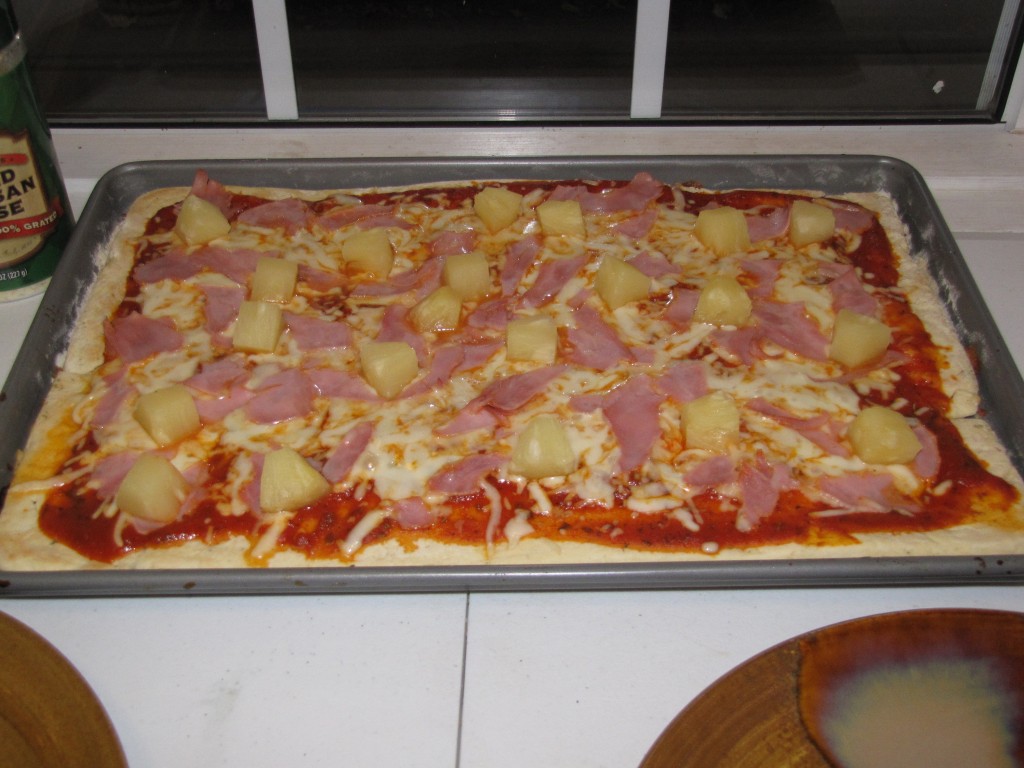
  • toppings (ham & pineapple)

Pizza Crust:

  • Preheat oven to 375 F (190 C).

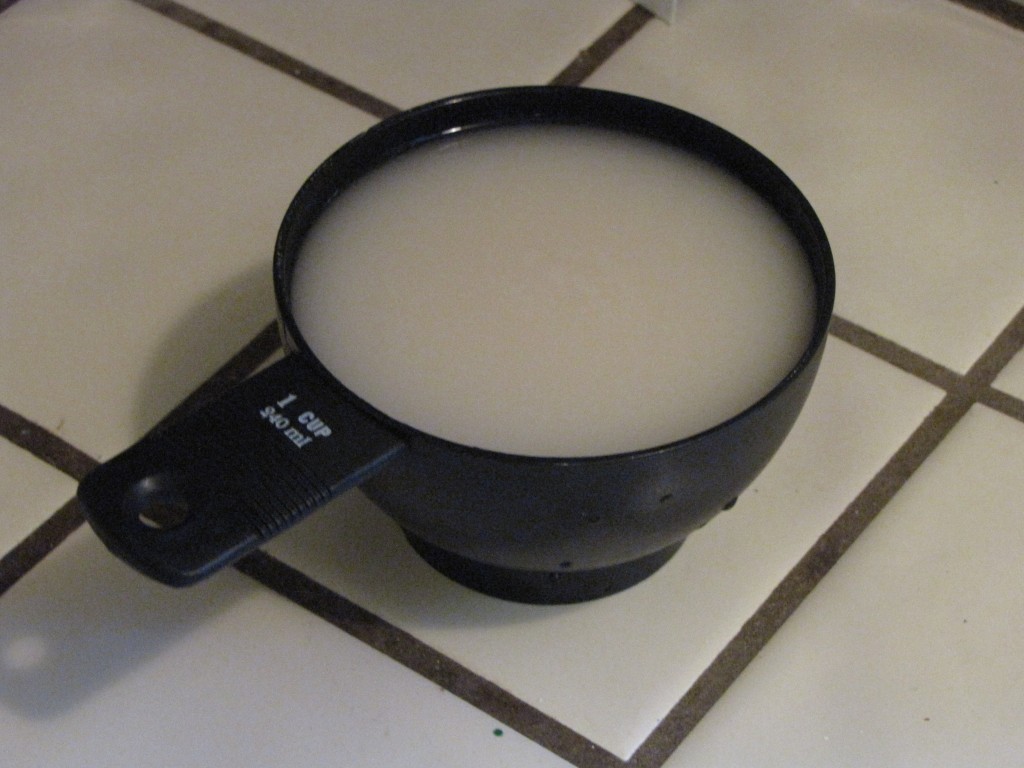
  • Dissolve yeast in warm water (make sure it’s not hot water-that kills the yeast).  Stir out all of the little yeast lumps.

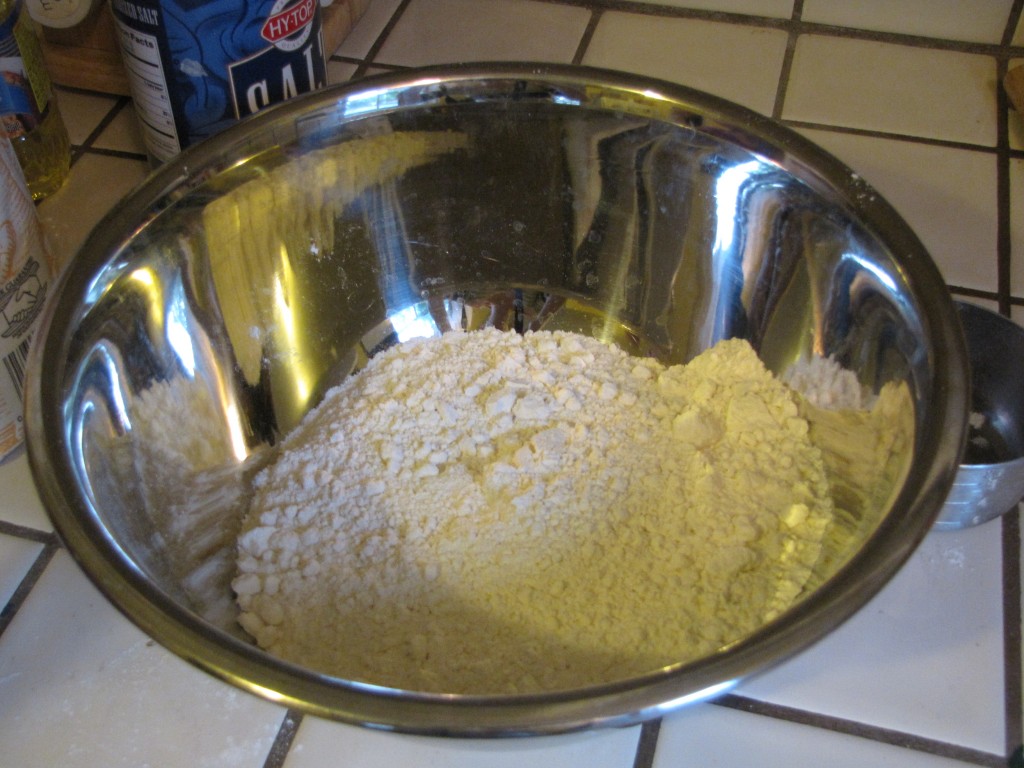
  • In a separate bowl, combine flour, sugar, Italian seasoning, and salt.  Add vegetable oil and the yeast mixture.

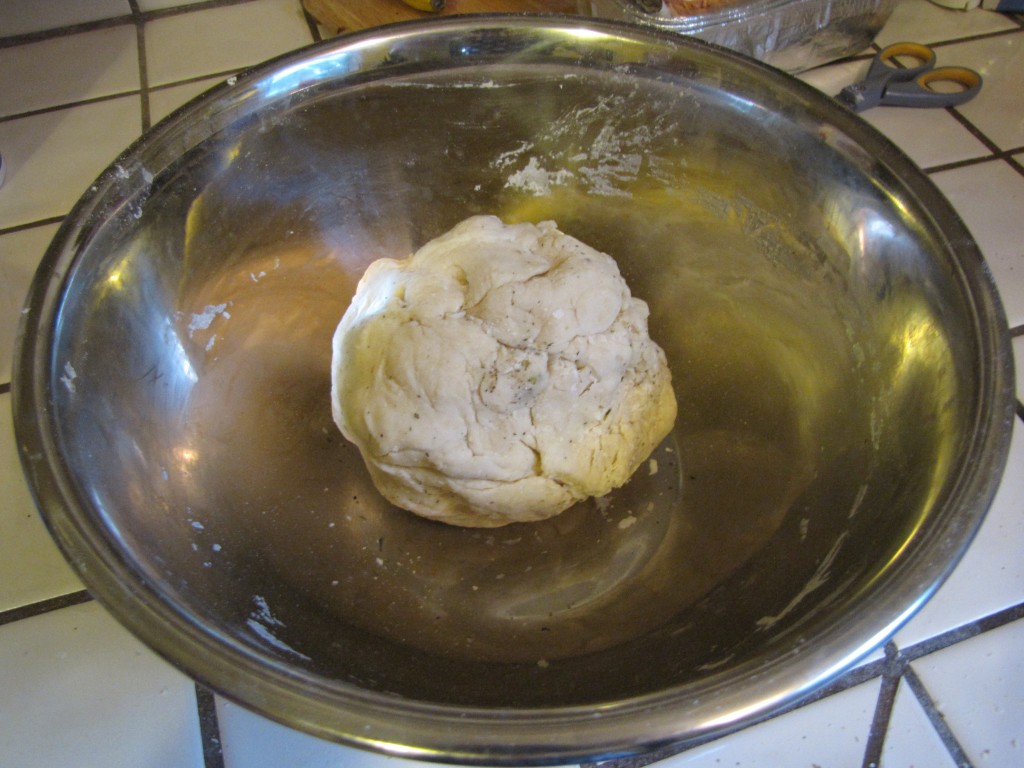
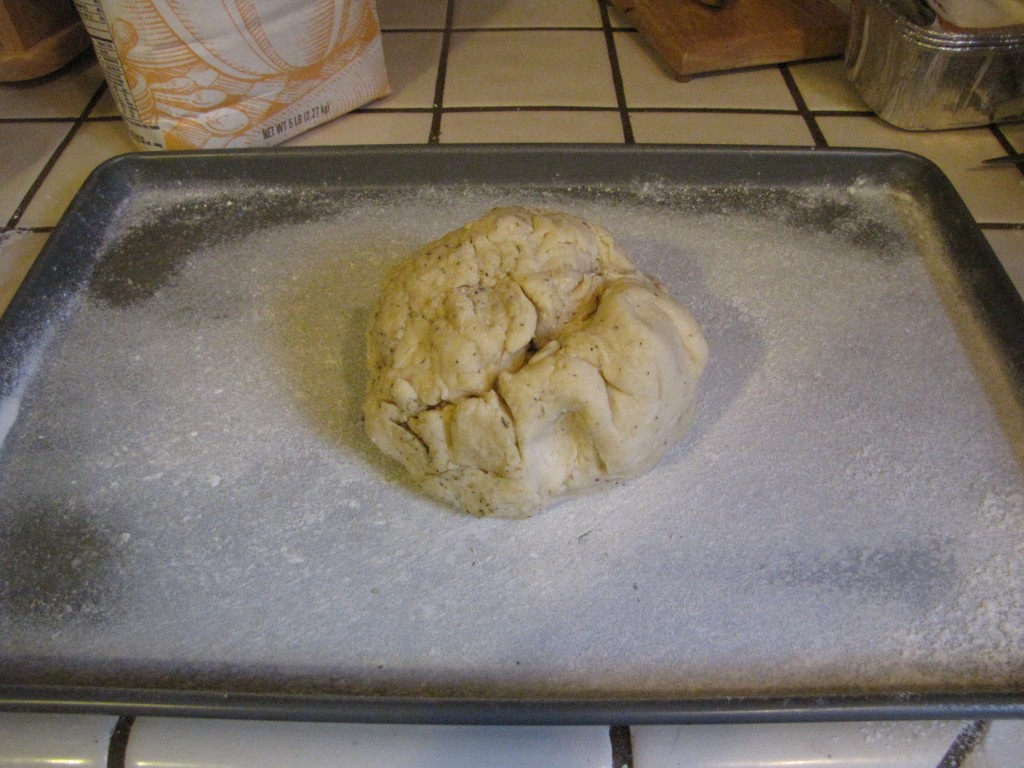
  • Mix well until you’ve got a nice ball of dough.  (I had to add a little bit more water to make it sticky enough.)

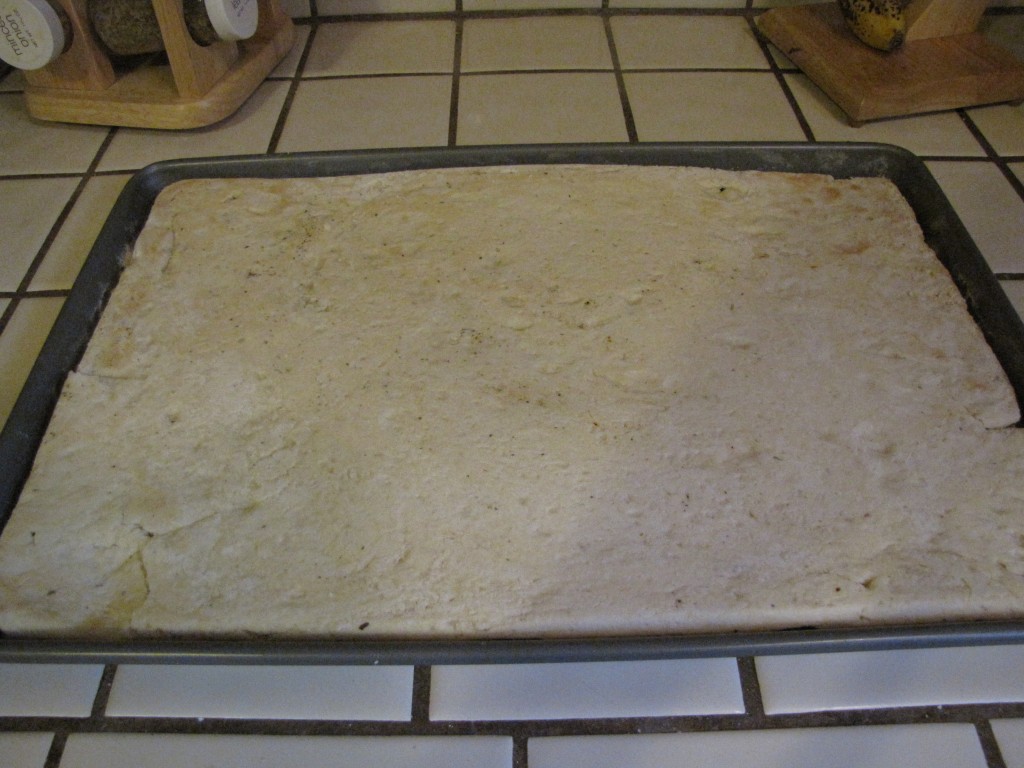
  • Lightly grease the baking sheet with oil and then lightly sprinkle it with flour.  Work the dough until it covers the pan, or most of it.

  • Bake it for about 8 minutes.

  • Remove it from the pan, flip it over and add your sauce, cheese and toppings to the side that was face down.

  • Put it back into the oven, straight on to the oven rack.

  • Bake for an additional 10-12 minutes, or until the cheese is bubbly and the crust is fairly browned on bottom.

  • Freeze any leftover dough for another day- just don’t try to defrost it in the microwave!

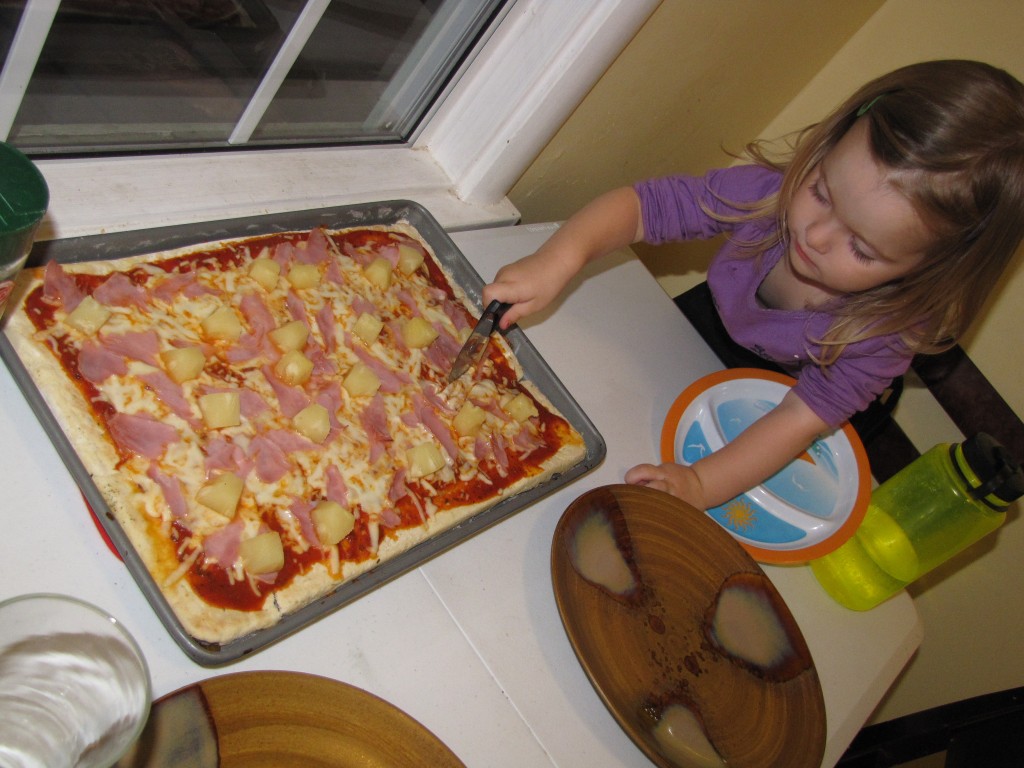
Naomi dubbed it “Naomi’s Pizza” and was delighted to share it with Daddy and Oliver when we were done!  (Although I think Oliver like the pineapples better than the pizza.)  It was sooo delicious!

Naomi loves to cook with me.  What kinds of activities does your toddler enjoy doing with you?

Freebie Friday!

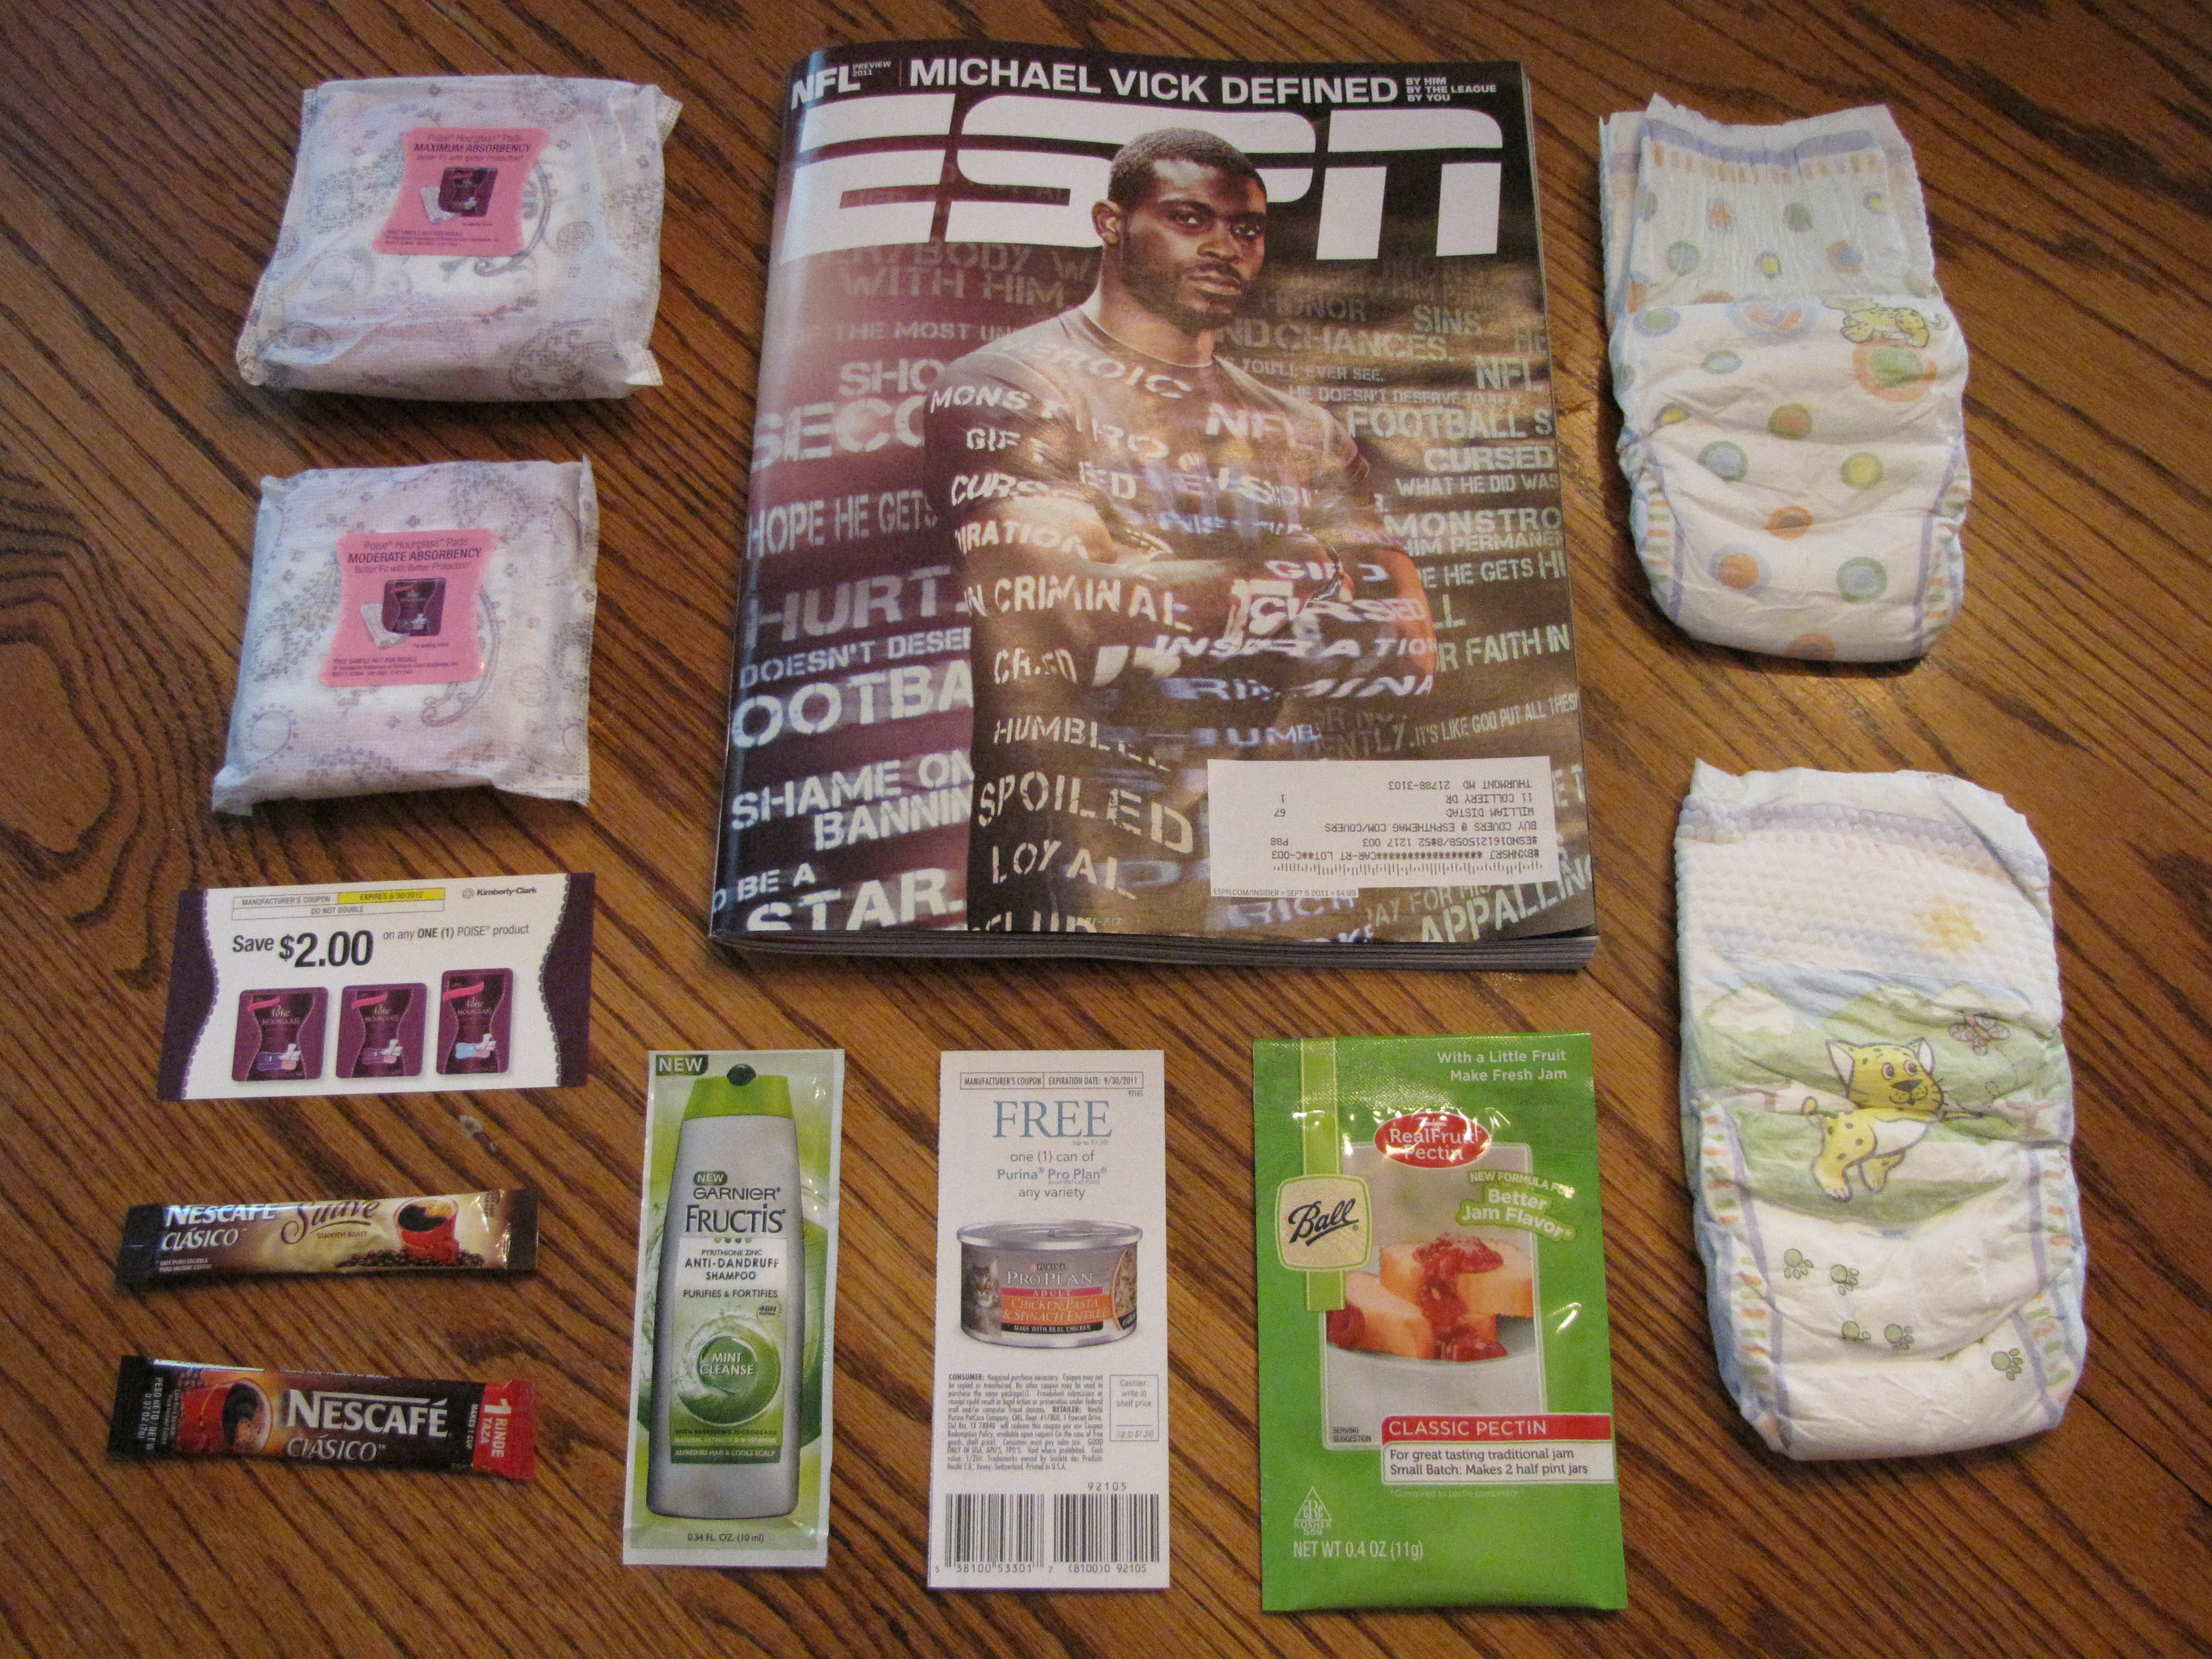
We have yet to receive our mail at our new home (though maybe today I’ll be surprised!) so here are the last free samples I received at our old address.

  • Poise Pads (2) & Coupon
  • Nescafe Clasico (2)
  • Garnier Fructis Anti-Dandruff Shampoo
  • 1 Can Purina Pro-Plan
  • Ball Real Fruit Pectin
  • Diapers (2)
  • ESPN Magazine

Q & A Wednesday: How can I update my rental property inexpensively?

One of the most inexpensive ways that you can update any property inexpensively is PAINT!  That is, with the permission of the property manager, of course.  Our new rental property was in desperate need of some updates, so our property manager accepted less than half of the security deposit if we were willing to handle the painting ourselves.  Not only was this a great deal for us financially, but I love getting to choose my own paint colors!

So here is an exclusive sneak peek into our new home, and a few of our newly updated (a.k.a. freshly PAINTED) rooms!

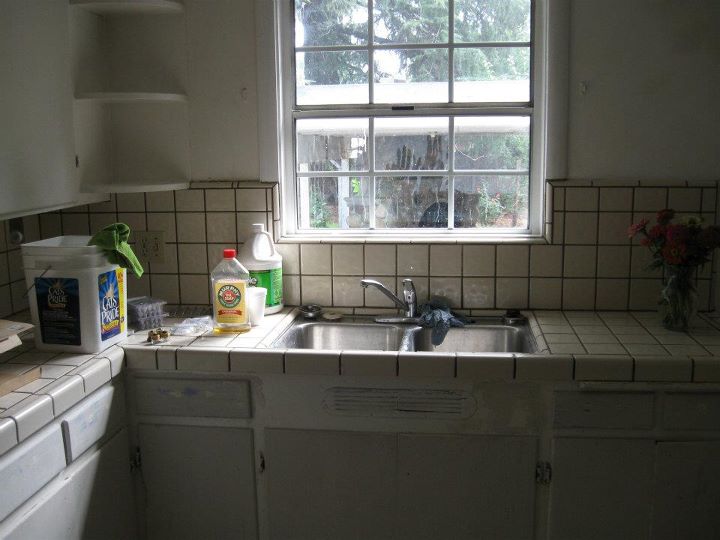
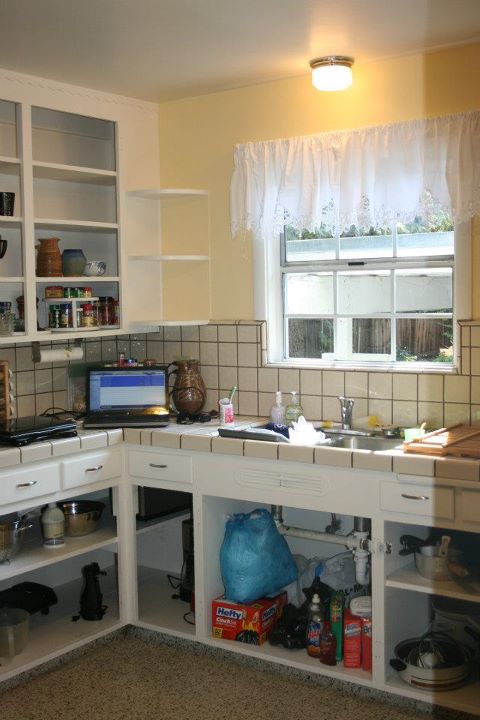
Here is our kitchen BEFORE…

…and AFTER.

Some more inexpensive updates are a valance from Walmart and freshly washed windows!  (The cabinet doors are being sanded and repainted by a friend.  I’m so excited to see what they’ll look like when they’re finished!)

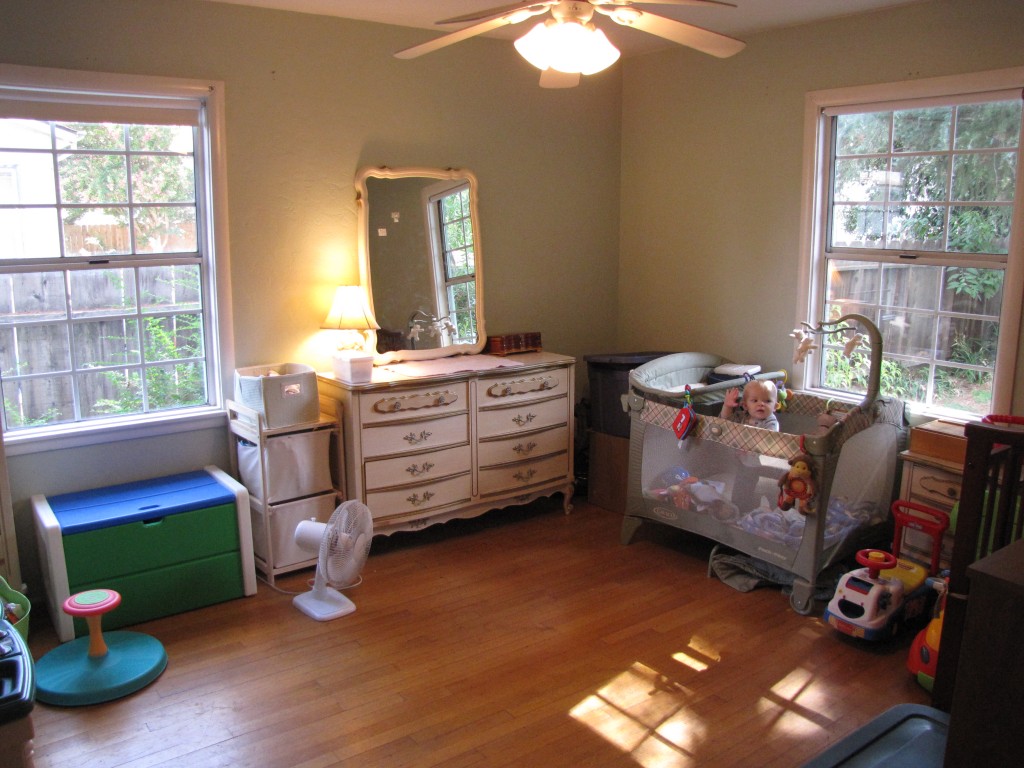
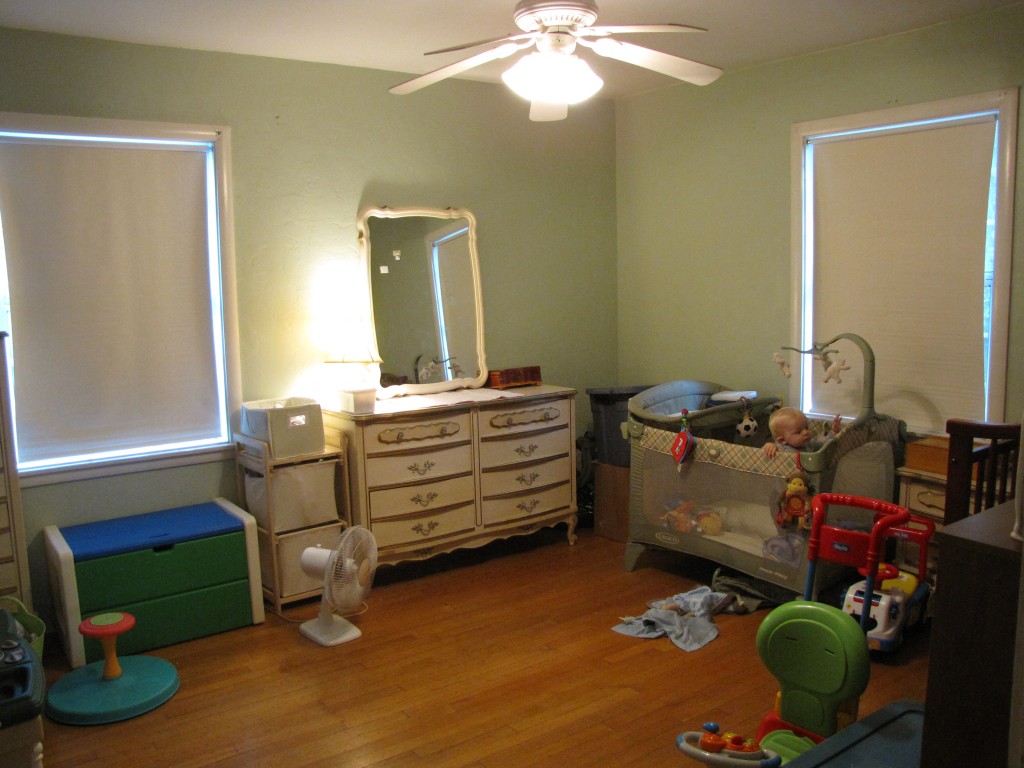
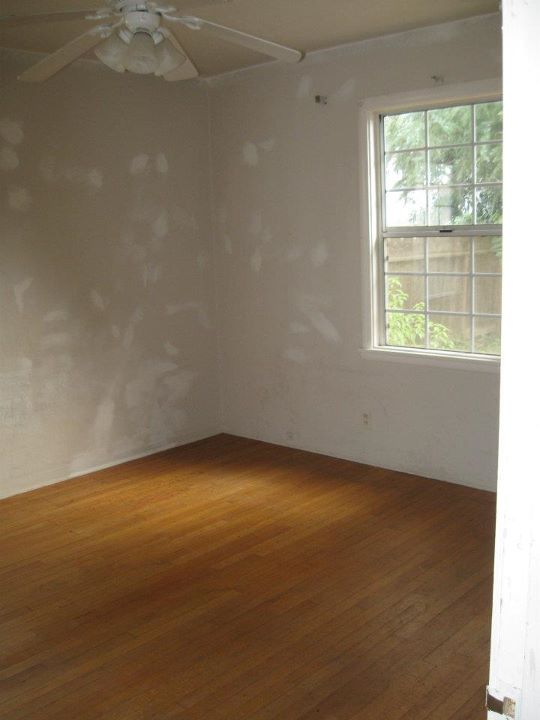
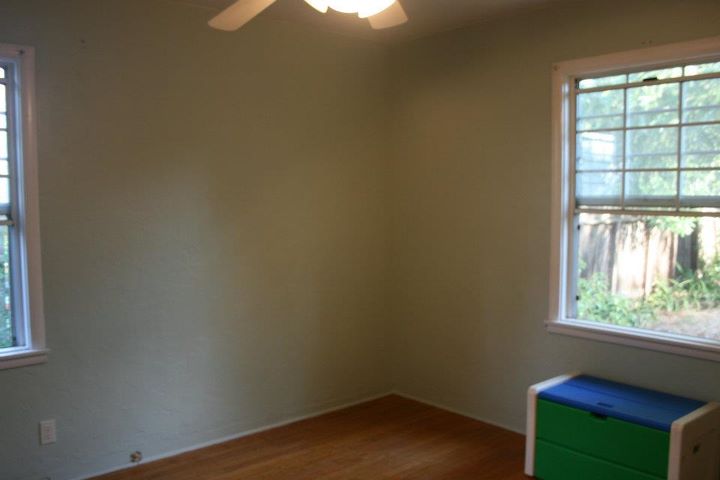
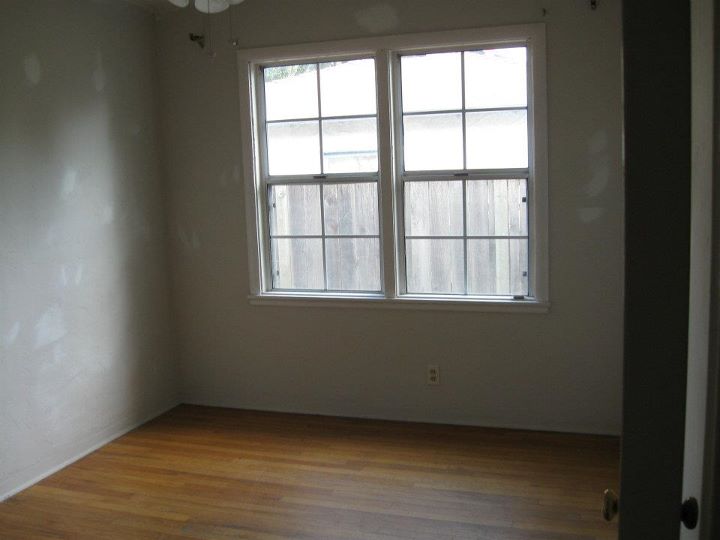
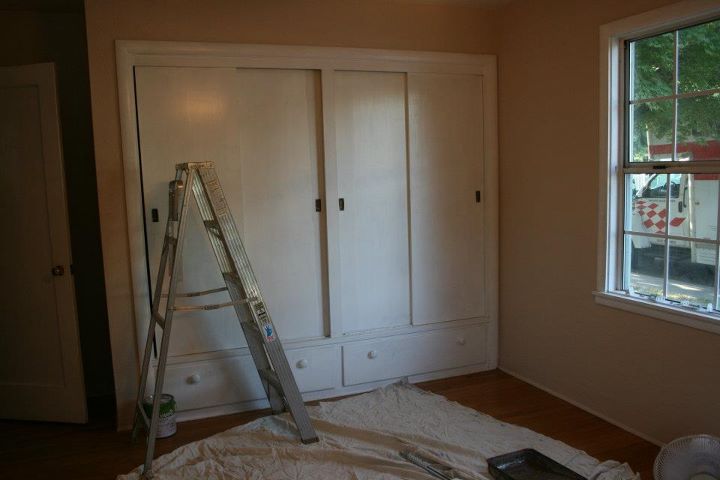
The kids’ bedroom BEFORE…

…and AFTER.

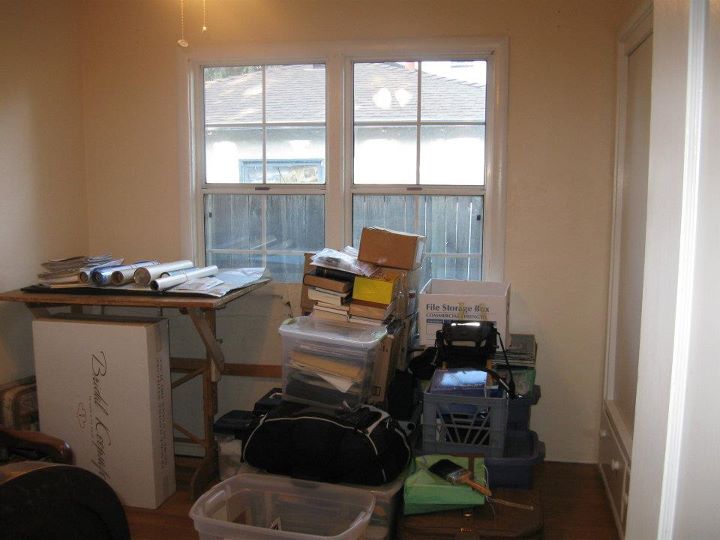
The office/art studio BEFORE…

…and AFTER.

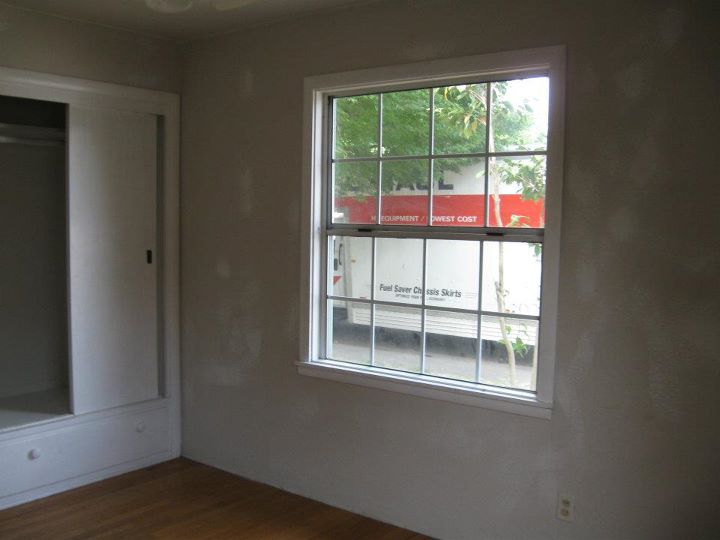
Our Master Bedroom BEFORE…

…and AFTER.

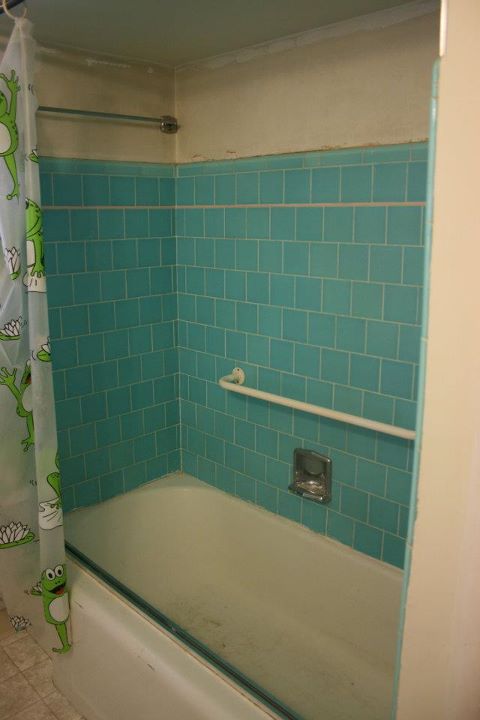
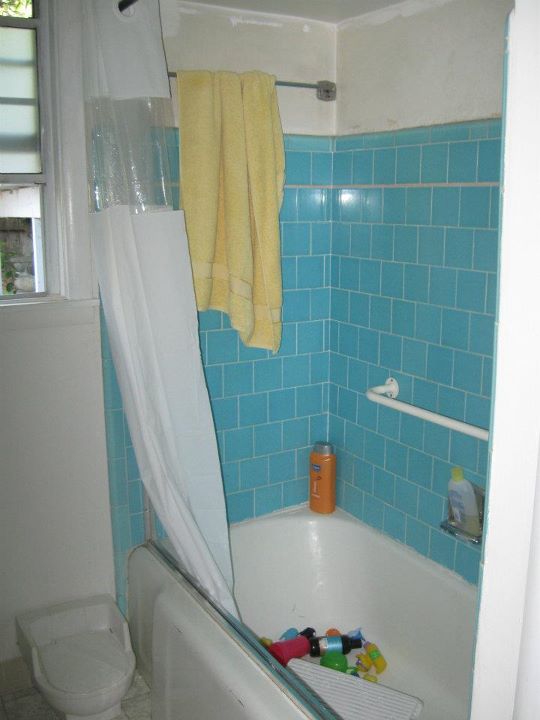
Our bathroom has NOT been repainted, but a new shower curtain from Walmart is another inexpensive update!

Our bathroom BEFORE…

…and AFTER.

As you can see, we still have a lot of work to do, but for now it’s very satisfying to see what a difference these updates have made in our new place.

What other suggestions can you give for updating a rental property inexpensively?

Toddler Tuesday: Chocolate Acorns

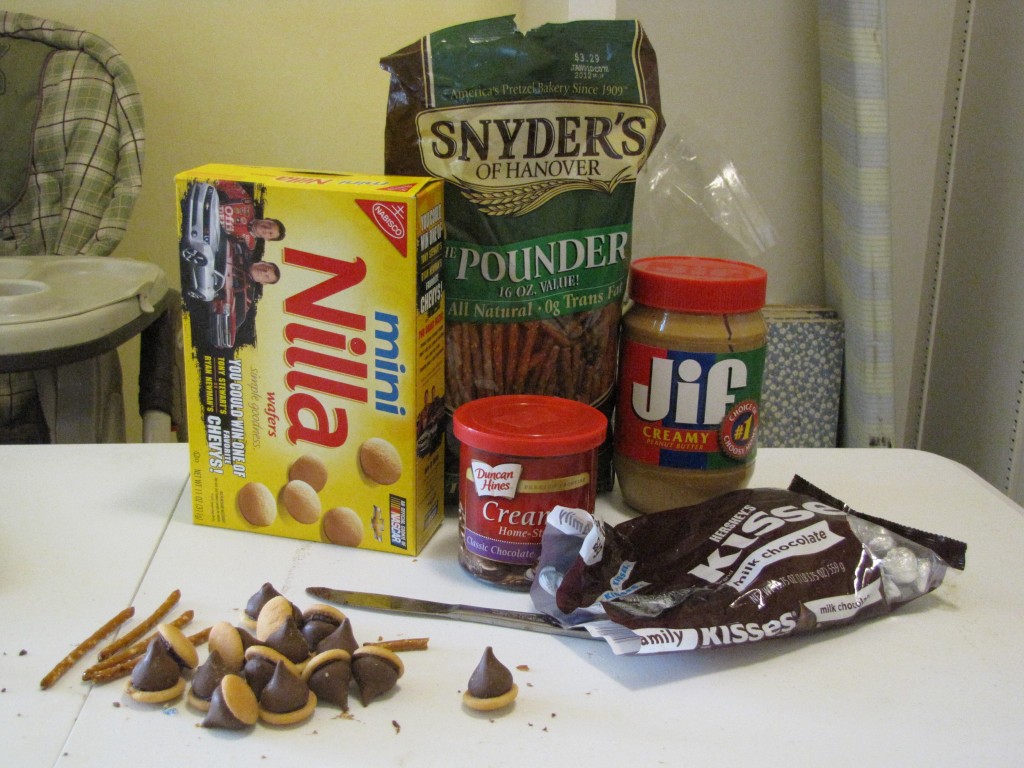
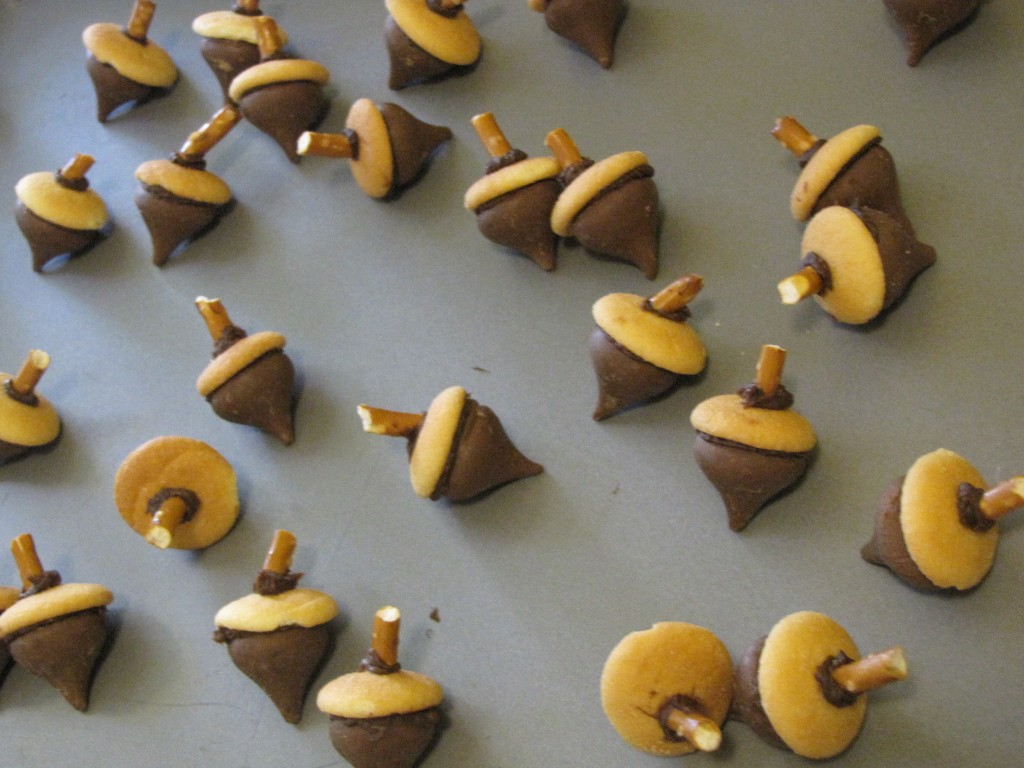
Recently on “From Chapel Hill to Chickenville,” Aimee published a delicious recipe for chocolate acorns.  They were so adorable that I had to try making them with Naomi!  We had a great time making them.

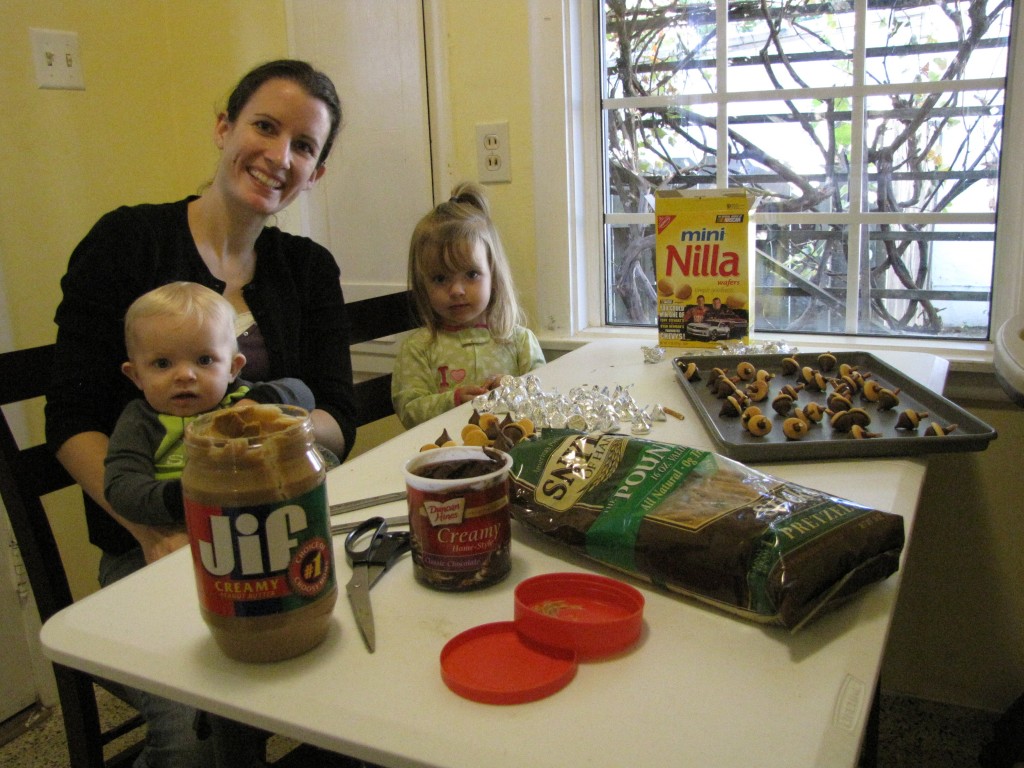
First, I purchased our materials.  I was excited that the leftover materials would also make nice snacks for the kids well after the recipe was completed. (We experimented with peanut butter as an alternative adhesive to the chocolate icing.)

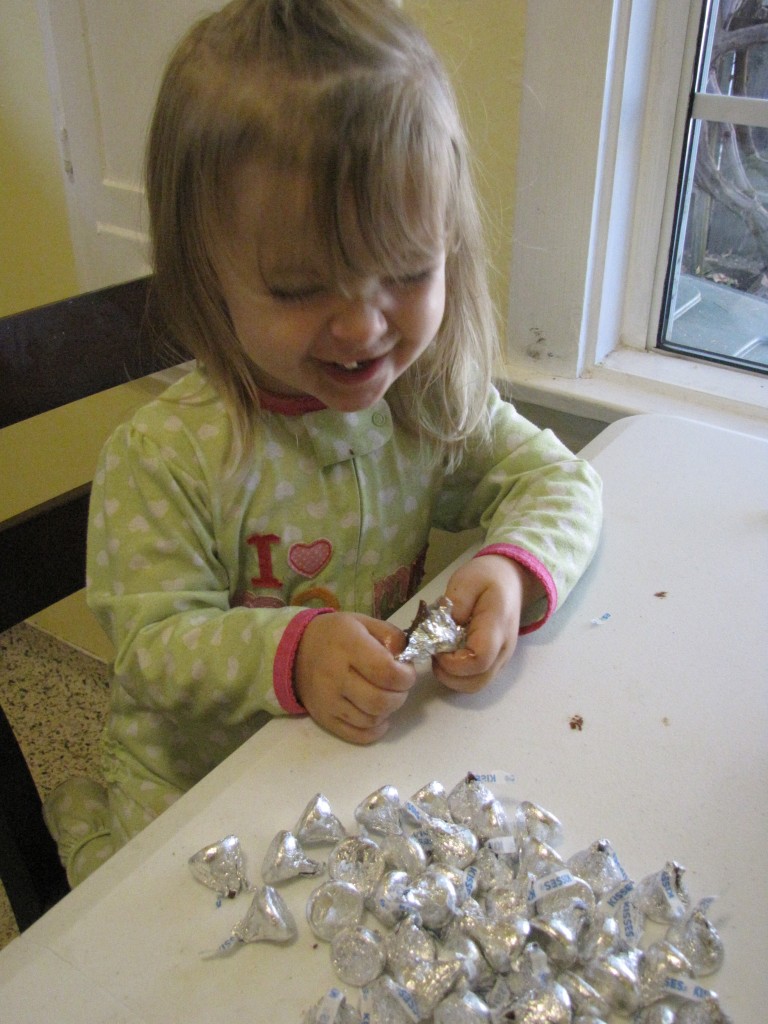
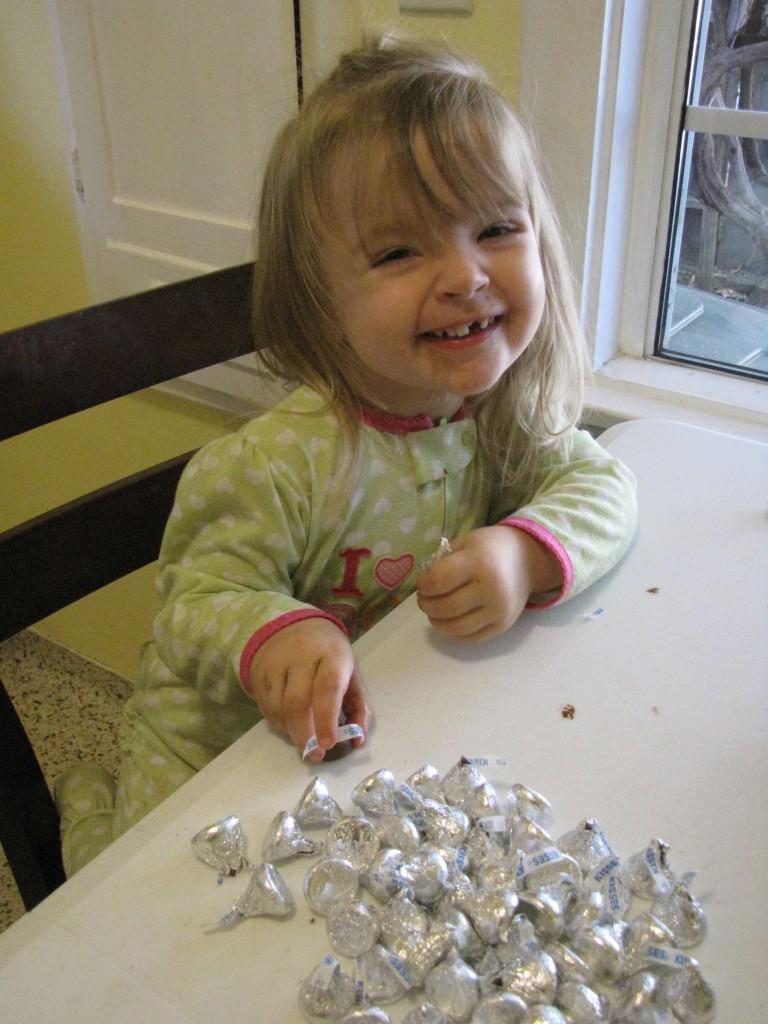
Naomi took over the first step in our assembly line, which was removing the foil wrappers from the Hershey kisses.  I had to instruct her on how to remove the foil without using her TEETH, and I had to watch her carefully lest she EAT the kisses when I wasn’t looking.

And for those of you who haven’t seen it yet, here is her new toothless grin!  After peeling the Hershey kisses, she stuck them on the wafers I had prepared with chocolate icing.

I added the frosting and pretzel stems myself after Naomi was done.  Aren’t they adorable?  We took them with us yesterday to a football party and a committee meeting.  They were a big hit!

Please forgive my appearance!  We were having some plumbing issues, so I hadn’t showered in two days!  But here we are, with our finished chocolate acorns.  Naomi calls them “Candy” and “Make” because we made them together!

Have you tried making food with your kids recently?

I’m Published!

Featured on MoneySavingMom.com

Yesterday I opened my favorite blog, Money Saving Mom, and saw the title of her most recent article, “How Not to Play the Drugstore Game.”  My first thought was, “Crystal must have liked that article I submitted back in May, and decided to write one of her own.”  But as I glanced through the blog post, I realized that it was MY guest post!  Suffice to say, I’m ecstatic to see my guest post featured on my favorite blog!  Check it out here!

I’ve got to say, Crystal’s acceptance of my guest post has given me a needed motivational boost to continue writing.  I’m hoping to submit more guest posts to Crystal as well as some of my other favorite blogs.  I also want  to say thank you to Crystal and Crystal’s readers for stopping by, and for all your encouraging comments!

Jessica
Powered by WordPress | Designed by: Online Games | Thanks to DJ, Games and Addicting Games