June 3rd, 2013
  Jessica
 If I haven’t mentioned it recently, our family moved to Northern California in September 2011. After living in Maryland, Michigan, New Mexico, Pennsylvania, China, and Minnesota, I was unprepared for the availability of fresh fruit on the West Coast! It is not unusual to see fresh citrus fruit falling off the trees in our neighbor’s yards, nibbled on by squirrels, or brought to our home by a generous friend.

When we have a pile of fresh lemons on our counter top, we usually slice them and freeze them in bags. Then we drop them in glasses or pitchers of water, or in a cup of tea throughout the year. The kids like to eat them with a little sugar sprinkled on top, and some of our friends think frozen lemons make a delicious treat!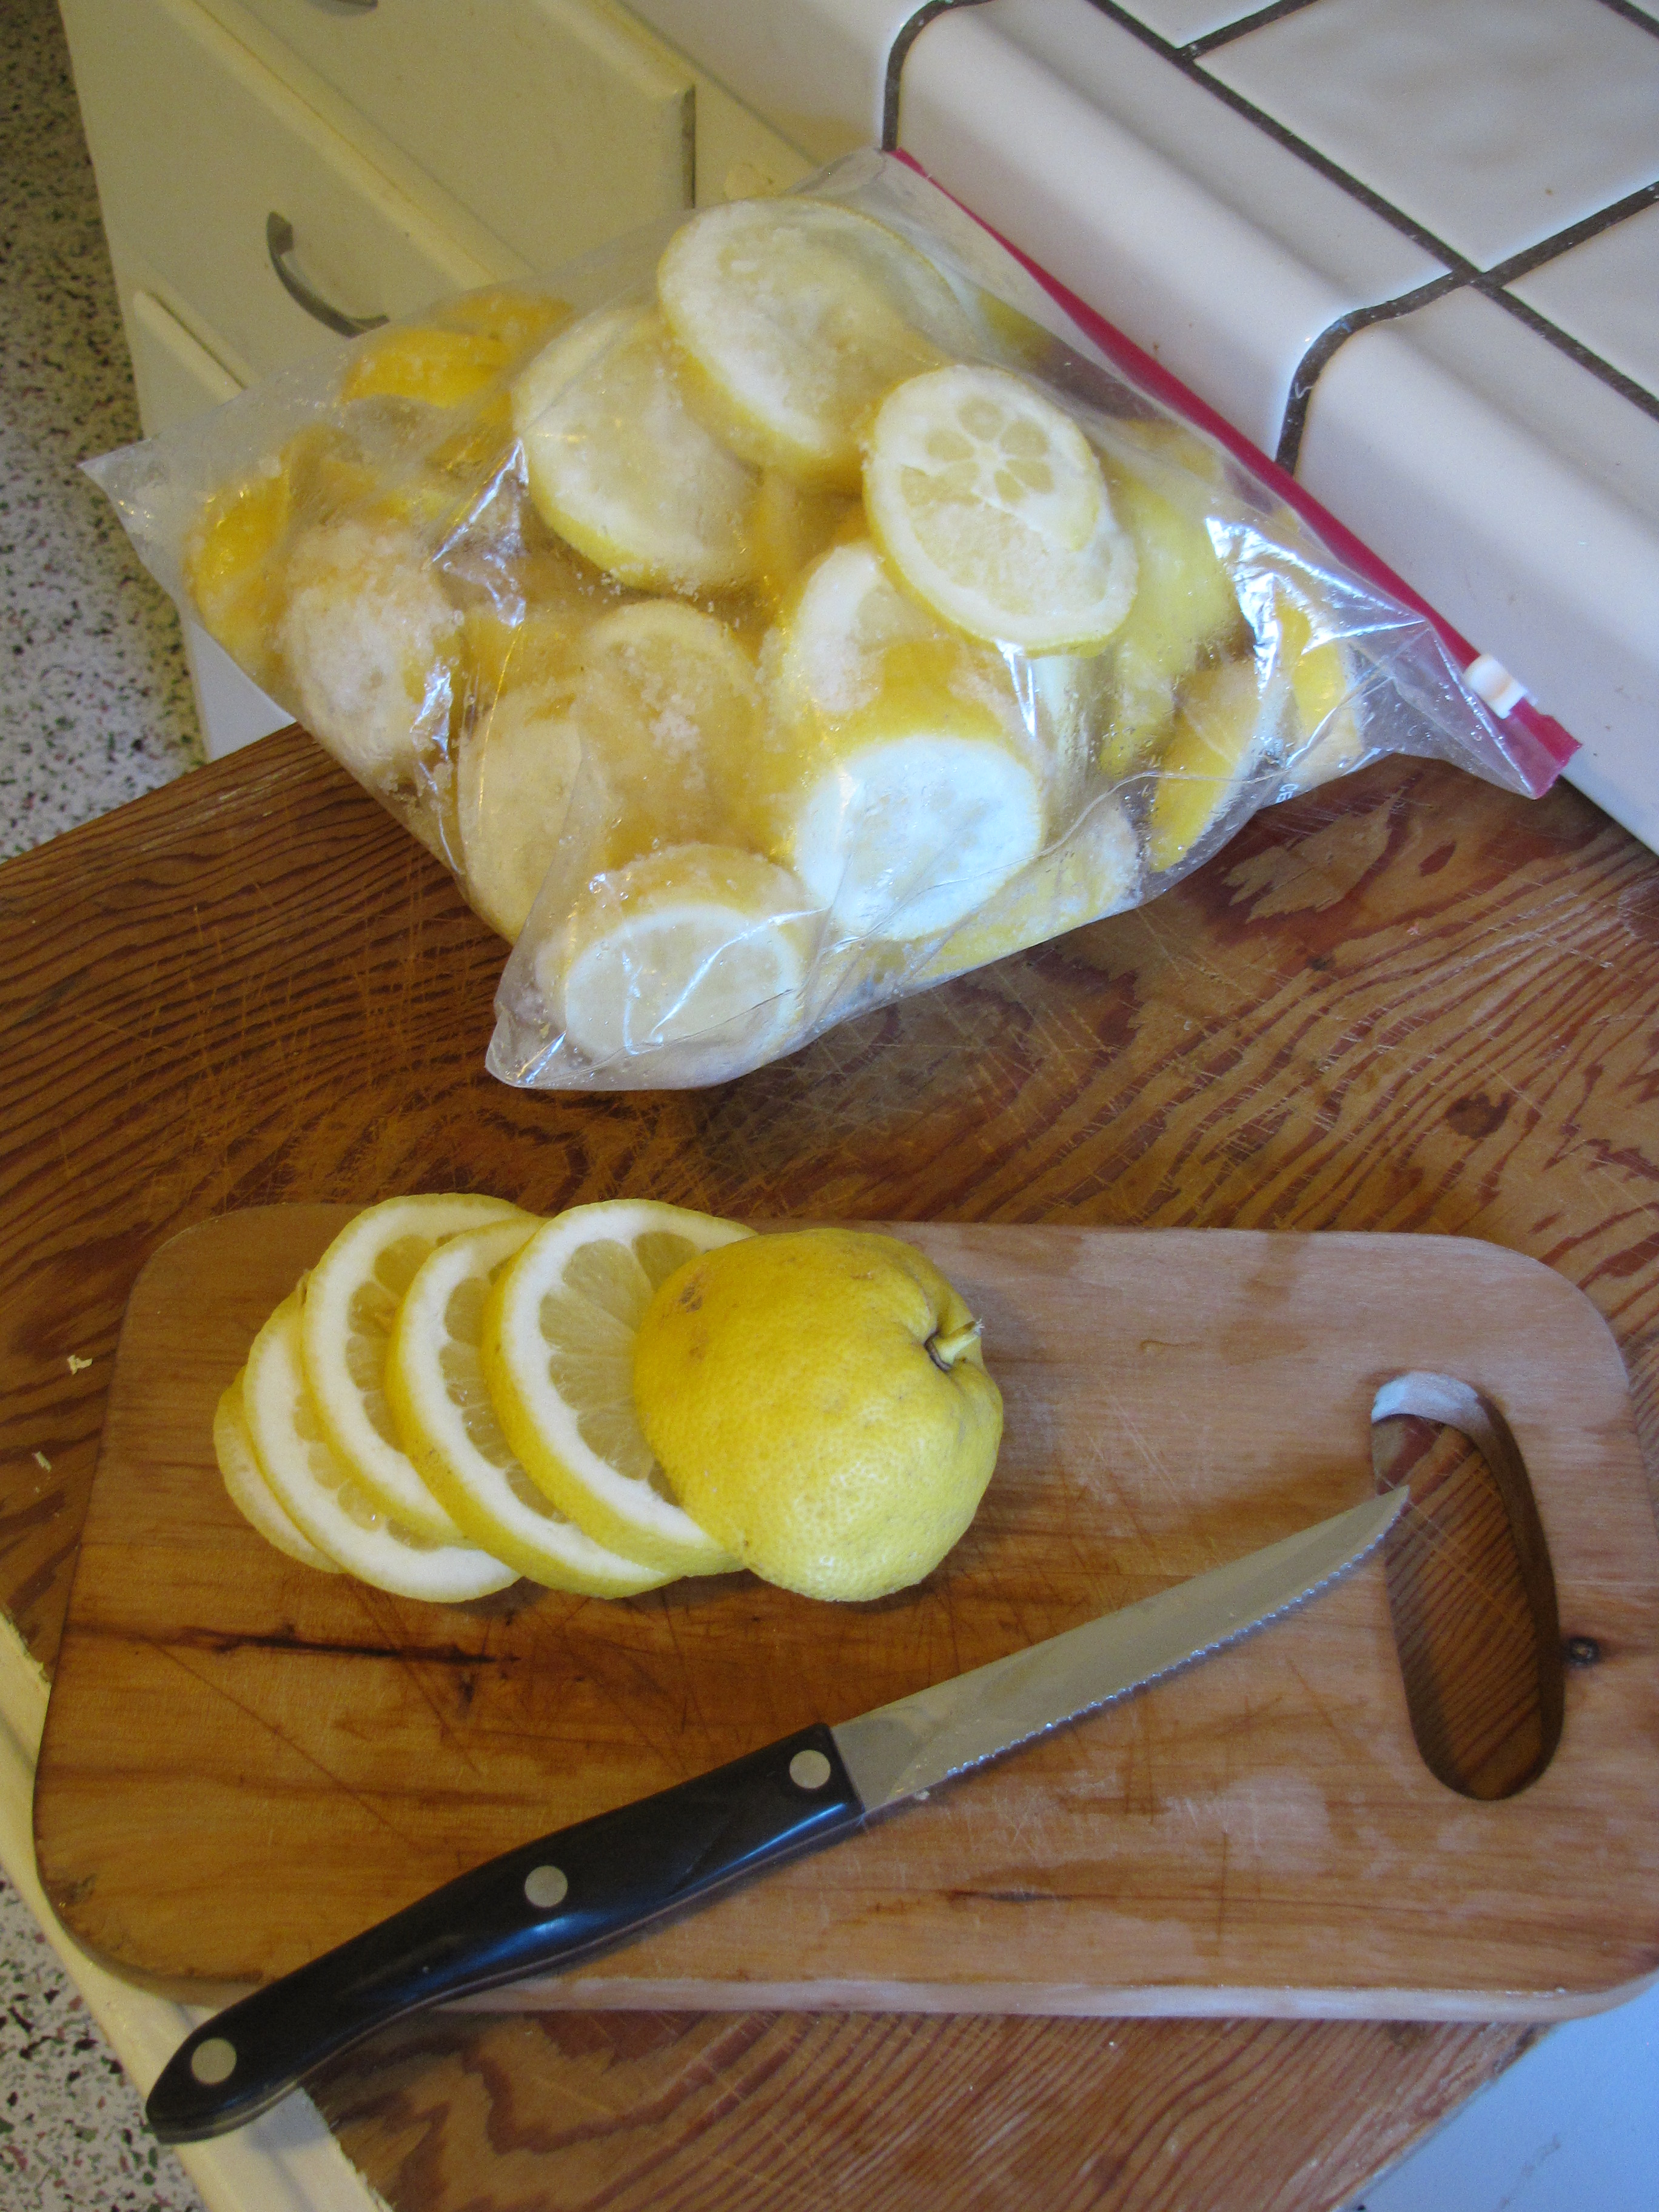
Brad also likes to juice our lemons, and freeze the juice in the freezer. At this rate, I’ll never need to buy lemon juice again!


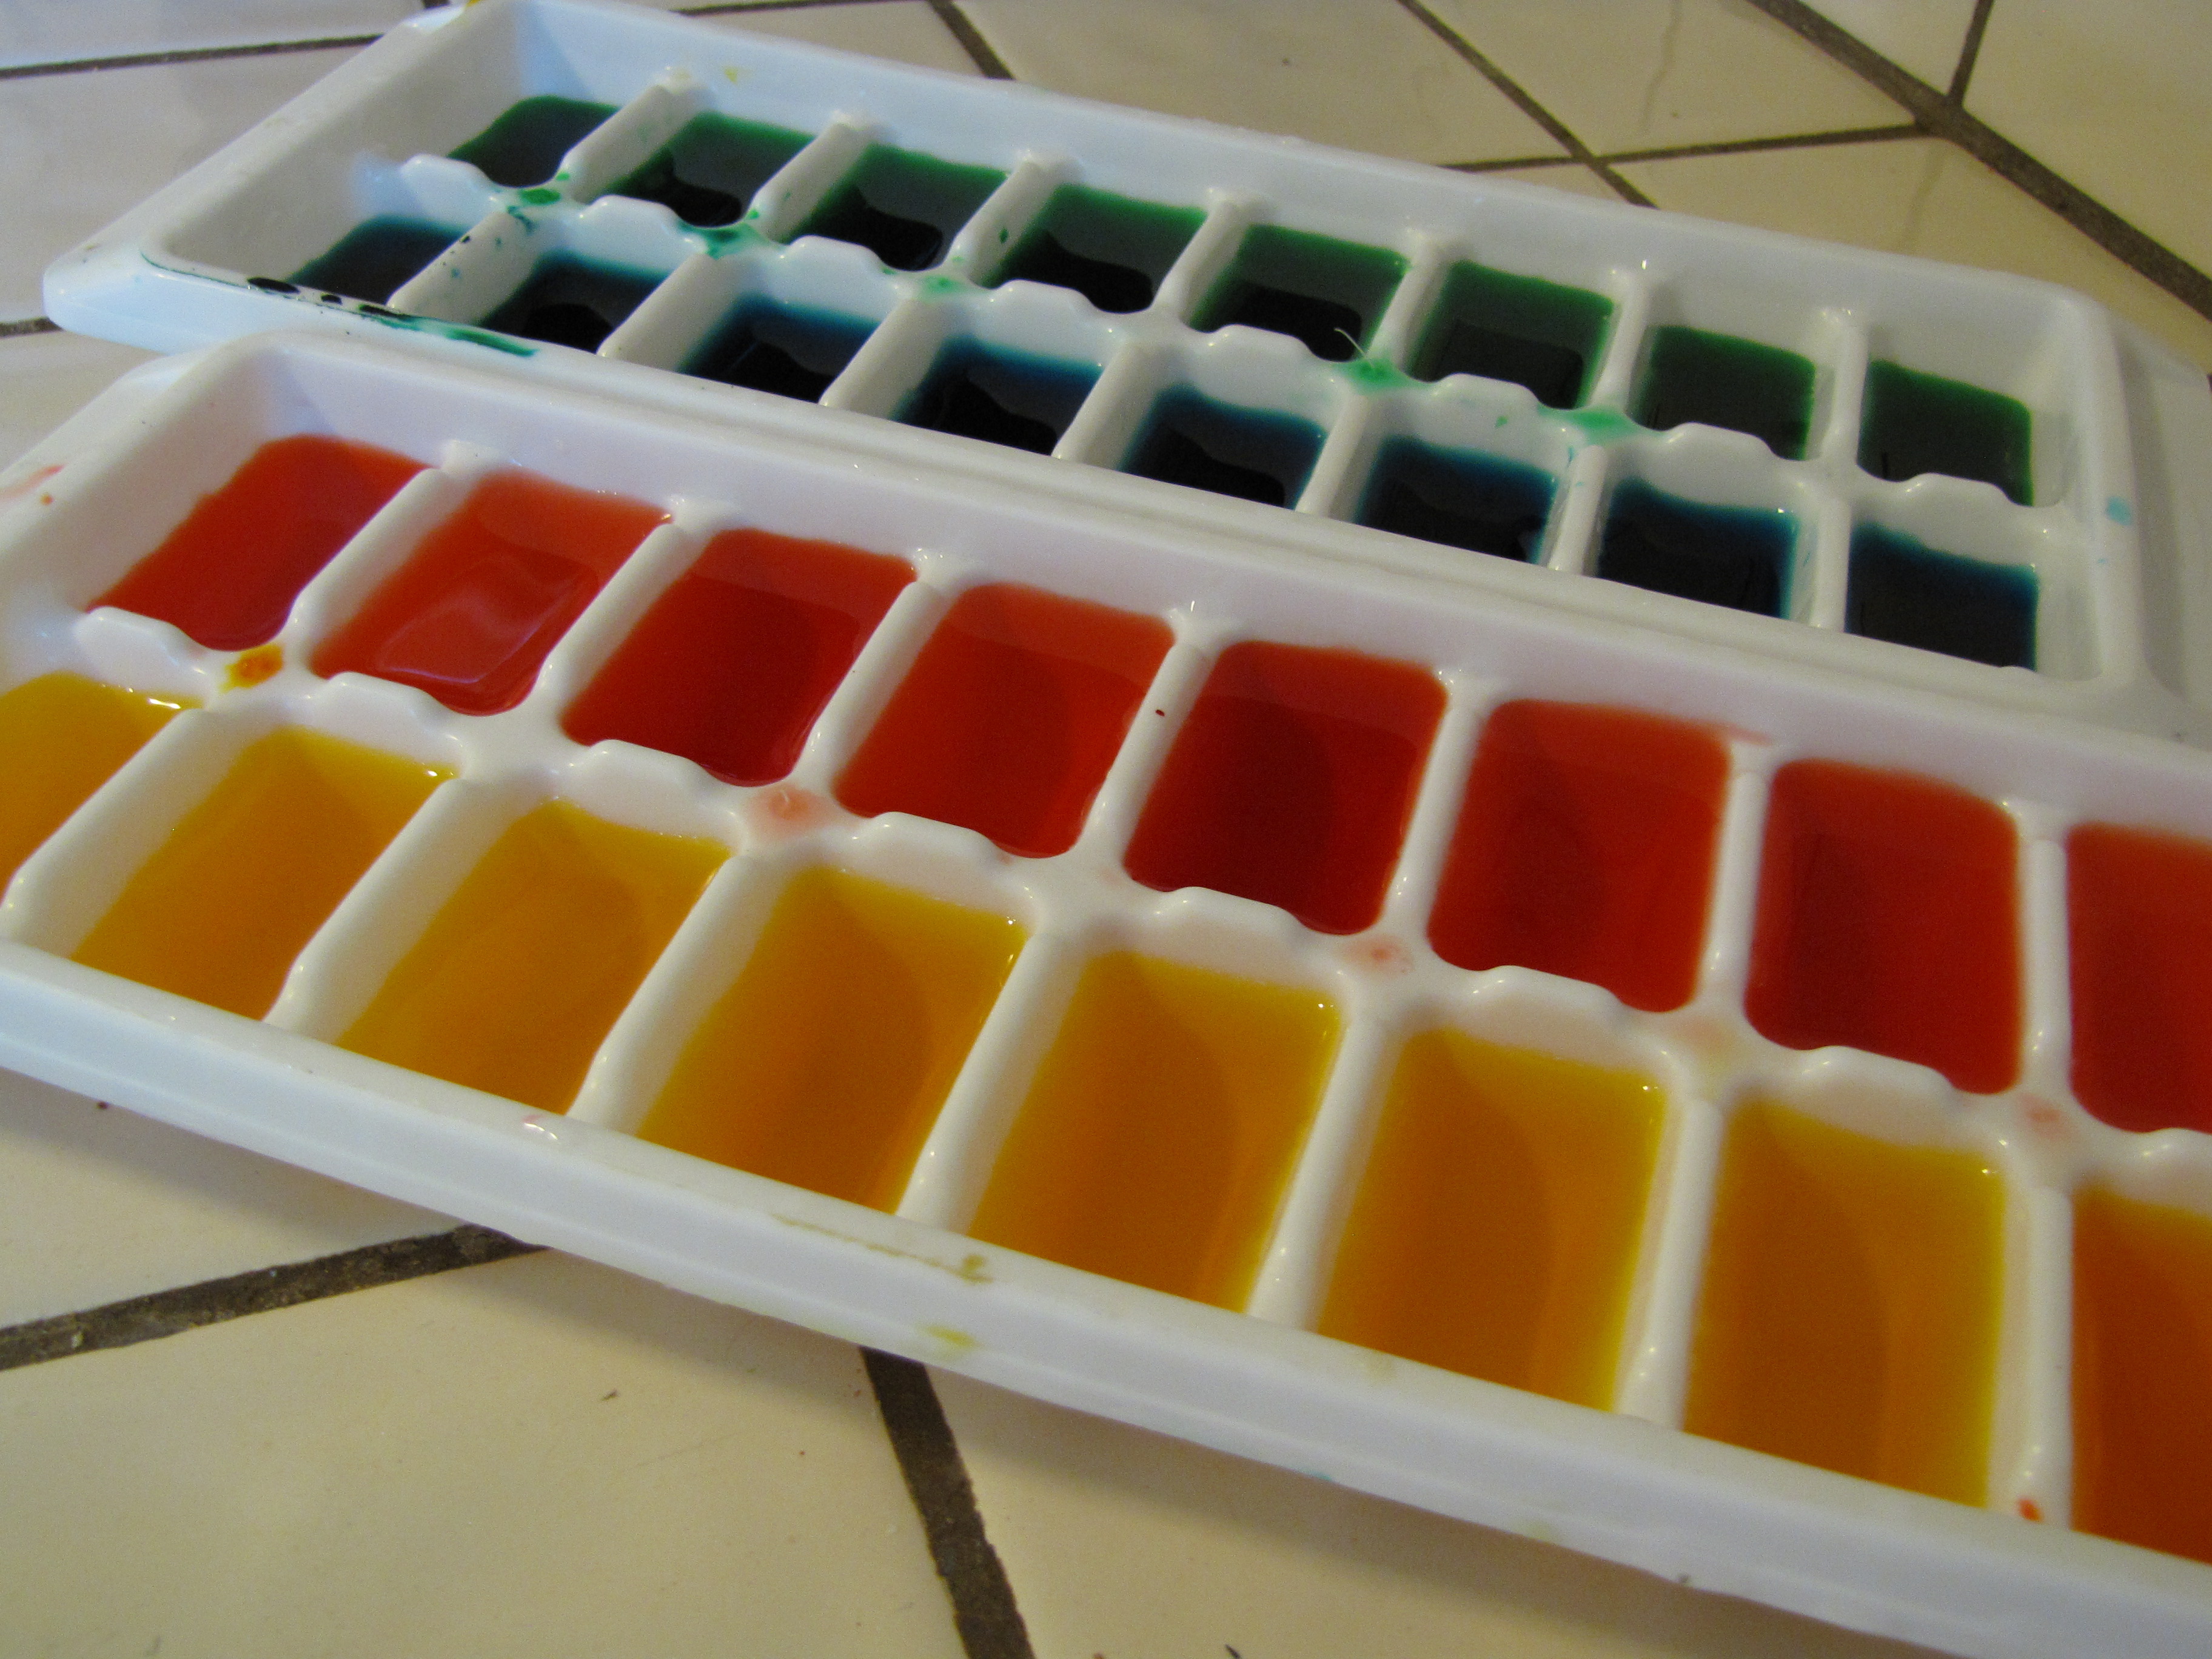
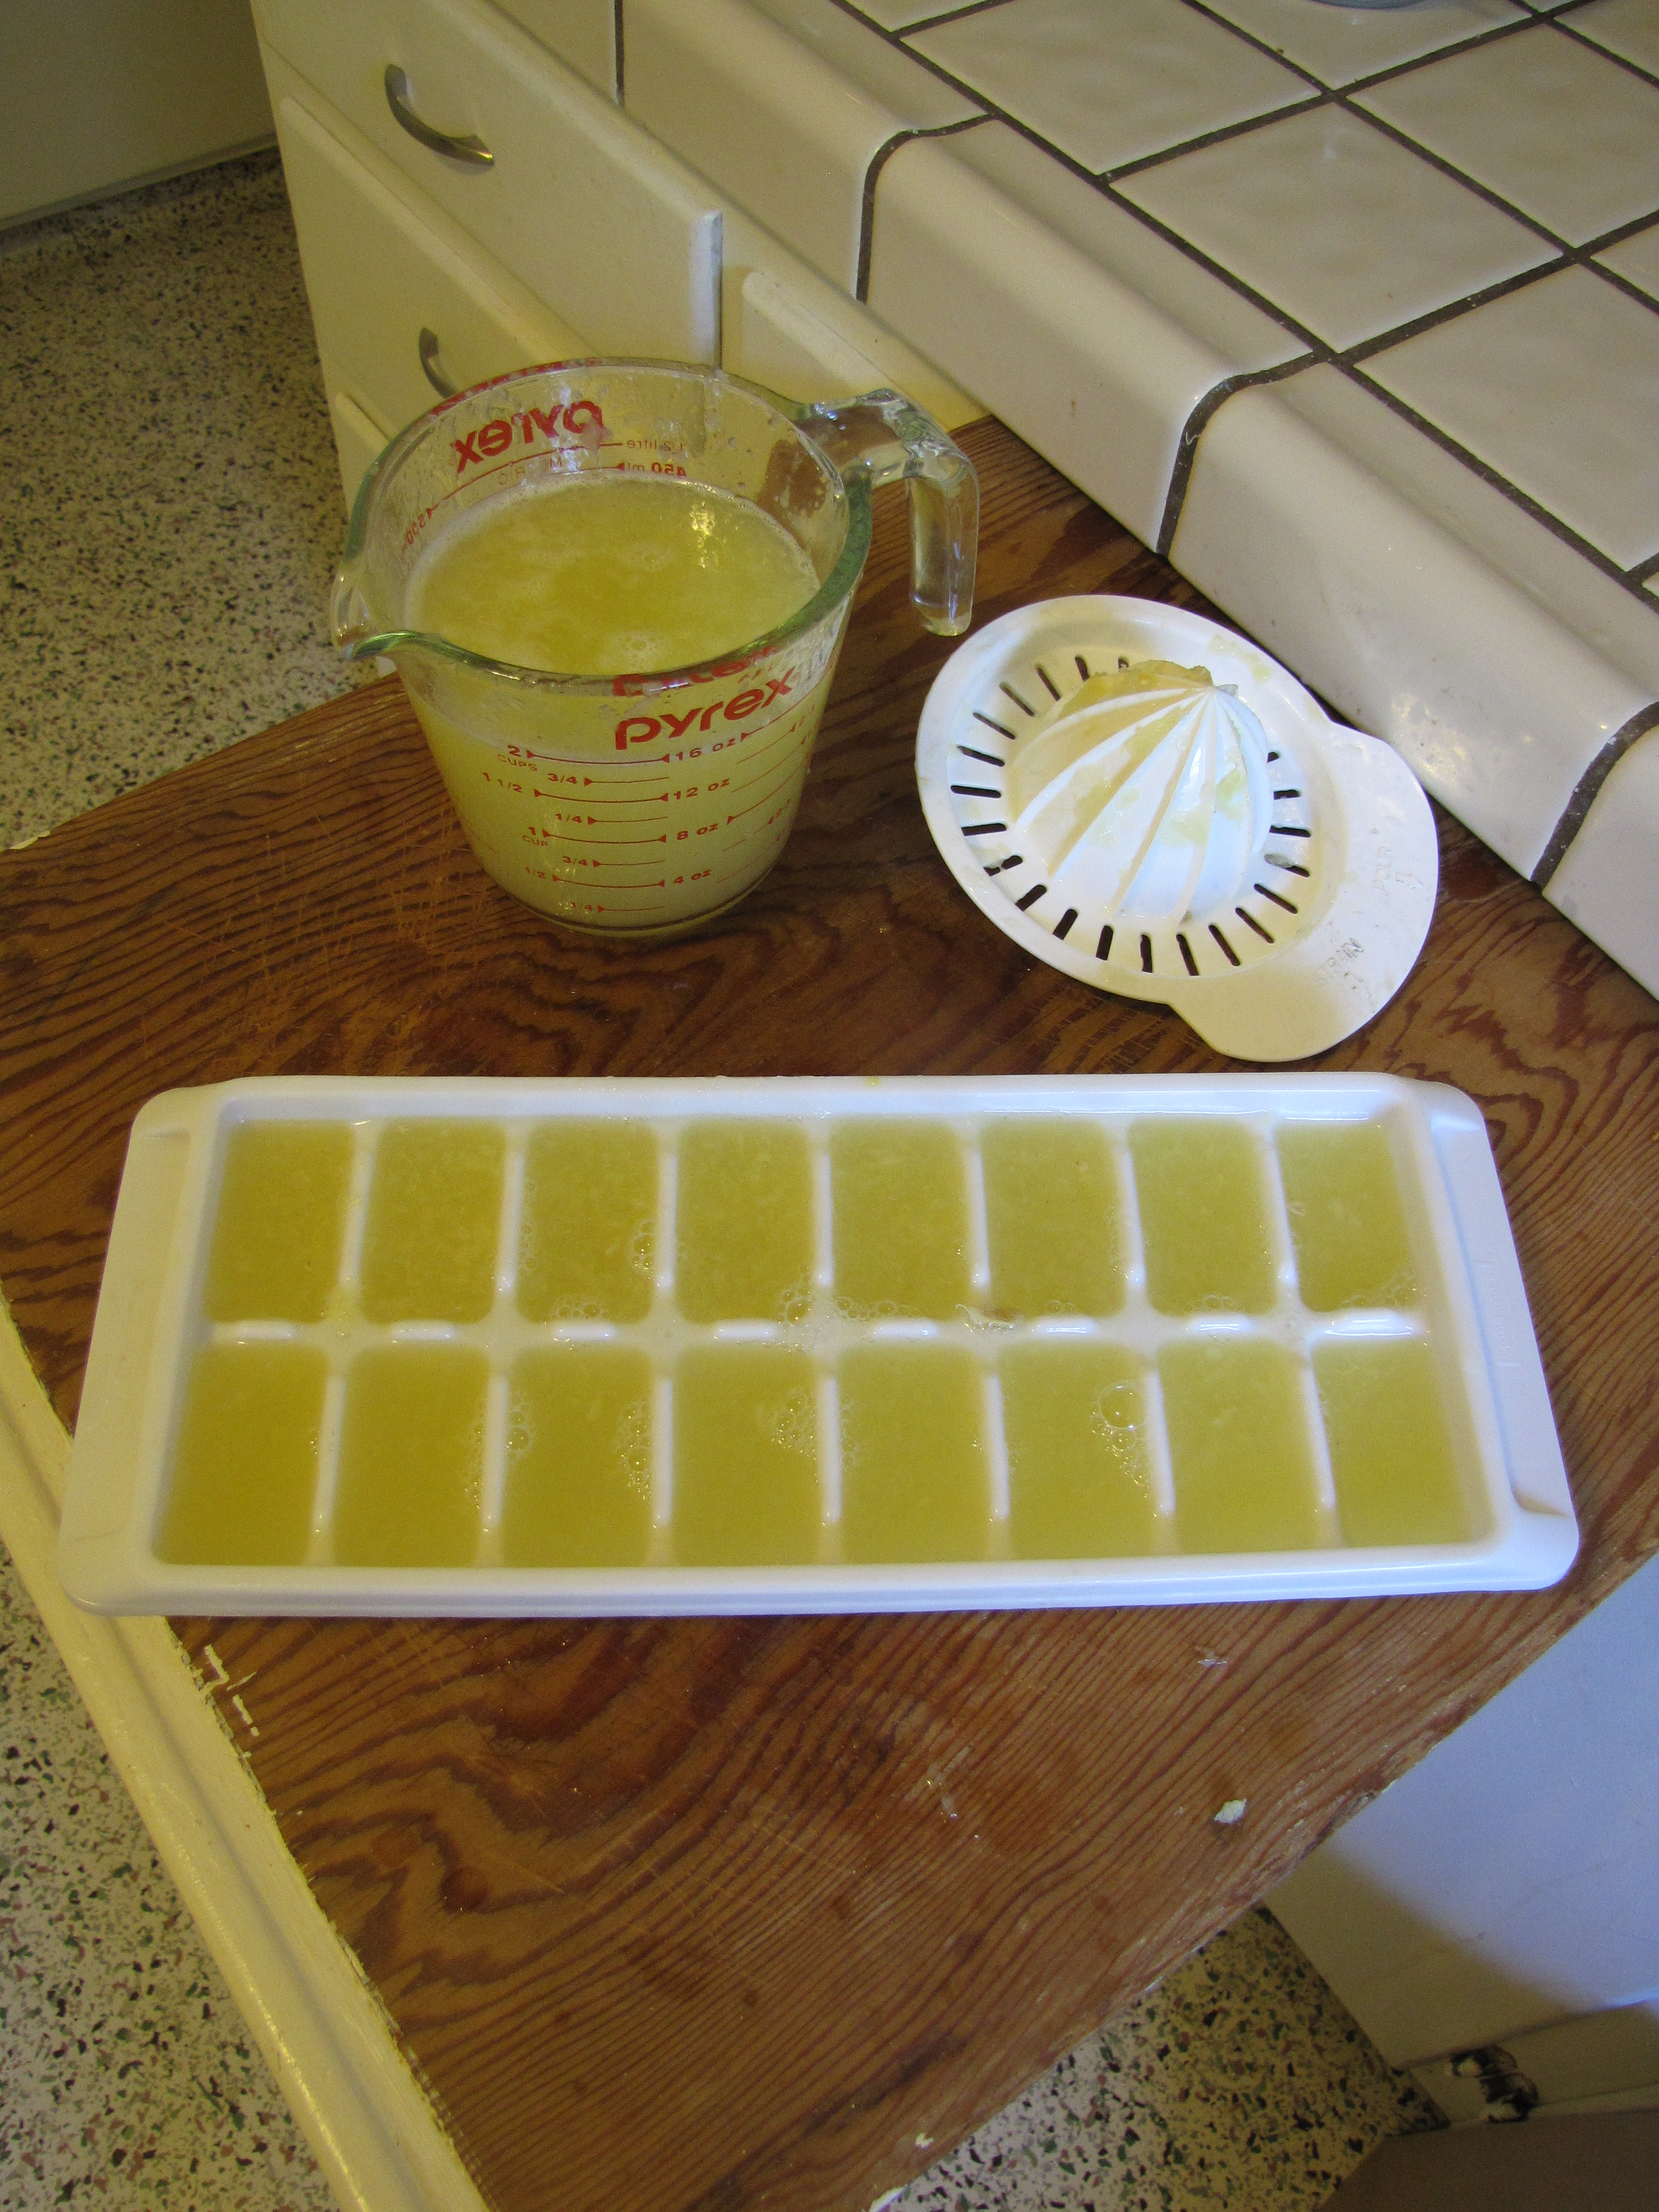
Last year Brad froze some of the lemon juice in cubes, so that he could add to his beverages with ease.
Brad also slices and/or juices the other fruit that we receive, including oranges, limes, and grapefruit!
What would you do with an overabundance of fresh citrus fruit?