Two years ago I was asked to help paint the windows of a store-front at Christmas with some friends. So when I saw these windows on Pinterest, I figured I could try a little “DIY” painting on our windows instead of buying decals or yarn.
Materials:
- Step-Ladder
- Window-Cleaner
- Dry-Erase Markers
- Picture (of what you want to draw)
- Paper Plate
- Brushes
- Black Acrylic Paint (from any craft store)
- Water/Washcloth
DIY: Halloween Window Painting
- Use your step-ladder to climb on up and wash the surface of the window you will be painting. You might as well wash the other side too while you’re at it!
2. Choose a simple image. This is a silhouette, so if it’s too complicated you won’t be able to identify what it is.
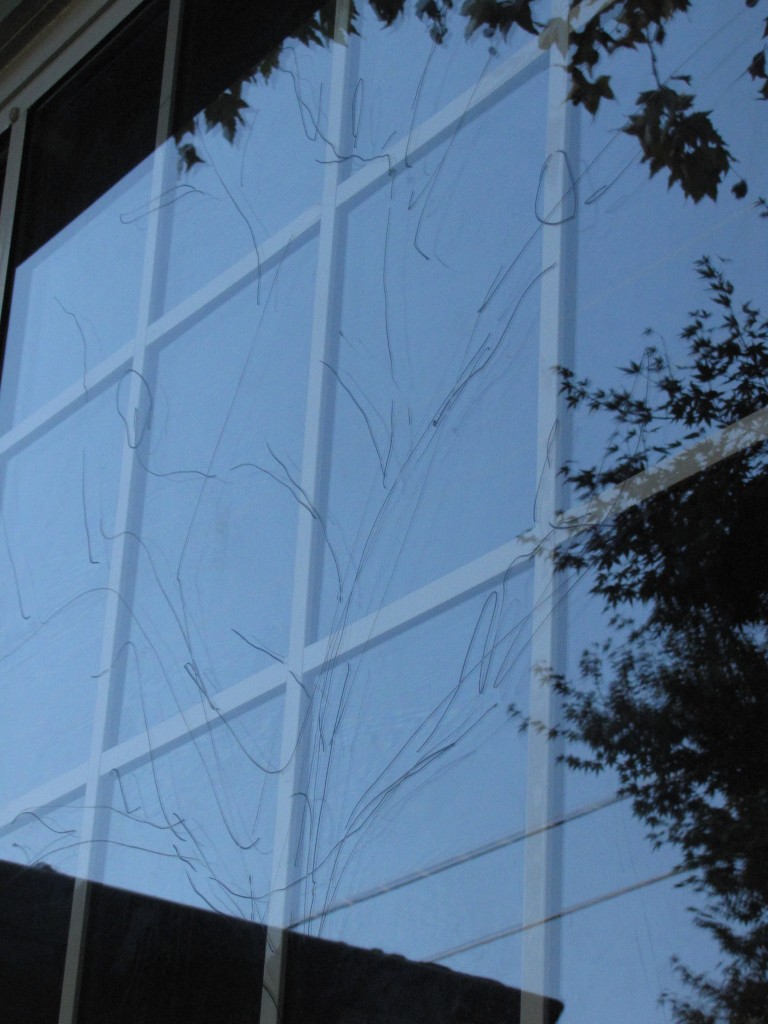
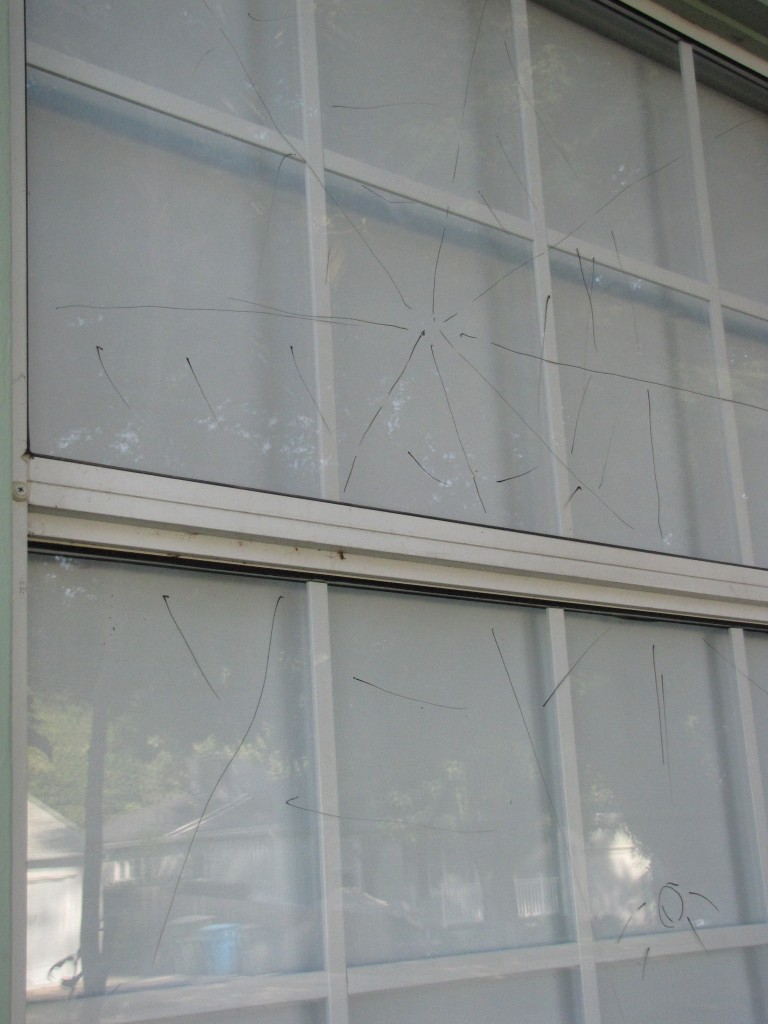
3. Put your picture where you can see it while you sketch on your windows with the dry-erase markers. I prefer using the same color as my paint, but work with what you’ve got. If you make a mistake, just wipe it off and do it again!
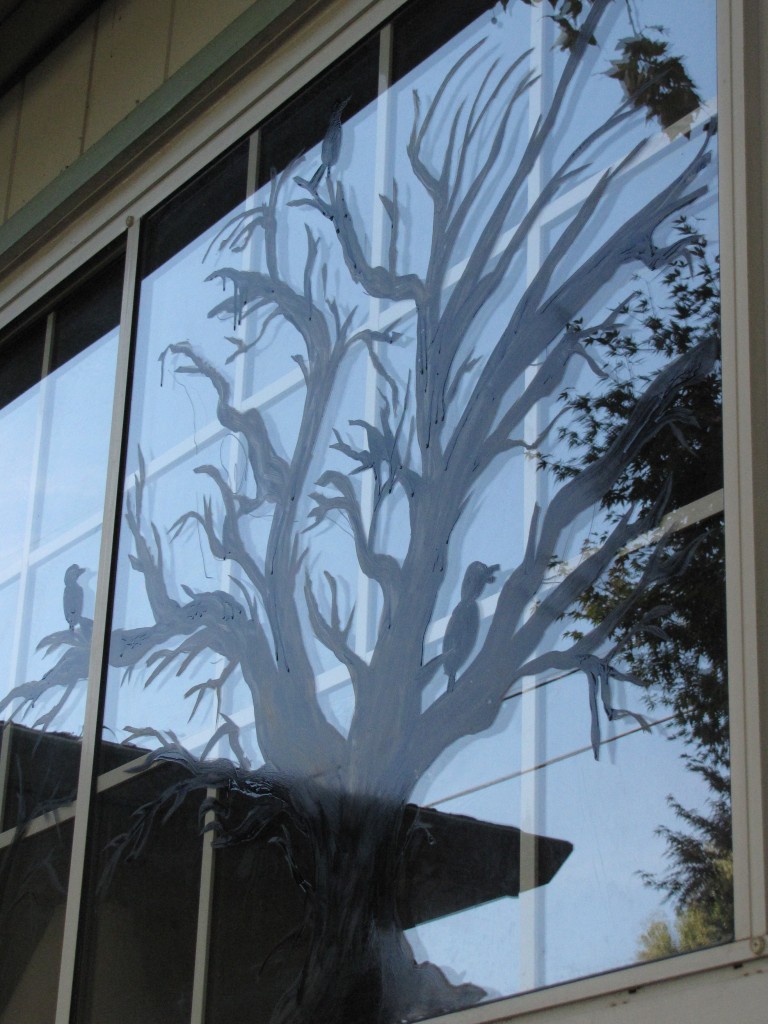
4. Squeeze your black paint on to a paper plate. Put a little paint on your brush, but not too much or it will drip. Fill in your drawing, working from large to small.
5. Touch up any mistakes with your washcloth. Throw away your paper plate. Wash up your brushes in the sink. You’re done!
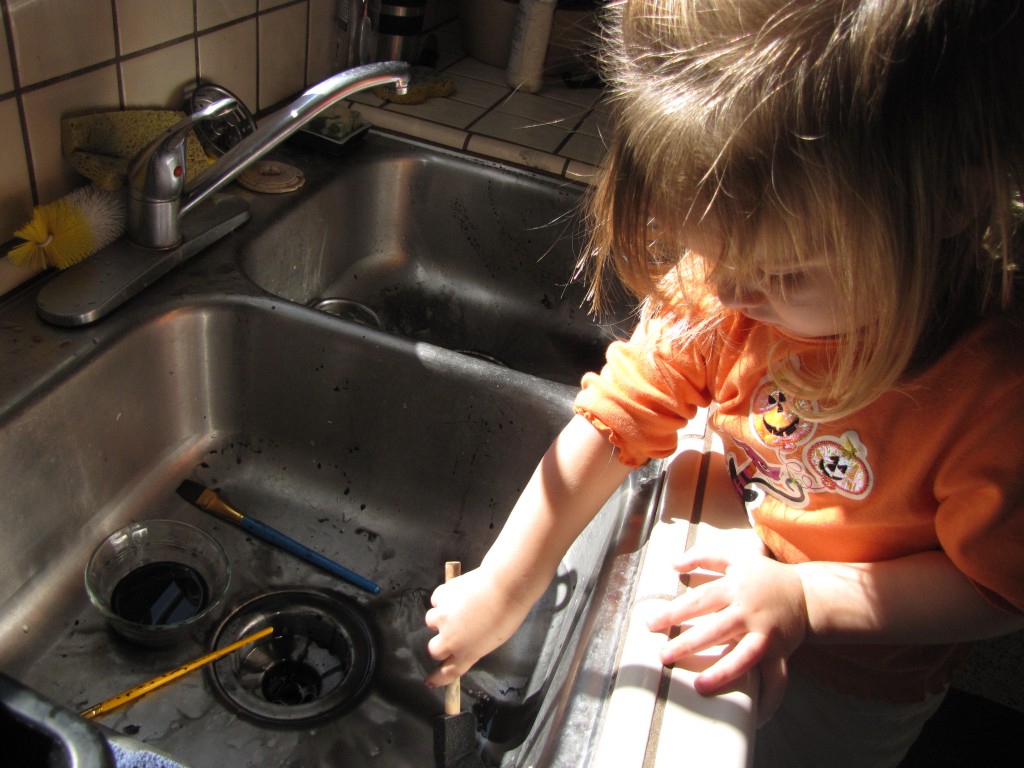
A nice side benefit of painting was that Naomi really enjoyed “painting” in the sink with the black water. 🙂
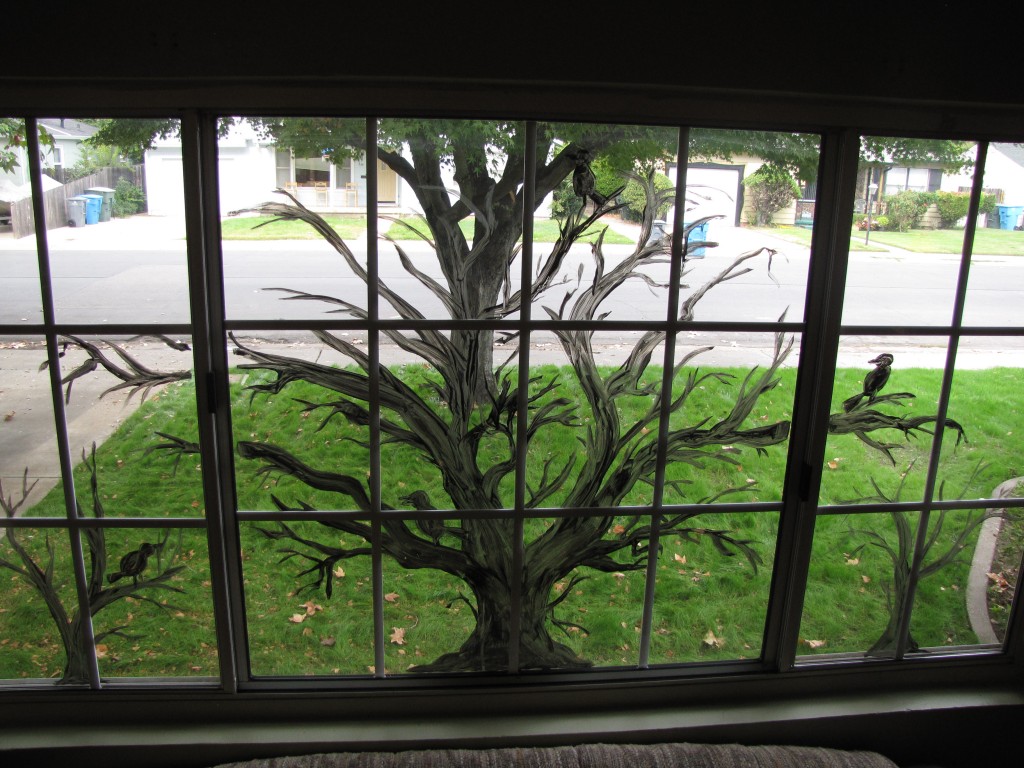
Here is the finished view from above…
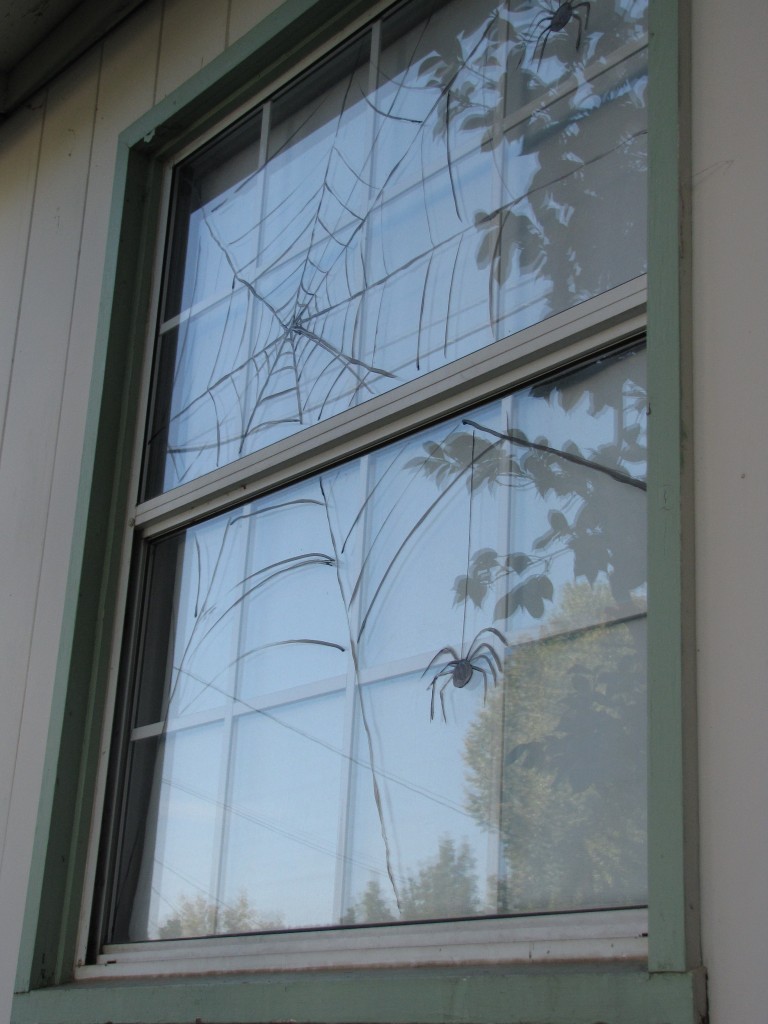
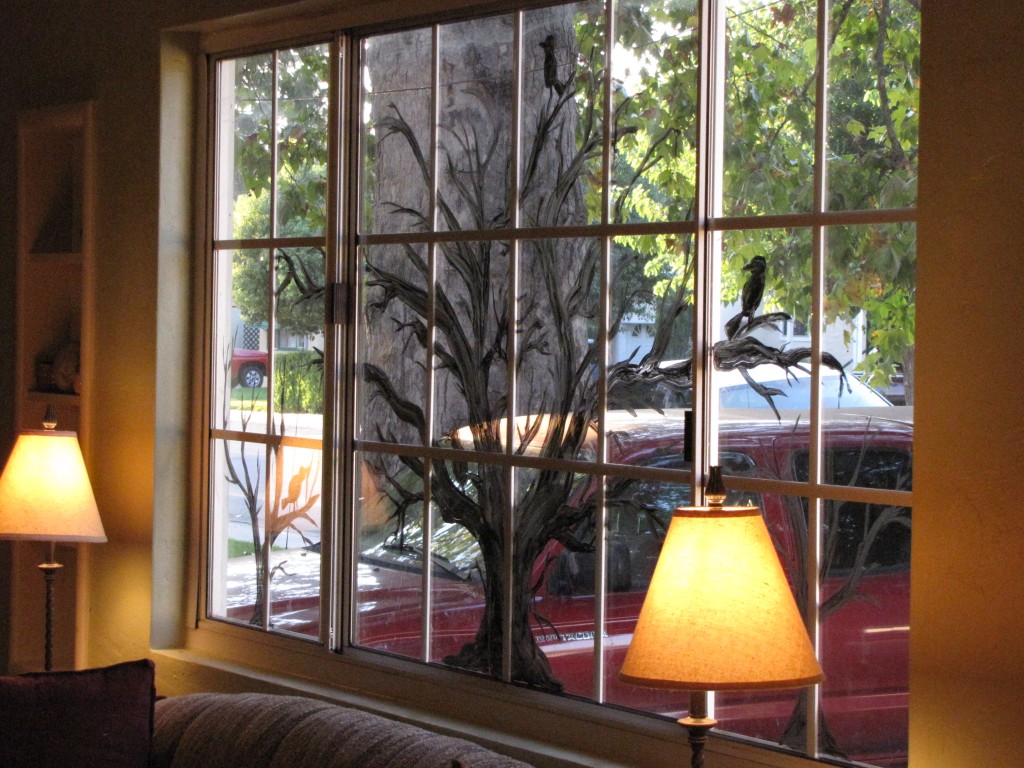
…and the finished view from across the living room.
What kinds of DIY projects have you done for Halloween, this year or in past years?
 October 27th, 2011
  Jessica
 Posted in


I LOVE this! I’ve always wanted to do it but needed someone ‘real’ to tell me how to go about it and that it’s not a big deal to wash off. My kids will love this!
Just a word of caution…today Brad accidentally hit it with the sprinkler while watering the front lawn, and a large portion of it washed away! So keep it clear of water until you’re finished with it. 🙂
I’m actually thinking that once Halloween is past we’ll add fall leaves somehow so I can leave it up until Thanksgiving. Then I don’t have to take the whole thing down right away.
This is an awesome idea! I never thought about painting the window before! That was a duh! moment. 🙂
You should check out Crayola Window Crayons. I drew spiders and spider webs on my front windows with them and they turned out great! I love them in my classroom too for window art. They come through more boldly than dry erase markers and they stay better because of the waxy texture, but they wipe right off with a paper towel when done. Added plus? They twist up when the crayon tip starts to get low and they don’t dry out like dry erase markers tend to. 🙂
I just googled them and found them at sears for $1.54!
http://www.sears.com/shc/s/p_10153_12605_SPM1568648803P?sid=IDx20101019x00001a&ci_src=14110944&ci_sku=SPM5706720809
They sound cool! Thanks for the suggestion! 🙂
What kind of paint do you recommend if I want to keep the painting on my window ?
Do you mean that you want to leave it up permanently? I used washable paints because this was a seasonal craft. You could ask around at your local arts and crafts store to see if they have a more permanent product you could use.
This looks so neat! I included it my list of DIY Halloween windows too!
http://craftingintherain.blogspot.com/2012/10/14-halloween-window-ideas.html
Thanks! I linked to your blog post on my Facebook page!